
Index:
UPDATED ✅ Do you want to know the easiest Arduino projects for children to program? ⭐ ENTER HERE ⭐ and Learn Everything FROM ZERO!
If you like electronics and want to start taking advantage of your time at home, then the Arduino platform becomes a great alternative for youand as if that were not enough, this program is not only suitable for grown upsbut also for the smallest of the housewhich makes it one of the best options for you to introduce your children to the world of electronics.
Thanks to this platform, the smallest of the house can begin to take their first steps in what is the world of programming and electronics through simple and interesting projects for them. Keep in mind that Arduino It has become a platform of constant growth, which has led it to become one of the most popular in the world.
Therefore, through this platform you can begin to encourage your children to become a programmer and project developerfor it Arduino offers you a lot of kids projects that they can start create from home. That is why here we are going to teach you the best kids projects they can doto do this, follow in detail everything that we will teach you next in the post.
List of the best easiest Arduino projects for children what we can do
There are currently a large number of products on the market arduino projects available to all users, where many of them are mainly oriented to the smallest of the housethis is how we are going to teach you here what are the best projects available for children that they can easily start creating.
To do this, follow the list that we will show you below:
Arduino Traffic Light Controller
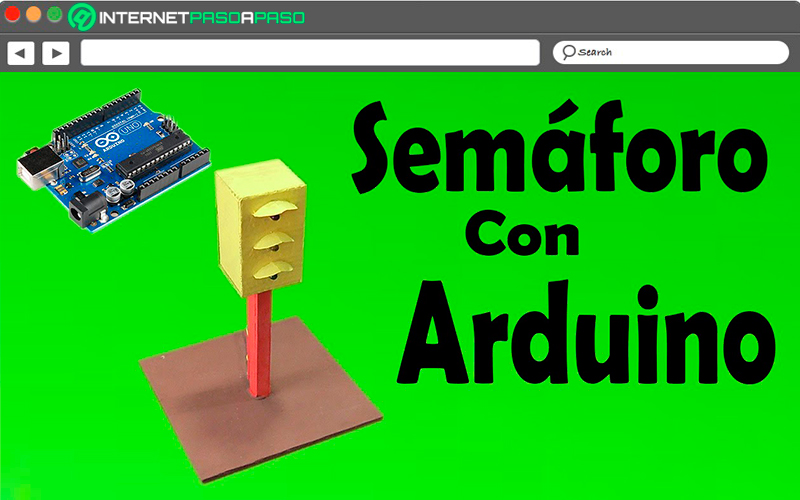
If your child likes to play with cars and trains and do a lot car races, So a very good alternative is create Arduino smart traffic lights of cardboardthis will allow you simulate an experience much closer to real lifewhere you can also get used to them.
To create this traffic light it is necessary to have the following materials:
- A compact design that works with 6AA batteries.
- Recycled materials Low-cost manufacturing like cardboard.
- A timer.
- 12 lights led.
- A Arduino Nano board.
- switch ignition.
- 6 resistors.
- Tube of cardboard.
These are some of the materials that will help you with the elaboration of this intelligent traffic light, led lights are used to carry out 4 way intersectionwhere they will be used 4 lights on each side, therefore, when the green light is activated it will be for north and south, while the red one for east and west. Another important point to keep in mind is how long the green light will stay on.
Please note that the duration of the green light will be the time of passage that the traffic light is indicating, so it is considered that it should last at least 50 seconds on. Thanks to the elaboration of all this, your children will have the opportunity to have real traffic lights when playing with their toy cars or trains.
Robot OTTO
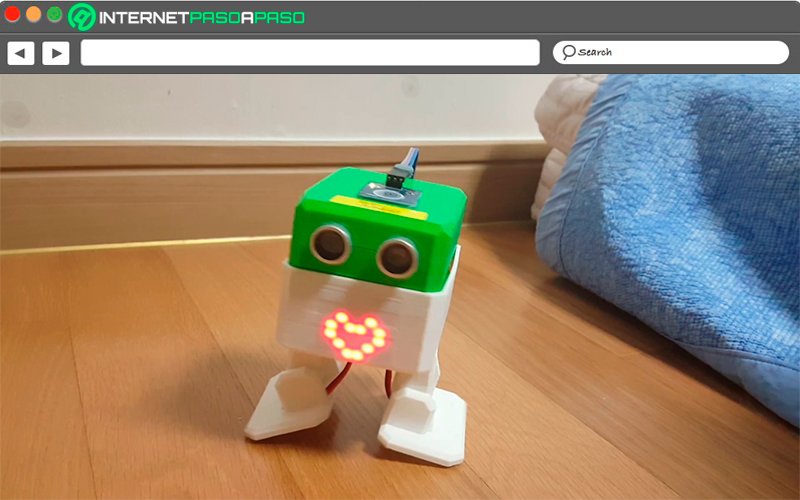
If you like electronics and you already know about arduino projectsthen it is very possible that you have already heard about the Robot OTTO DIY, it can be assembled in a very simple way so you can create it with your children and thus help them take their first steps in electronics. One of the advantages of its elaboration is that it does not need welding and requires few parts. Also, you can be programmed in a graphical environment.
The Otto robot It can be configured through several functions, so it can be programmed so that it dodges obstacles, walks, performs dances, among other functions. It also emits different types of sounds and music, all this can be controlled through a mobile app and via Bluetooth.
As it is a project of Open Source Anyone can modify the design of its parts, as well as the code of the robot, which means that you can experiment a lot with it. In the case of the legs and the body of the Robot OTTO can be printed through 3D printerin the event that you do not have a 3D printer, then you must acquire the parts in the official website of the project or send them to print.
You can also opt for a kit that offers you all the parts and electronic components, among the electronic components that are needed to assemble OTTO and start enjoying it are the following:
- a plate of ArduinoNano.
- an ultrasonic sensor HC-SR04.
- 6 wires 10cm DuPont HH.
- switch either switch ignition.
- battery holder for 4 AA batteries.
- Buzzer of 5v.
With these components you can build the basic version of the robot OTTO, but you can also create more complex versions that offer connections by Bluetooth, led lights on the head that indicate to OTTO’s moodthe mobile arms, among other functions present there.
toy drones with camera
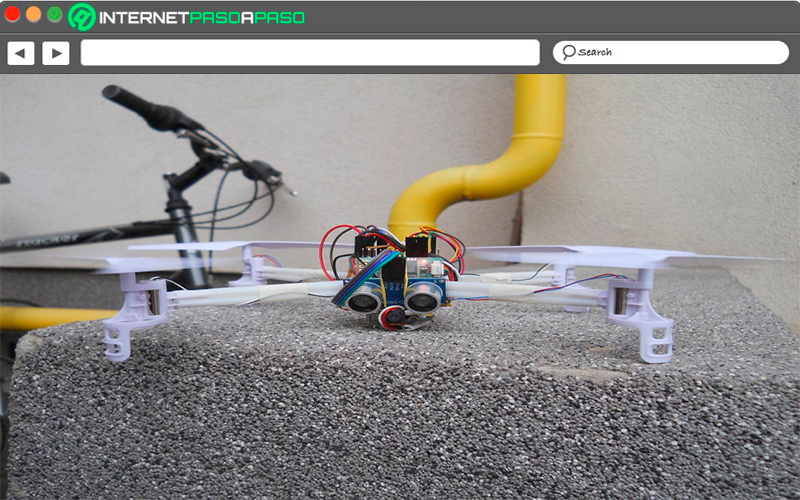
Surely no child is going to want to resist this type of toy, and that is drones are toys and tools used by everyone at home from the smallest to the largest. This will allow you to create a flying device with a camera that will show you the way you fly. Although it may seem the opposite, the programming for this project is quite simple, for its development it is necessary to have arduino one.
The drone can be connected to a Android smart mobile device that shares GPS data with the purchased drone with its own GPS signal. Thus the GPS will follow the mobile at all times, This means that it will follow you wherever you go.
Therefore, it can be said that it is a homemade drone since it cannot be used for professional shooting mode. However, it has become one of the best alternatives to entertain children. It is quite possible that some of your children have already asked you for a gift dronethen what better way than create it yourself with them.
Create your own gumball machine
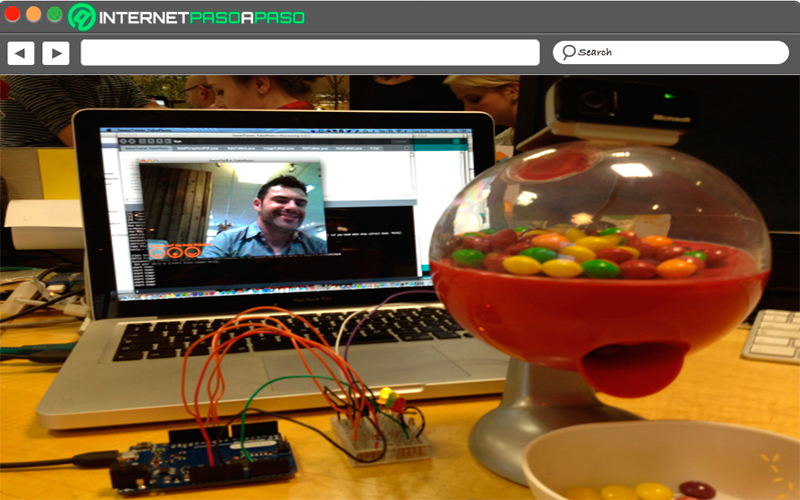
If there is something that children like, it is candies, that is how you will be able to create a gumball machine which will only be activated if a specific sound pattern, this means that not everyone will be able to remove the candies from there, a good alternative for regulate him the consumption of sweets to the smallest of the house.
Keep in mind that this pattern must be set at the time of creation, so later you must create sound rhythm that you have chosen for this sound to arrive to the Arduino brain and eject the candies that are contained therein. You can share the secret key with those people you want so that they can also withdraw candy thence. In case you do not want to continue using the same password, you can also change it.
BB8 life size
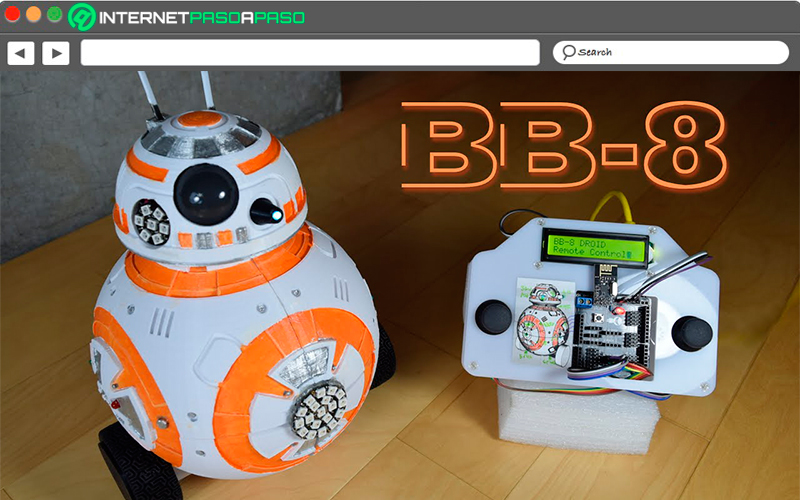
This is another one of the arduino robots what can you create to spend some time funny and entertaining and that the little ones in the house will surely love. To make it, you simply have to use a roll-on deodorant container for its main base, other recyclable materials will also be used, so you should not spend a lot of money on its creation.
All this was carried out through the company Maker, who decided to call this life size bb8 creation. It must have an Arduino board and a Bluetooth connectivity so that it can be controlled through the smartphone. It can be said that for the creation of bb8 basically no technological use will be needed, but everything will be much more homemade.
Selector of objects by their color
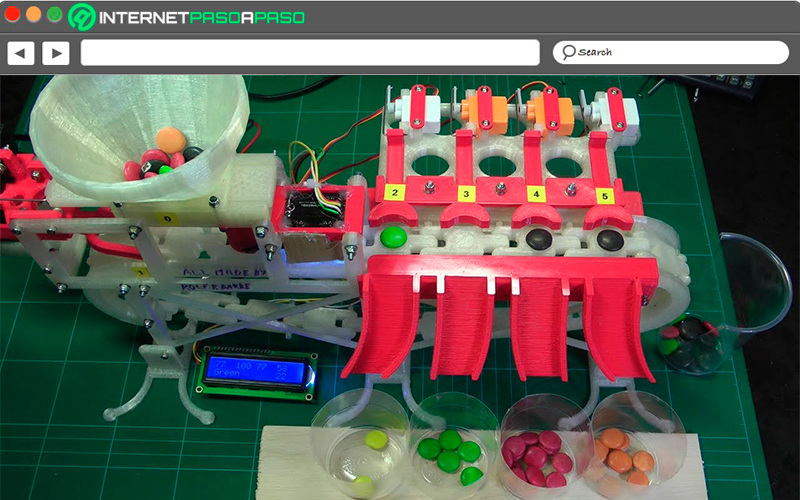
This is another very good alternative so you can start guide your children to the world of programming and electronicsthis time it’s about create a machine be able to organize all your candies by colorsomething ideal for your children to learn to distinguish colors and be organized while having a fun time.
To create it you must have two servo motors, one color sensor, one Arduino board and above all the appropriate programming for it. After this you will simply have to build the machine and select colored candies for these to be organized by themselves. A very entertaining way for your children to learn to differentiate colors.
Car controlled with a joystick
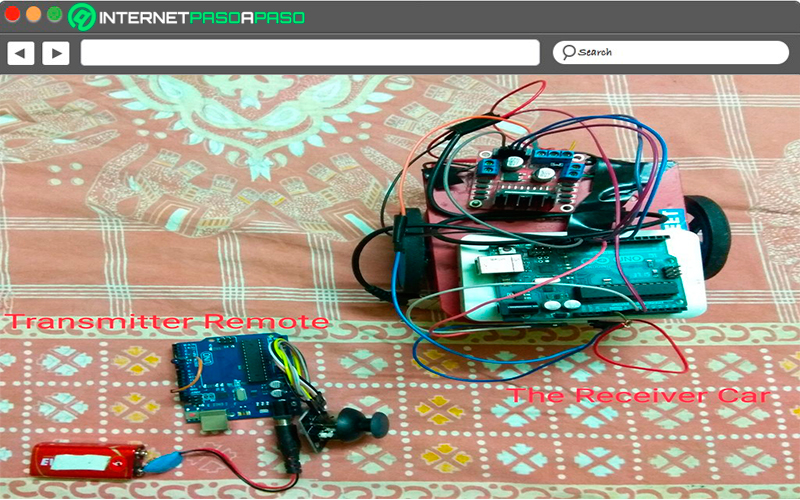
Without a doubt, this is one of the simplest projects, so it is ideal for you to start teaching your child to program and create Arduino projects easily. In this case it is create a remote control car with a joystick that you can control without having to make any kind of physical effort. In addition, to facilitate all these constructions you can find a large number of starter kits of this platform that will help you throughout this procedure.
Create your own vending machine
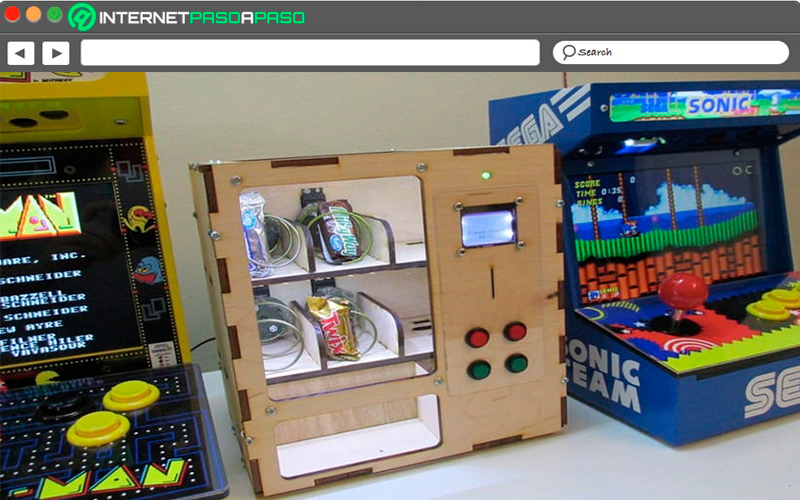
surely you have gone to the store or a mall and you have come across some of these machines, which are ideal when you want to consume some type of candy. Luckily and thanks to the Arduino platform you can now have your own vending machine in your home, something ideal to entertain you with the little ones in the house.
In this way, Arduino offers a project to users so that they can build your own personal vending machinefor this it will offer you all the necessary instructions to construction, assembly and especially for the programming of itthere you can introduce chocolates, sweets and other goodies that are to your liking.
Self-balancing robot
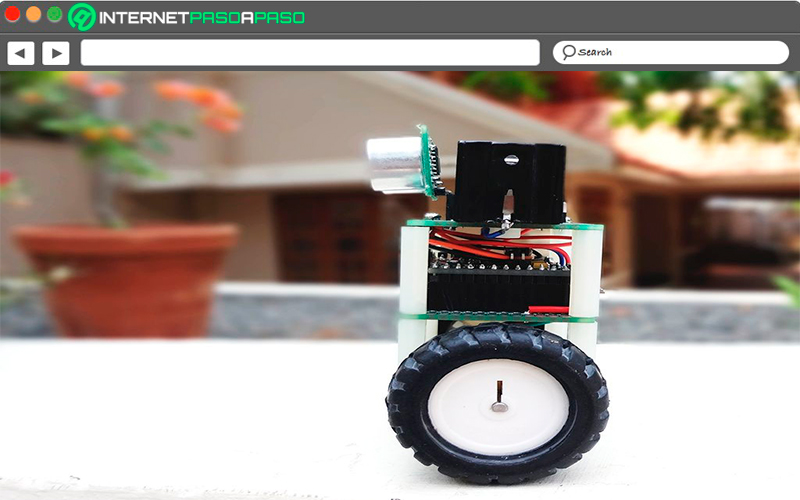
As you can see, robotics is one of the most used areas in what is programming with Arduino, that is why currently users can build different types of robot through this platform with the aim that they carry out a specific function.
In this case this robot Its main function is to avoid the obstacle thanks to a ultrasonic sensor, It is also capable of maintaining its balance by itself. For its development it is necessary that the user has a arduino pro mini boardthe same will be the basis for the construction of this project. This will help you to be able to advance in certain areas without having to collide with an obstacle that is present there.
Robotic arm
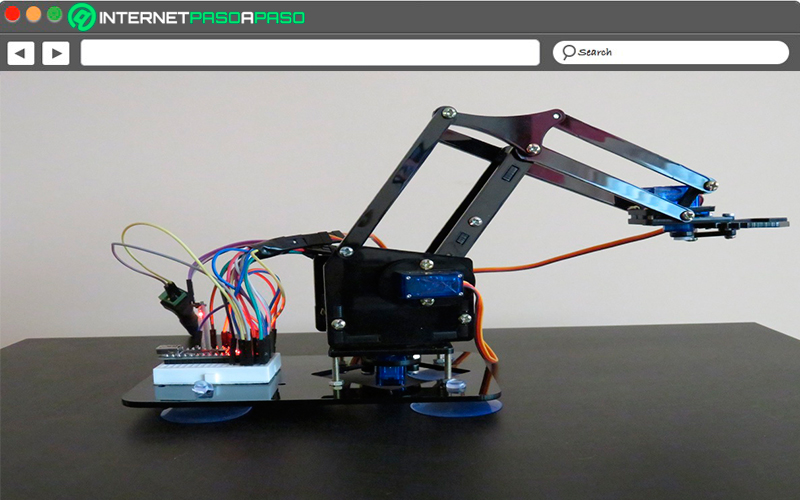
To finish, we present a robotic arm that without a doubt will be very interesting for the little ones in the house, a way of being able to interact with them and in turn be able to learn to program and create these electronic projects. East robotic arm will be able to take different types of not very heavy objects and transport them from one place to another without hitting an obstacleall this thanks to the fact that it has an ultrasound sensor.
An ideal tool for your children can begin to move each of their toys from one side to another. In addition, the elaboration of it is a bit simple, so you do not need to be an expert in the area to create it. You just need a little programming and an Arduino board to carry out all this successfully.
Get to know the best Arduino Kits to start programming from scratch
Previously it was thought that carrying out electronics projects It was something really complicated, but all this has changed thanks to the microcontrollers like Arduinowho offers a developer environment that will allow you create different types of projects in a very simple way.
However, if you are starting to use this platform, it is best to rely on a Arduino kit. The Arduino Kits They will help you learn everything you need to know about robotics and electronics from scratch without the need to have previous knowledge about it.
Taking into account their importance, here we are going to show you which are the best kits to start programming from scratch:
starter kit
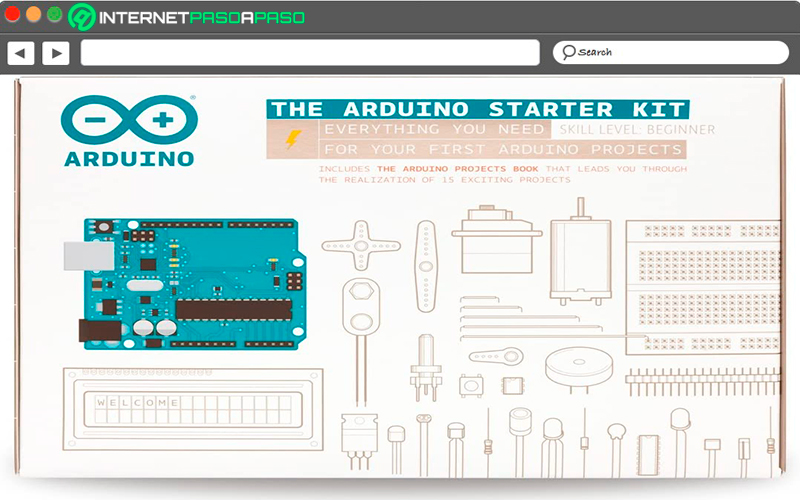
starter kit is currently the arduino kits most popular and recommended on the market, it is 100% recommended for beginners who are beginning to take their first steps in the platform. Starter Kit belongs to the original brand of Arduino and therefore it is one of the most complete for all this, in the same way it has a very complete manual with which you can carry out a large number of electronic projects.
Here you will not only have the introduction to the use of the program, but also everything related to the installation and use of the software. There you will also find 15 projects that you can do without having to spend more money on anything. if you are hardly starting in programming and electronicsit is best that you start using the Arduino Uno Boardas it offers greater ease of use.
KeyeStudio
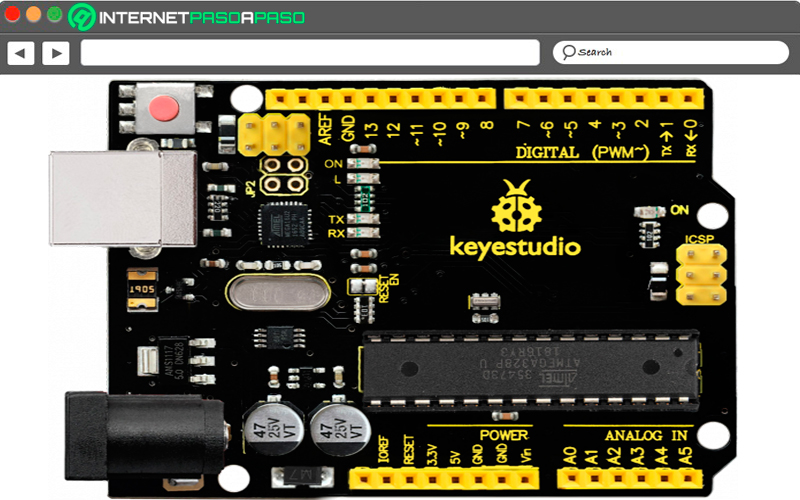
KeyeStudio It is one of the reference brands in the Arduino areawhere all or almost all your starter kits include what is arduino mega board and no Arduino Uno. Therefore, this one is going to require a little more knowledge than the one mentioned above, but it is also aimed at beginners and so that they can Start building your projects from scratch.
KeyeStudio excels at providing much more power and many more pins for projects that are more complex, this kit offers a small paper guide as well as a CD with all the documentation, programs and codes necessary to work on Arduino. However, it should be mentioned that it is only in English, which can become a problem for many.
A good alternative to try to correct the language is to use the translations it will be a bit more tedious but you will be able to discover everything it says there. Therefore, this kit is one of the most recommended today and it is completely Arduino-compatible offering a very complete set of components.
elegoo
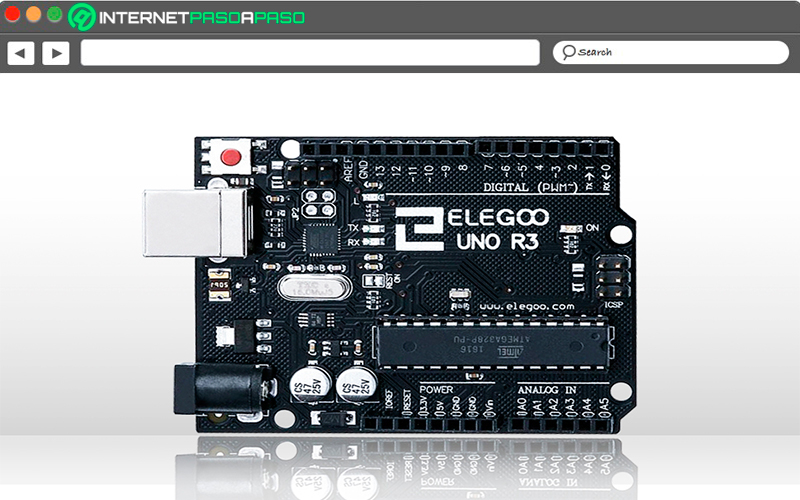
If you have chosen to buy a arduino uno kit that is not the original, then you must make sure that the plate is the same, it must have UNO R3 or be 100% compatible. In this case the kit by elegoo It has a large number of components, thus becoming one of the most complete as the UNO plate. It also offers what they are starter and intermediate kits for those users who are more advanced
Nevertheless, elegoo has a downside and are the translations of his tutorials in spanish, which on many occasions are not translated correctly. But this is something that can be easily corrected. If you’re starting to give your first steps on the Arduino platformthen elegoo It can be of great help when you want to carry out your early electronics projects.
Computing