
Index:
UPDATED ✅ Do you want to know more about MacOS windows and how to manage them? ⭐ ENTER HERE ⭐ and Learn Everything From Scratch ⭐
For his attractive design, for your safety, for promoting productivity and for many more benefits, various users choose to switch from Windows to MacOS. Emphasizing that it has an unbeatable finish because the same company manufactures hardware and software.
Nevertheless, as they are familiar with Windowsat first it becomes difficult to learn to operate a Mac. Especially, when it comes to navigating through program windowssince it is not the same as how it is done on a PC.
Therefore, in this post, we will explain what are windows in macOS and how do they differ from windows. Like, what are the steps to manage them and what apps allow you to make the most of them.
What are windows in MacOS?
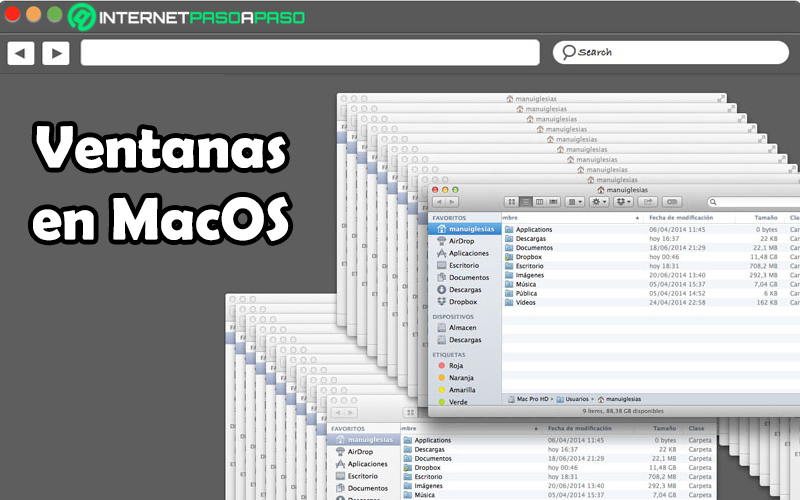
Basically a window in MacOS is a delimited visual area which contains some sort of user interface and takes care of show output or allow data input for one of several processes running at the same time. Thus, it offers the possibility of send execution orders and receive certain information.
Usually this kind of computer windows they are rectangular in shape and are observed when opening a program, an application, a file, a folder or any utility through a Mac. But, unlike Windows windows, They have a different function.
Differences between Mac and Windows windows
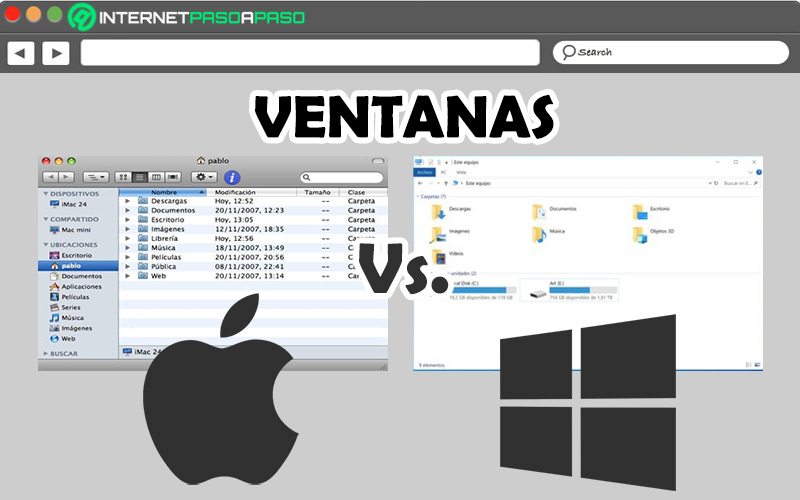
For sure, one of the features that changes significantly between a PC and a Mac, are the windows. Therefore, it is distinguished as one of the most complicated parameters of learn how to manage when a change is made from Windows to MacOS.
Therefore, to learn how to differentiate between them and find an easier way to use them on Mac, it is worth highlighting the main differences between Windows and MacOS windows:
- In Windows, the Maximize, Minimize and Close buttons are located on the right side. While, on Mac, they are found on the left side.
- By default, the windows Microsoft Windows are minimized to the taskbar. Unlike those of MacOS that are minimized to the right side of the Dock and using a zoom or “genie to his bottle” effect.
- When maximized, the windows of Windows take up all the screen space, except the taskbar. In the case of Mac windows, they can fill the entire screen or only maximize vertically.
- If the close button is used in Windows, this implies end the application or close the window in question belonging to the same program. Meanwhile in macOS, the close button takes care of fade the windowbut this doesn’t always close the application in question (eg in Safari it doesn’t because it can spawn child windows).
- from the windows of Windows, it can be appreciated a thin edge around them that is used to modify their size. However, in Mac these borders do not exist around the limits of the window and to change its size, it can only be done from the bottom right corner.
- For move windows in Microsoft Windows, is resorted to the title bar on top. In the case of MacOS, these elements can be moved from anywhere in the interface.
Learn how to manage windows in MacOS
Yes, still you don’t quite understand how to manage windows of this operating system, you have reached the indicated post.
Next, we explain all the steps to follow to minimize, maximize and close Mac windows correctly, as well as change their size:
Minimize

While it is true, the Minimize Window button is the yellow one which is located in the top left corner of the screen.
Thus, to proceed to reduce any window on your Mac, the procedure to complete is as follows:
- From the Dock or via task manager, start with open the window you want to minimize.
- Followed by this, go to the top left corner of the window in question.
- Afterwards, you must look for the yellow button and click on it. In this way, the application or program will be located in the Dock automatically.
- If you want the window to minimize to the corresponding application icon and not take up space on the panel, go to the System Settings menu, select “Dock” and mark the option “Remove Dock window to program icon”.
For its part, it is necessary to limit that this action can also be carried out with the following keyboard shortcut in MacOS: Comando + M.
Maximize
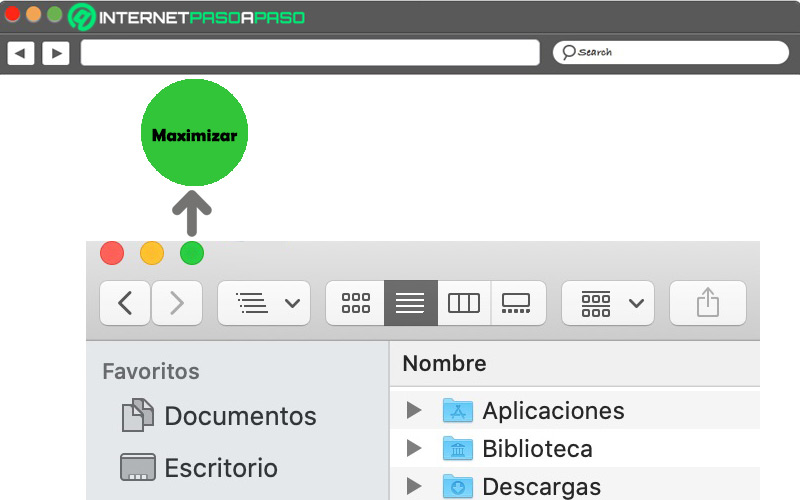
The green button seen in the upper left corner is the one that allows maximize or enlarge a window on your Mac.
In this case, the step by step to complete is as follows:
- As we started in the previous part, open the window you want to manage.
- Next, you have to locate yourself in the upper left corner.
- Subsequently, click the zoom button which is the green button located in the third position from left to right. Thus, the window will occupy the entire screen.
- In case the application don’t support full screen modethis procedure will simply enlarge the window to the allowed size and at the same time, the menu and Dock bar will remain visible.
- Yes later you click the green button againthe window in question will automatically return to the size you had before.
Users who want increase the size of a window on Mac without having to go through full screen mode, what they have to do is hold down the Option key and click the zoom button simultaneously to gradually increase the size.
close windows
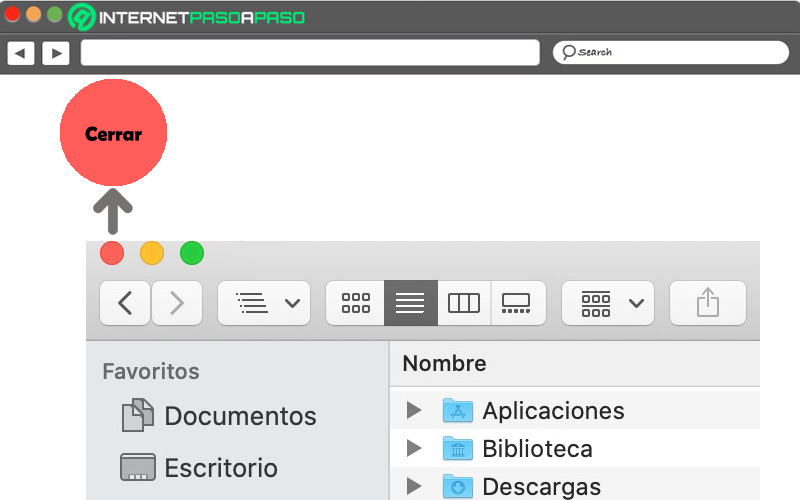
The button used to close the window of an application or program in this operating system, it is the red one. Which, simply takes care of closing the window and not the utility as such.
To carry out this action, the indicated step by step corresponds to:
- Through the Dock, start the process accessing the window you want to close.
- After that, stand in the upper left corner of the window in question.
- Now, click the red button and that way, the window will be closed automatically.
- If apart from closing the window you also want to close the application or program, you must press the keys
Comando + Qin the menu bar, Click on the name of the program and select the option “Leave”.
On the other hand, if you prefer to close a program window through a keyboard shortcut and without resorting to the red button, you just have to open this window and press Comando + W on the computer keyboard.
resize

It is extremely simple resize windows in macOS.
To clear up any doubts about it, here we explain the process in detail:
- Open the window of the application or program you want to resize.
- Then proceed to place the cursor in any of the corners of the window.
- Once the cursor turns into a double-headed arrow, press the click and drag it to where you want to resize the window.
Note that if you hover at the top or bottom, you can change window height. While, if you place it on the side edges, you can modify the width of the window. But, if you locate it in the corners, both length and width will be transformed proportionally. Also, it should be noted that, to resize a single part of the window, what you have to do is double-click one of its edges and so the window will rotate to that side of the screen automatically.
Best Apps to Manage Windows on MacOS
Sometimes, the number of open windows on Mac can be overwhelming if you’re using Finder, Safari, Word, Music and Mail, for instance. So, its management becomes a little more difficult and even tends to minimize productivity. However, by making use of Spaces, Mac users can create specific environments for the different tasks you need to perform. This can also be done by organizing a window manager in order to keep your workspace more organized.
Here are 8 high-quality alternatives to tidying up windows on your Mac:
BetterSnapTool

It is a customizable utility that allows instantly change the position and size of windows, through various resizing options and anchor areas. It also provides predefined templates to work with fixed window sizes. It has a 45-day free trial.
Magnet

One of the most recognized applications to manage windows in MacOS in an easy and practical way. With her, you can sort and manage windows by placing them in different positions on the screen, either using keyboard shortcuts, with the app menu or by dragging and dropping. Features compatibility with up to 6 external monitors And allows fix 4 windows.
Amethyst

You can download this application for free from its official website to improve your experience on Mac when it comes to managing windows, since it prevents them from overlapping each other. In this way, place the apps next to each other to make the most of the space. Also, supports custom keyboard shortcuts. Access your website https://ianyh.com/amethyst/.
HazeOver

This is an application created to avoid distractions on your Mac screen because automatically highlights the front window of the application, dimming all windows in the background. Depending on their preference, users can control the intensity of the effect from a light shadow to pitch black.
Moom
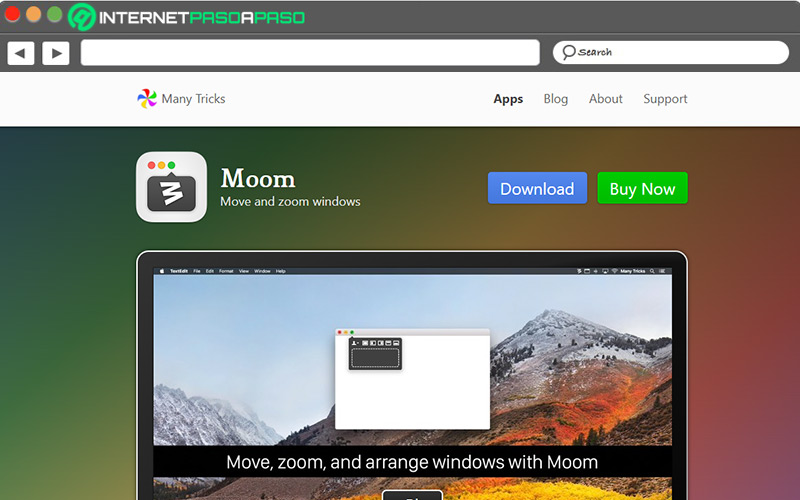
It is another of the best window managers in MacOS, because it is a highly customizable utility that allows move and enlarge these boxes with great ease. Like, choosing the desired position on a floating palette and dragging a window to an edge or corner of the screen. also allows create and set custom controls. Access your website https://manytricks.com/moom/.
cinch

Despite It is one of the most basic managers of allthe truth is reveals optimal operation and is useful for those who want to locate and resize Mac windows by dragging it up, down, right or left. One of its greatest advantages is that it is very convenient to use and, in addition, it is free.
Mosaic
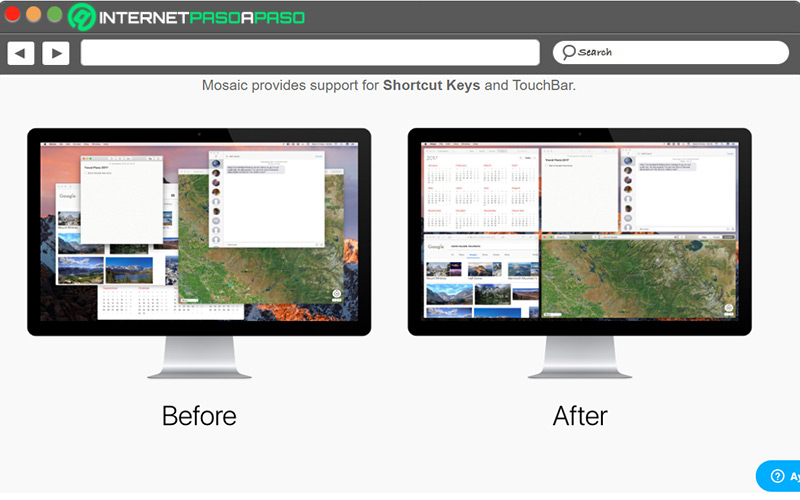
By making use of this application, Mac users can build your own designs through a configurable grid and assign their own space to applications without having to scroll through Spaces. Thus, it helps to order the apps for certain workflows that are much more comfortable. Besides, it allows define screen areas and add key combinations. Access your website https://www.lightpillar.com/mosaic.html.
swish

Designed to be used directly from the trackpad, Swish consists of an app that allows us to manage MacOS windows with 30 predefined gestures for the Dock, name bar and menu bar with which it is easier to speed up the workflow. Thus, it provides a practical and intuitive method to manage open windows. Access your website https://highlyopinionated.co/swish/.
Other big changes between Windows and Mac
As well as the difference between MacOS and Windows windows is significantboth operating systems reveal many more distinctions from each other.
Here we highlight 5 huge changes between using a PC and a Mac:
- Security: In this aspect, MacOS gets the upper hand because its computers are much more secure than PCs. Well, although they are not exempt from cybercriminals and malware, the security risks are statistically lower.
- Web navigator: The main browser to access the Internet from a PC is Microsoft Edge and it allows you to configure several devices, synchronize passwords, manage favorites, etc. On the other hand, Safari is the best option to browse the Internet from a Mac thanks to its customization options, privacy, accessibility etc
- Main menu: By nature, Windows allows access to all programs, folders or system settings through the start button. While, in MacOS, this access is known as “Dock” and it is a lower menu.
- Access to applicationsNote: On MacOS computers, applications can be viewed through the Launchpad. Unlike Windows, which supports application access through the Start button and presents them in a list.
- updates: Compared to Mac, Windows updates are much smaller. Well, Macintosh updates are constantly being released.
Computing

