Index:
UPDATED ✅ Do you want to know more about the Arduino Yún development board and its usefulness? ⭐ ENTER HERE ⭐ and Learn Everything FROM ZERO!
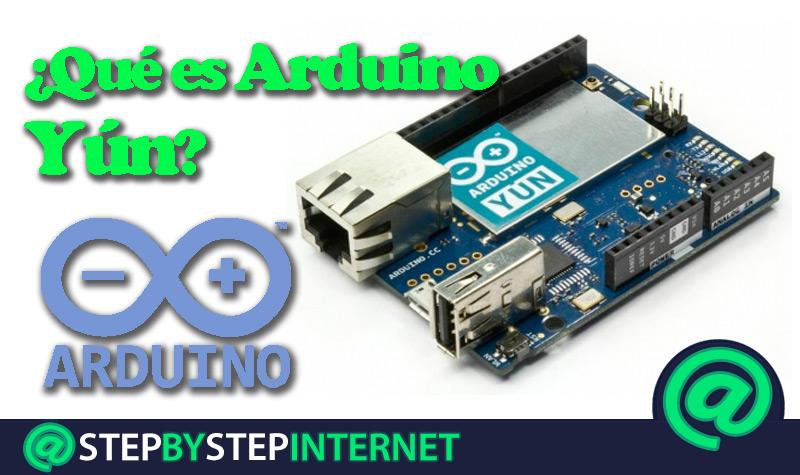
Internet is a modern technology that is used to automatically manage different devices in a house. Today it is possible to use this tool by means of an Arduino Yún board.
In this article we will explain what is arduino yun and what is this hardware development board for. Also, you will know what are the main characteristics that it has.
Finally, you will find a list with the best projects that you can do yourself with Arduino Yun so you can practice everything you learned in this post. Don’t miss out on anything.
What is Arduino Yún and what is this hardware development board for?
Arduino Yun It is a type of board that is developed with Openwrt-Yún, a Linux distro that uses its Kernel. Yún is generally used in computer networks and application development, making it an ideal tool to associate with technology. Internet of Things.
This is made easier when its low cost and the possibility it offers to use WiFi are mentioned thanks to the built-in network card. It can be used in a variety of projects, but the most common are that the gadget can connect to the web.
What are the main features of this Arduino board?
Among the most important features offered by Arduino Yún is the ability to connect to the Internet, thanks to its built-in network card. This allows to obtain a versatile tool to work on different projects from Wi-Fi or LAN. The proportions it has are similar to that of an Arduino UNO and Leonardo boardso the space it occupies is suitable for inclusion in any project.
But keep in mind that does not have a voltage regulatorso any voltage above 5 volts can burn out the processor. It has a micro USB input with a USB host to connect to Linux through Linino (Openwrt-Yún). In addition, it has an entrance for cards Micro SD which allows incorporating an external memory that helps to work the RAM and improve the performance of the board.
List of the best projects you can do yourself with Arduino Yún
We will show you below the best projects that you can do yourself with Arduino Yún:
GPS to track location

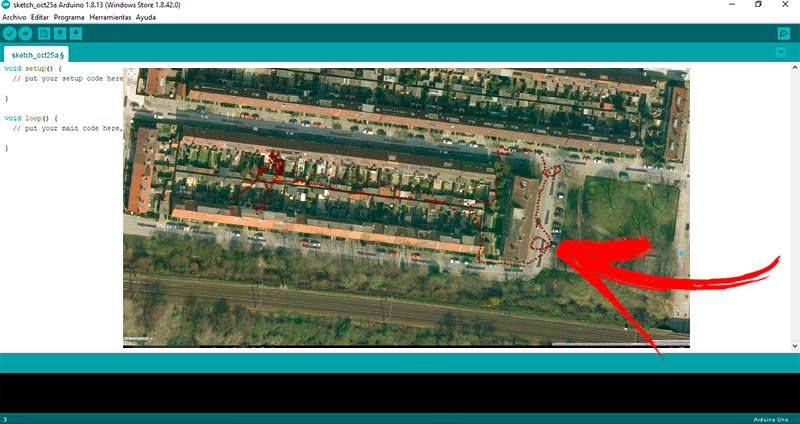
With this project you will be able to create a gps which will notify you, using Google Maps, what is your location in real time. In addition, you will be able to know the speed and the temperature in the place where you are. You will need to an Arduino Yún board, temperature and light intensity sensors and a GPS.
After assembling all the components you will have to enter the code in the Arduino IDE:
#include <FileIO.h>
#include <SoftwareSerial.h>

prevmillis largo sin firmar = 0;

int TLdelay = 1000;

tick largo sin firmar = 0;

gpsTick largo sin firmar = 0;

int tempSensor = A0;

int lightSensor = A1;

pulido de carbón [200];

int buffc = 0;

bool fdone = falso;

bool lastch = falso;

tiempo de sincronización largo sin firmar = 0;

SoftwareSerial gps (8, 7);

datos de char [300];

int índice = 0;

bool doprint = falso;

lector de bytes C = 0;

void WriteTempLight ();

anular WriteGPS ();

configuración vacía () {

//Serial.begin(9600);

// mientras (! Serial);

//Serial.println("SERIAL LOADED  n ");

begin ();

println ("BRIGO CARGADO  n");

begin ();

//Serial.println("SD LOADED  n ");

Archivo dataFile = FileSystem.open ("/ mnt / sd / arduino / www / sensorData.txt", FILE_APPEND);

if (dataFile) {

println ();

println ("-------------------- REINICIADO ------------------------ -------- ");

println ();

close ();

}

Archivo gpsFile = FileSystem.open ("/ mnt / sd / arduino / www / gpsData.txt", FILE_APPEND);

if (gpsFile) {

println ();

println ("-------------------- REINICIADO ------------------------ -------- ");

println ();

close ();

}

begin (9600);

//Serial.println("GPS software serial init done [rx = 8, tx = 7] ");

//Serial.println("time HHMMSS london, válido, longitud, latitud, velocidad en nudos ,, fecha DDMMYY ");

}

bucle vacío () {

unsigned long nowmillis = millis ();

if (nowmillis - prevmillis> = TLdelay) {

prevmillis = nowmillis;

WriteTempLight ();

}

GetGPS ();

WriteGPS ();

}

void WriteTempLight () {

garrapata ++;

Archivo dataFile = FileSystem.open ("/ mnt / sd / arduino / www / sensorData.txt", FILE_APPEND);

if (dataFile) {

lectura int = analogRead (tempSensor);

int luz = analogRead (sensor de luz);

voltios flotantes = lectura / 205.0;

temperatura de flotación = 100,0 * voltios - 50;

print ("https://internetpasoapaso.com/arduino-yun/#" + String (tick));

print ("T" + String (temp));

print ("L" + Cadena (luz));

println ("");

close ();

//Serial.println(temp, 10);

//Serial.println(light, 10);

} más {

//Serial.println("stuff salió mal con la tarjeta sd @  "WriteTempLight () " ");

}

}

void WriteGPS () {

si (buffc> 195) {

buffc = 0;

para (int i = 0; i <buffc; i ++) {

buff [i] = '';

}

}

if (millis ()> synctime + 200 &&! fdone) {

Archivo archivo = FileSystem.open ("/ mnt / sd / arduino / www / gpsData.txt", FILE_APPEND);

if (archivo) {

print (" n #" + String (gpsTick));

para (int i = 0; i <buffc; i ++) {

print (buff [i]);

buff [i] = '';

}

buffc = 0;

fdone = verdadero;

}

close ();

}

}

void GetGPS () {

si (gps.available ()> 0)

{

char ch = gps.read ();

if (ch == '$') {

readerC = 1;

doprint = falso;

}

if (ch == 'G' && readerC == 1) {

readerC = 2;

}

if (ch == 'P' && readerC == 2) {

readerC = 3;

}

if (ch == 'R' && readerC == 3) {

readerC = 4;

}

if (ch == 'M' && readerC == 4) {

readerC = 5;

}

if (ch == 'C' && readerC == 5) {

readerC = 6;

}

if (ch == ',' && readerC == 6) {

readerC = 7;

}

si (readerC == 7) {

readerC = 8;

doprint = verdadero;

gpsTick ++;

// saaaaaaaaaaaaa

//Serial.print("n# "+ String (gpsTick));

buffc = 0;

}

if (ch == ',' && readerC> = 8) {

readerC ++;

}

if (doprint && readerC! = 10 && readerC! = 12) {

//Serial.print(ch);

buff [buffc] = ch;

buffc ++;

si (ch == '*')

lastch = verdadero;

si (readerC == 14) {

synctime = millis ();

fdone = falso;

}

}

}

}
Checking Clock for new emails

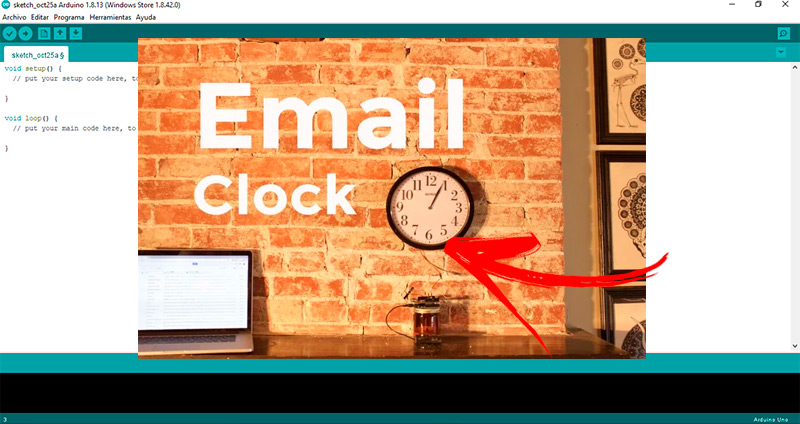
Yes you need to periodically check your emails with Arduino you can do it automatically. For this you will need a plate Arduino Yuna servo motor and a clock, this last element will allow you to start the task on a precise schedule.
What you will have to do is assemble all the pieces and then write the code in IDE:
#include <Process.h>

#include <FileIO.h>

#include <SoftwareSerial.h>

SoftwareSerial Geno(7,8); // Rx , Tx

const char* settings_file = "/root/gmail_settings ";

char labelbuffer[256];

String label;

/* GMAIL SETTINGS */

const String username = "**************@gmail.com";

const String password = "************";

void setup() {

begin(9600);

begin();

begin();

}

void loop() {

label = "arduino";

File settings = FileSystem.open(settings_file, FILE_READ);

while (settings.available() > 0){

char c = settings.read();

label += c;

}

close();

println("label:" + label);

Process p;

delay(5000);

runShellCommand("curl -u " + username + ":" + password + " "https://mail.google.com/mail/feed/atom/" + label + "" -k --silent |grep -o "[0-9]*" |grep -o "[0-9]*"");

while(p.running());

int result = p.parseInt();

print("Result:");

println(result);

print("Label:");

println(label);

flush();

switch (result) {

case 0:

println("You have 0 unread emails");

break;

case 1:

println("You have 1 unread emails");

break;

case 2:

println("You have 2 unread emails");

break;

case 3:

println("You have 3 unread emails");

break;

case 4:

}

delay(3000);

println("Done checking! ");

}
Home monitoring with Internet of Things

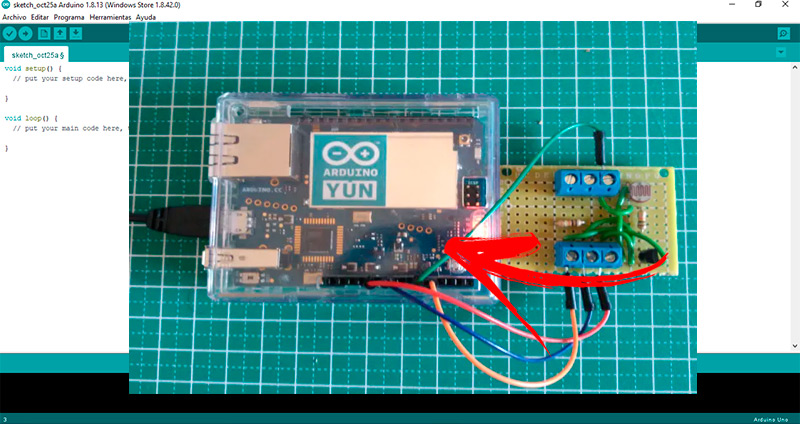
With this project you can control the temperature in your house, the lighting of the lights, starting up the washing machine and turning off the television, among other things. For this you will need to assemble an Arduino Yún board, a subscription to http://dweet.io/10 k ohm resistor, one LDR light sensor and one temperature sensor, LM35.
When you’re done connecting all the components to the corresponding pins, you’ll need to write the following code:
#include <Bridge.h>

#include <HttpClient.h>

int analogIn  =  A0 ;  int  analogVal  =  0 ;  int  analogIn1  =  A1 ;  int  analogVal1  =  0 ; int  light  =  0 ;

temperatura de flotación ;

configuración vacía () {

pinMode ( 13 , SALIDA );

digitalWrite ( 13 , BAJO );

Puente . comenzar ();

digitalWrite ( 13 , ALTA );

}

bucle vacío () {

String dataString ;

analogVal =  analogRead ( analogIn ); analogVal1  =  analogRead ( analogIn1 );

luz = mapa ( analogVal , 0 , 1024 , 0 , 100 );

temp = analogVal1 * 0.4689455791989076 ;

Cliente HttpClient ;

dataString += getTimeStamp();

get("http://www.dweet.io/dweet/for/YUN_ANALOG_IN_DWEETING?A0_Home_Light="+String(light)+"&A1_Home_Temp="+String(temp)+"&TimeStamp="+String(dataString);

delay(1000);

}

String getTimeStamp() {

String result;

Process time;

begin("date");

addParameter("+%D-%T");

run();

while(time.available()>0) {

char c = time.read();

if(c != 'n')

resultado + =  c ;

}

devolver resultado ;

}
Computing