
Index:
UPDATED ✅ Do you want to know the secrets to have better audio in your Zoom video conferences? ⭐ ENTER HERE ⭐ Learn Everything! FROM ZERO! ⭐
In a video call it is important the quality of the image, but also that it is heard as clearly as possible what you want to communicate. If you don’t understand, it is choppy or there is a lot of noisethe interest that can be aroused in a meeting is lost.
If you talk about Zoom, there are several tools available in the settings that help improve sound quality. though by default the application uses the internal mix of the device, you can manually configure another line for the speakers or some microphones.
What can you do to improve the audio quality of your Zoom communications? This course answers this and other questions, such as how to record video calls and certain third-party applications who are your allies so that you don’t miss a second of the information collected.
What factors influence the audio quality of Zoom?
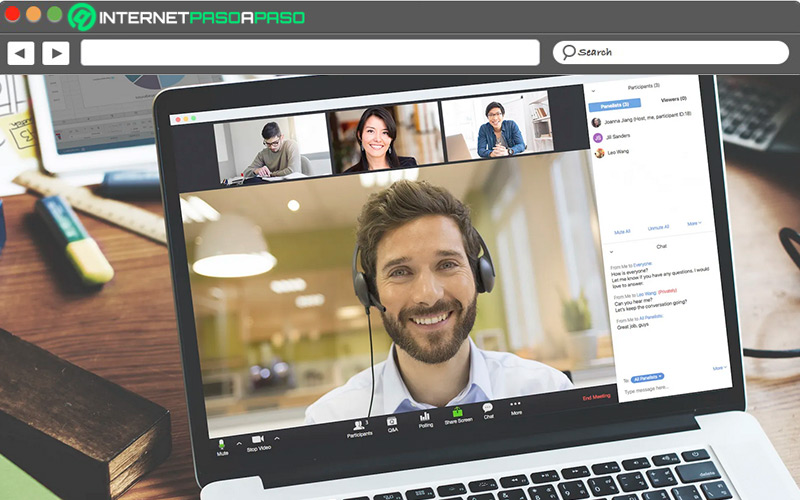
The poor sound quality is evaluated in many ways. For example, that the signal is choppy, it is heard very distorted, there are high levels of echo or the recording is very low. Every problem has a solution, however, there are aspects that must be taken into account so that the audio is the best possible.
Some of them are discussed here:
- Internet speed: if the connection is low, the sound and video are choppy, causing many fragments of the communication to be lost or to be heard very quickly after lasting a few seconds glued.
- Hardware: if you use poor quality equipment, this will influence the audio. Cheap microphones or home sound cards often cause problems.
- A very closed space: if there is not good acoustics, this can cause reverberation, which will prevent a clear understanding of what is being said.
- External noises: If you are located in an area with a lot of traffic and it enters your room or your living room, you will have to make an extra effort to communicate your ideas.
- The audio output settings: if it is heard very saturated or with low volume, the problem is solved by entering the audio settings of the computer or mobile device.
Learn how to improve the audio of your video conferences in Zoom
You already know the most common problems that lead to the audio of the video calls in Zoom is deficient. Now you will learn how to correct themusing things you have on hand and in most cases without spending a lot of money.
Let’s see below:
upgrade your mic
Most of the time, the audio improves by acquiring a microphone that is of high quality. If the internal device that comes with your computer does not have a good registry, it is best to buy an external one. In the market, they are available in different models and prices, going through the traditional ones or the hands-free ones that adapt easily to the entrance of the equipment.
Note that microphones built into computers often make the voice sound distant, it captures all the background noises and if you want to take some notes even the movement of the keys will be heard. Consult the model that suits you best according to your needs and of course with the budget you have.
Check internet speed
If you Internet connection has a very low speed and is not able to combine audio and videoYou are in trouble. Zoom app consumes a lot of resources and the bandwidth needs to be good enough to connect to a meeting without any issues.
If you are going to use audio and video in HD quality, it does a 1.2 Mbps uplink and downlink connection is missing. If the levels do not reach that number, it will cause confusion and many errors in the transmission. It may also happen that the picture is fine, but the sound will have a long delay.
Set the audio correctly
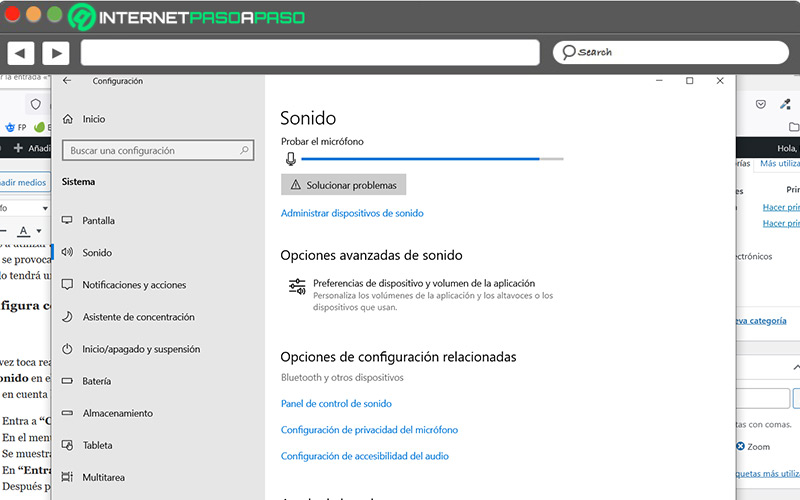
This time It’s time to configure the equipment that you are going to use for the video call. In the taskbar there is a sound manager in which you can make some basic adjustments so that the audio quality is the best possible.
If you are using Windows 10, consider the following steps:
- Enter to “Setting” and you will see the option “System” on which you should click.
- In the menu displayed on the left you will see “Sound”.
- The speakers on which you can adjust the volume and then you will find the microphone levels.
- In “Entry” choose the device you are going to leave as default.
- then you can make additional settings to improve your sound quality.
Now, it’s time to do it directly from the Zoom application, to do this, perform the following steps:
- Sign in to Zoom and click on the profile picture to display the “Setting”.
- click about the section “Audio”.
- there you can test both speaker and microphone that you have connected to the computer.
Also being in the meetingIt can make an adjustment to the sound parameters.
To do this, check the following:
- In the meeting controls, click “Mute or Unmute Audio”.
On the other hand, you can make the settings from a mobile device no matter what it is iOS or Android.
The way to do it is described in these lines:
- If it is the first meeting, it will ask you grant the permissions to use the microphone.
- When connecting you will have several options, if it is with internet select “Call using device audio.”
- When you get connected, you will have the microphone icon where the audio is turned on or off.
- If you prefer to use another connection method, leave the meeting by tapping “Plus” and then in “Disconnect audio”.
Learn how to take an audio test on Zoom
To avoid any connectivity issues with audio during a meeting, it is important to carry out the necessary tests in time. Last-minute inconveniences may occur, however, precaution helps to reduce failures as much as possible.
Let’s see below:
On Android and iOS
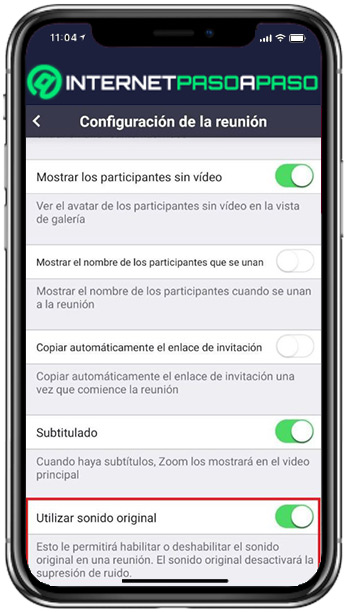
You must not assume that the microphone or speaker of the device will work automatically. Thus It is better to carry out the tests and avoid bad times.
The way to test this:
- Open the Zoom app on your mobile with Android and iOS.
- click in the space of “Meeting”.
- Notice where it says “Auto audio connection”.
- if it appears “Off”, select one of the available options.
- Appear “Always mute my microphone”then you must pass the bar to turn on or turn off the function.
- If you browse, it also opens the function “Show original audio”this suppresses noise reduction.
On Windows and macOS
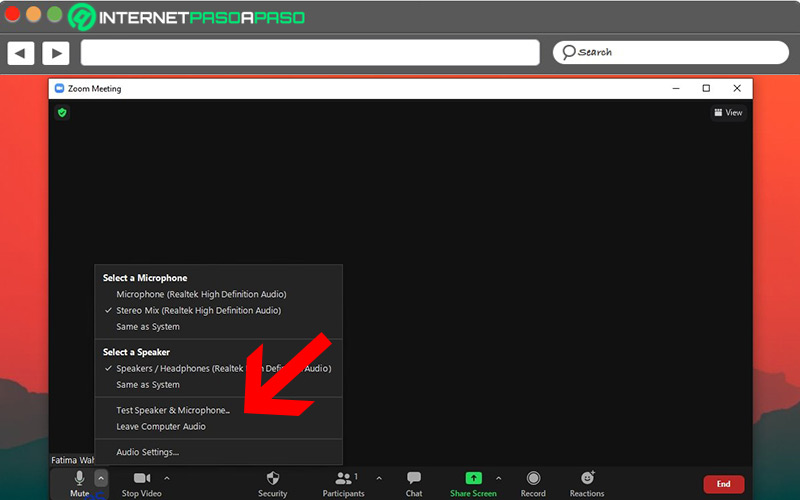
The way of configuring the audio on the computer is different to what is done on a mobile device.
Here you will see how to adjust it on both Windows and Mac:
- After you join the meeting, click “Try speaker and microphone”.
- A popup appears where you should do the speaker test. If you don’t hear the tone, click “Nope” to change the connection until heard.
- On the other hand, if you select “Yes” continue with the microphone test.
- You should speak and the bar will move. To finish mark “Yes”. If you don’t have audio, wait until it is heard.
- With everything tested, click “Join Using Team Audio” to join the meeting using the devices you just set up.
Learn how to record the audio of your Zoom video conferences
With the recording function, participants in a meeting can save the audio on the computer or equipment they are using at the time.
One of the requirements to achieve this is to have Zoom version 2.0 or higher:
On Android and iOS
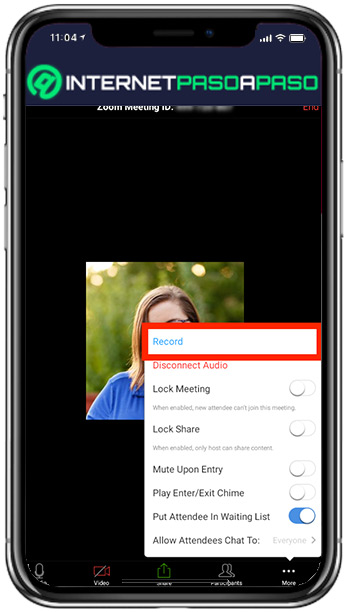
The way to run Zoom recording on mobile slightly change in Android and iOS. Although to tell the truth, the first steps are identical.
We leave you the way you can do it:
- Join the meeting with the invitation provided to you on Android and iOS.
- Choose at the bottom the button “Plus”.
- Naps using iOStap on the button “Record in the cloud”.
- In case of have androidyou are going to press the function “Engrave”.
- To the start recording, on both operating systems a message will be displayed at the top indicating that a recording is taking place. After stopping it, it will become available in the folder “My recordings”.
On Windows and macOS
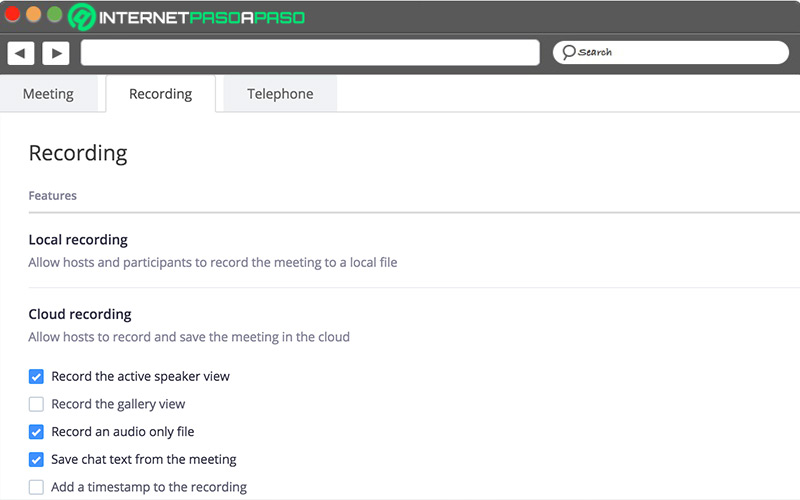
on computers recording function is also available. To use it you must have it previously activated by entering “Setting” and select activate “local recording”.
Then, take the following steps to record the content of a meeting on your computer:
- Join the Zoom meeting What host.
- Search the option of recording.
- and click “Engrave”.
- Since then the video call is being recorded and the participants will be able to see a message informing them of this detail.
Best apps and programs to record the audio of your Zoom video conferences
Besides the internal settings that Zoom has to record the contents, you have the alternative of use third-party applications for mobiles and computerswhich will also leave a backup of the meetings in which you participate and that you need to collect important information.
Go for it:
audacityteam.org
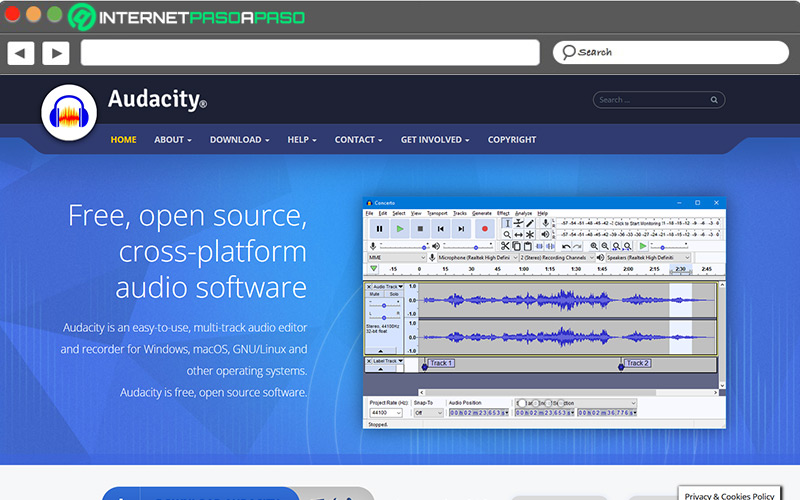
It is one of the main free options with professional benefits, with which you have all the possibilities to capture the audio that is heard on the computer and save it in different formats. It is cross-platform, so it can be used on various operating systems, apart from the fact that it is very simple and easy to use. After, if you want you can edit the content and cut out the parts that interest you. To use it without problems, you must make the adjustments from the sound console of the computer that you have available.
OBSproject.com
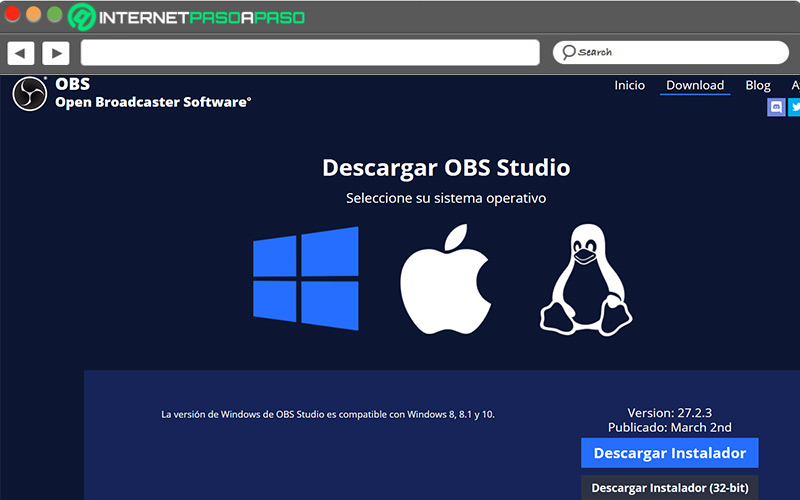
This application is cross-platform, with versions for Windows, macOS and Linux. It is widely used for streaming transmissions, but it can also be used to record video calls in high quality, with the option to edit them after they finish.
OBS is open source and if you don’t know how to use it once you’ve downloaded it, here’s the explanation:
- To the open OBSyou will find the main controls at the bottom.
- In “audio mixer” Turn on desktop sound.
- When you have everything ready, click “Engrave”.
AZ Screen Recorder
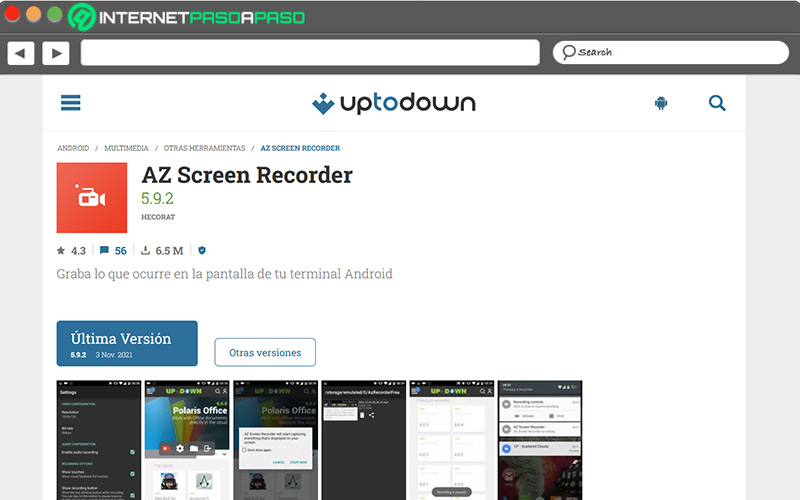
This app for Android allows you to record everything you see on the screen of your mobile phone. Some outstanding features are the possibility of pausing, HD recording, taking the audio directly from the microphone and to use it you do not have to make any payment. You will not have any kind of problem to make the recording from the mobile device, too has editing function for both audio and video.
Coksoft.com
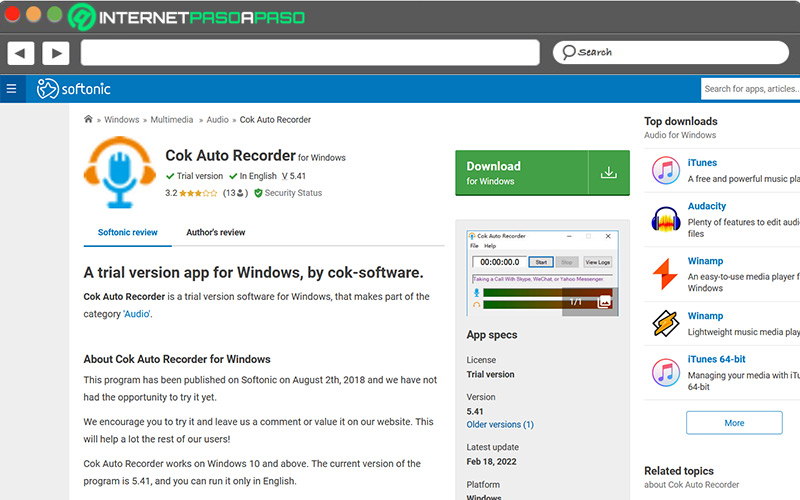
This is a versatile recorder specially designed for Windows 10, with the ability to set the recording time and start at the time the program starts. The interface is simple and easy to use to save the audio on the computer, completely free.
Among its functions, allows you to record the sounds that are played internally in the systemwhich helps capture audio from zoom and other similar. Also, it gets what you speak into an external microphone in case you’re using it.
audio hijack
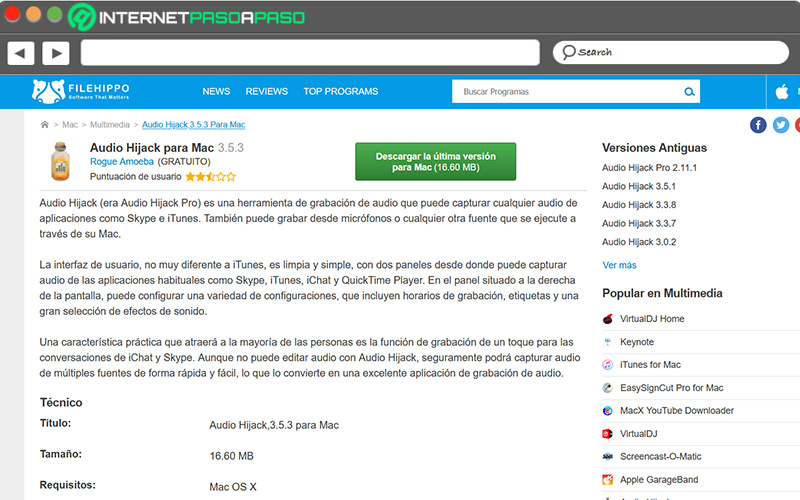
In the end you have this app that works on macOS. Apart from being able to take audio from the microphone, it captures sound from Zoom and any other internet calls, as well as from various streaming media. The definition of the creators indicates that with Hijack you record everything you hear. Access your website from https://rogueamoeba.com/audiohijack/.
Some of the outstanding functions that you should know about is sending the audio to streaming platforms, programming it to automatically start recording and adjusting the volume to make the sound much clearer.
Multimedia