
Index:
UPDATED ✅ Do you want to take the virtual classes of your online courses from the Zoom app? ⭐ ENTER HERE ⭐ Learn How FROM ZERO! ⭐
The Zoom Platform It has now become one of the main options when it comes to teach virtual classesall this thanks to all the tools and functions it offers.
One of the main reasons why it is chosen to carry out this type of activity is thanks to the number of participants which allows in each video conference, including in its free version.
Therefore, if you are a teacher of any subject and want to start teaching virtual classes from Zoomthen here we will teach you how to give these live classes and from scratch. To do this, follow in detail everything that we will explain to you throughout the post.
Benefits of teaching on Zoom

power to offer virtual classes without a doubt, it will offer a series of very important advantages, mainly focused on students.
That is why below we show you the main benefits of teaching online:
- Allows students to learn from a distance and economically.
- Teachers can separate their students into “meeting rooms” to focus each group on a specific topic.
- Both students and teachers can share documents, photos, videos and many other files, making it easy for everyone to learn.
- Zoom allows teachers to chat with a single student aparta group or with the whole class through chat.
- Offers a voting option so you can check the quality of the class.
- encourages the participation of the students.
- The teacher can give the class without using your camera.
- It allows share the screenwhich is ideal when the teacher wants to explain some program in a better way.
- Offers a GCM 256-bit AES encryption in order to protect all meeting data.
Best Zoom tools for teaching online
zoom also stands out in the world virtual educational thanks to all the tools it offers to give virtual classes.
This is how all teachers who use this video call platform can count on the following tools:
- gallery viewwhich will allow all participants to be observed at the same time.
- virtual backgrounds, which allow you to disappear from the camera at the time you want.
- Recording of video calls.
- Virtual whiteboard.
- Connect from a computer or mobile device.
- Living room of meetings.
- Living room Standby.
- speaker viewallows to display large screen only to the person who is speaking.
- chat to intervene without interrupting.
- video and voice in HD.
- Screen sharingideal for making exhibitions or defending some work.
Learn how to create or schedule a video conference on Zoom to teach virtual classes
If you want to start teach online live or scheduled, then here we are going to explain how to perform this procedure easily and quickly. You can do this from the smartphone or computer.
To do this, just follow each of the methods that we will teach you below:
On Android and iOS
If you prefer perform this process from the smartphone and host the meetingthen you should know that the procedure is the same both in Android What iOS.
To do this, just follow each of the steps that we are going to indicate below:
- The first thing you should do is go to the official store of app store either Google Play Store and perform the download and install the Zoom app on your smartphone.
- Once installed, the next thing will be to enter it. From the main page you will find the option “Record” and “Get into” keep in mind that to be a host you must be registered on the platform. So if you don’t have a Zoom accountthen click “Check in” otherwise you can enter with your data Login.
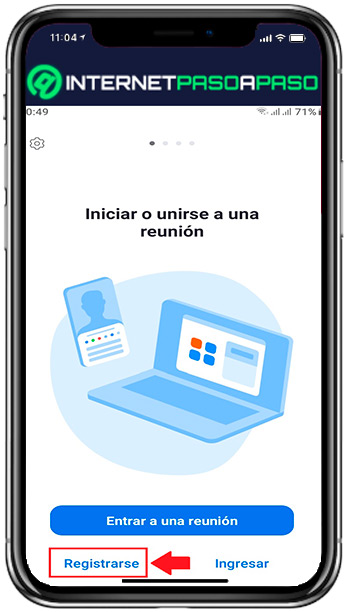
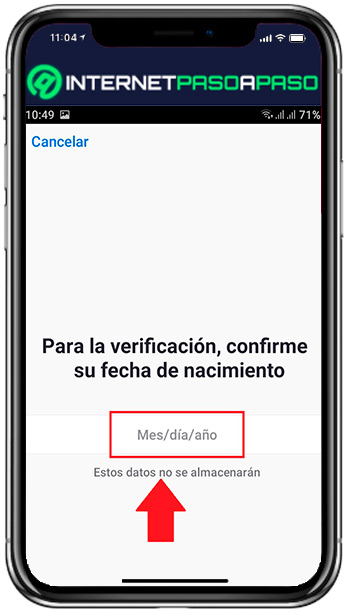
- In the next window you must enter your Date of Birth for the record.
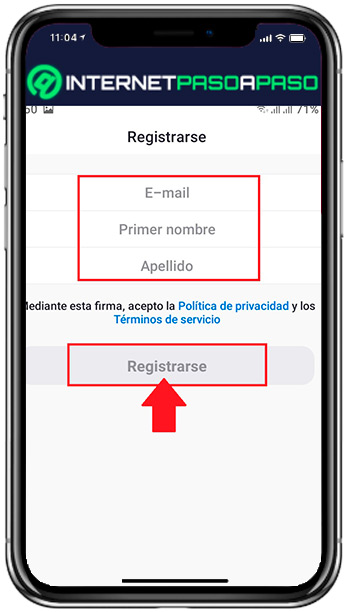
- Later, you will have to enter your email, first and last name. When you have completed this information, click on “Check in”.
- You will automatically be accessing the main page of the app zoom on mobile. At the top right of the screen you will find the option “new meeting” which you are going to select.
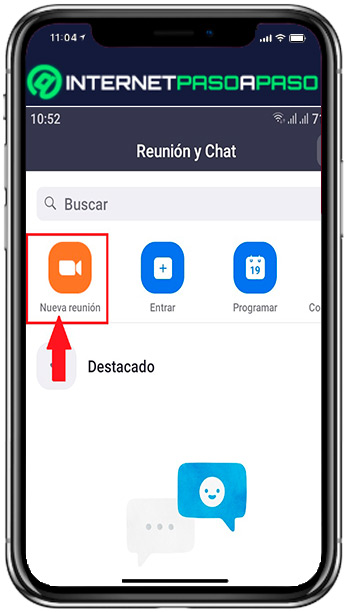
- Now you must click on the option “start new meeting”.
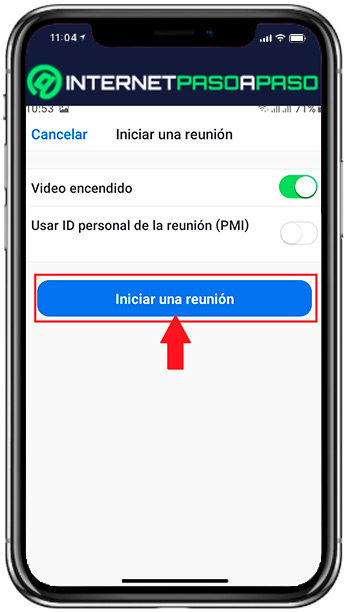
- After a few seconds, the window will open. the videocall so you should appear on screen.
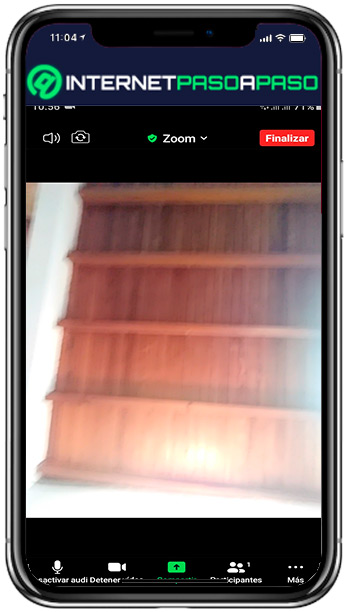
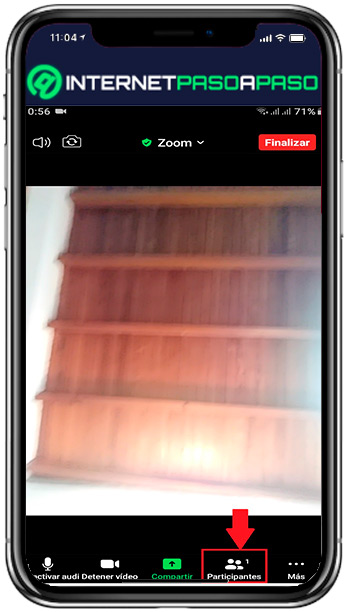
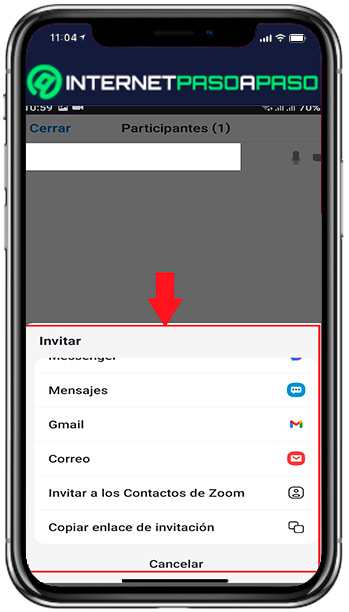
- One time in the video call, the next thing will be to start inviting your students to join. To do this, click on the “Participants”.
- Then you must select the option “Invite” located at the bottom left of the window.
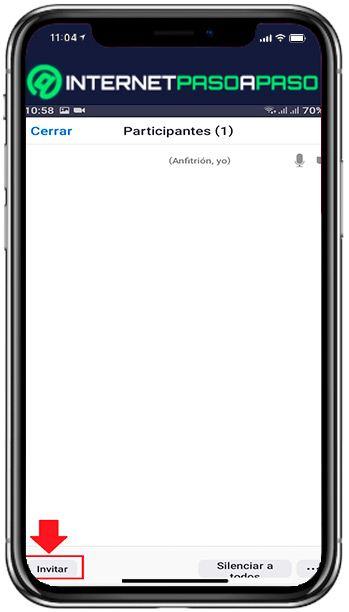
- Here you will have several options to invite other users in this case select the preferred method to share the link with each of your students.
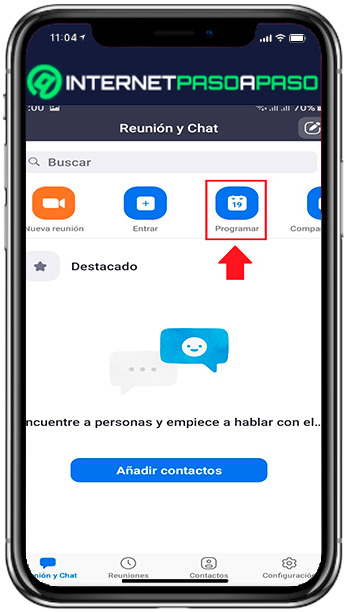
- Now if you want to schedule a meeting for later or another day, then you should end the current meeting and return to the main page of the app. From there you must press “Program”.
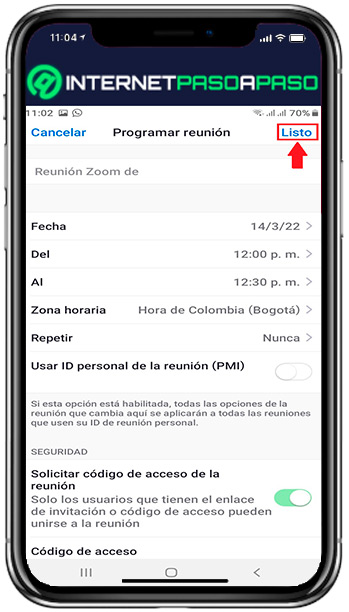
- A new window will open where you can configure all the parameters for the meeting. In this case you must complete each of them and finally click on “Clever”. This way you can schedule all the meetings you want.
On Windows and macOS
If you want schedule or create your virtual classes from a computer, then you will need to follow each of the steps that we are going to indicate below.
Keep in mind that this process is the same for both Windows and MacOs:
- To get started you need to access the zoom platform from your preferred browser, you can do this by
Zoom.us. - Next you will have to click on the button “Free registration” located at the top right of your screen to sign up. In case you already have an account on the platform, then click on “Get into” and log in with your data.

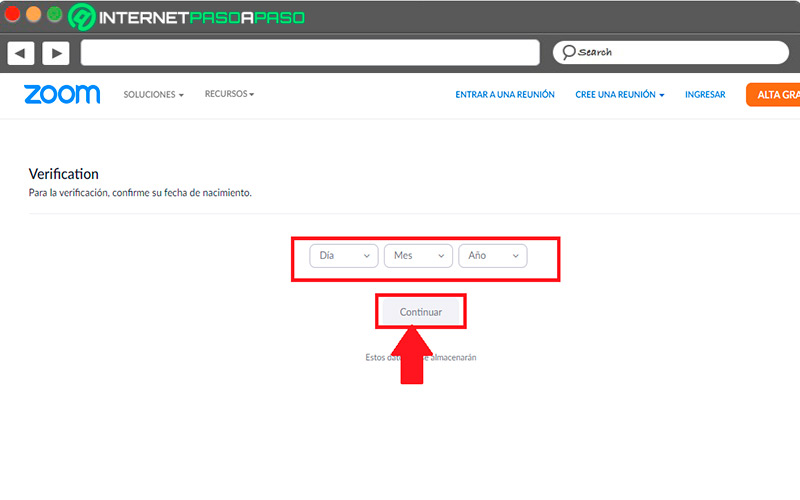
- In the next window you should enter your date of birth and click on “Continue”.
- Now enter your email and click on “Check in”.
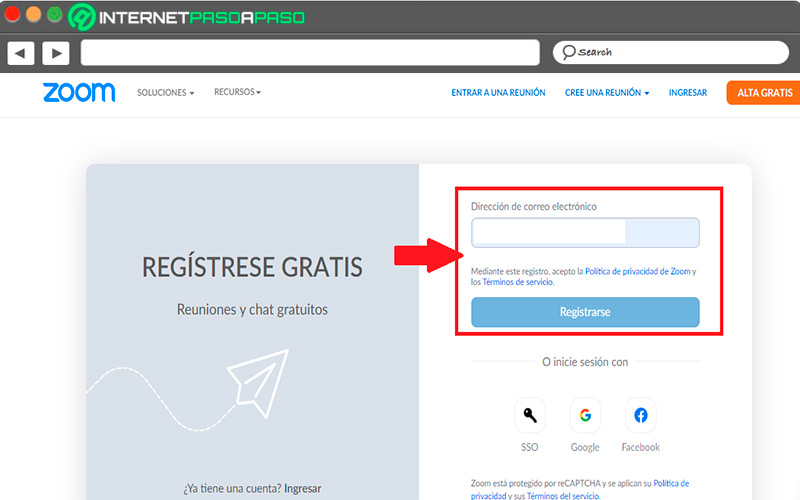
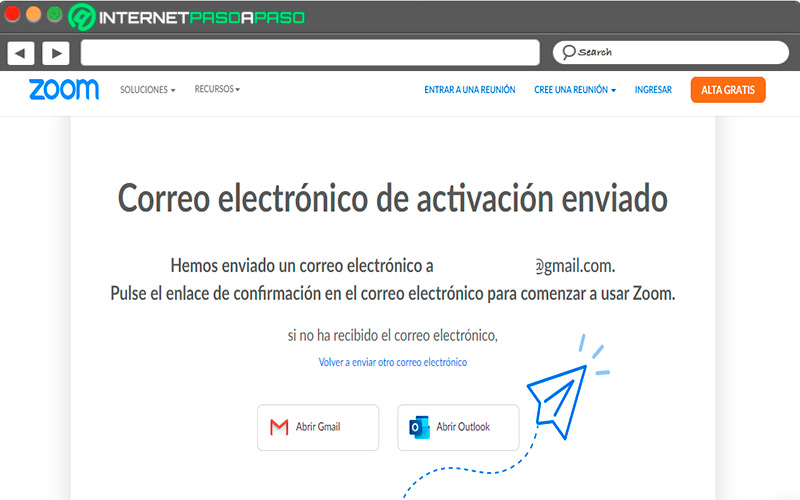
- A new window will open where they tell you that you have been sent in activation email. So, go to your inbox and click on that link.
- Next you will have to fill in a form and enter a security password.
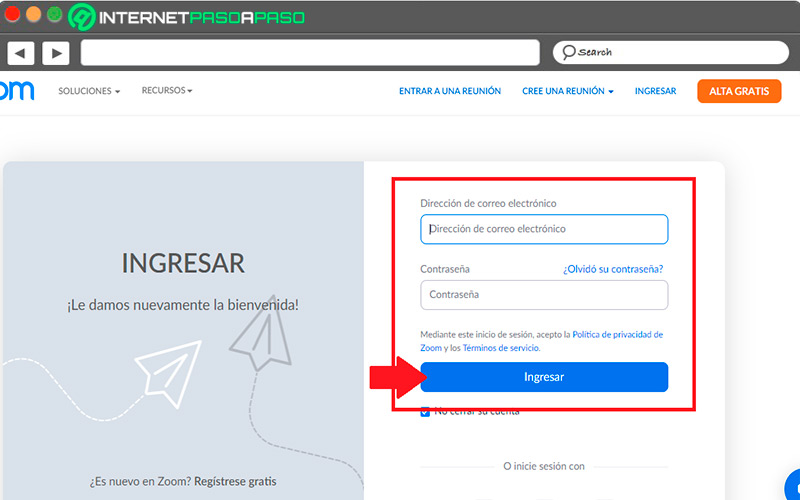
- When you complete the previous step, you will be sent to the page of start of session, so you must enter your data and click on “Get into”.
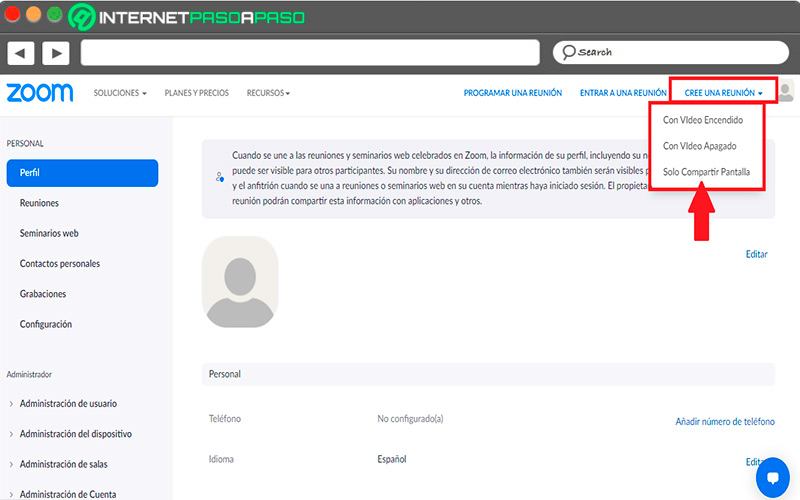
- From the main page of zoom click on “Create new meeting” and select the option of your choice.
- In the new window that appears on the screen, click on “start meeting”.
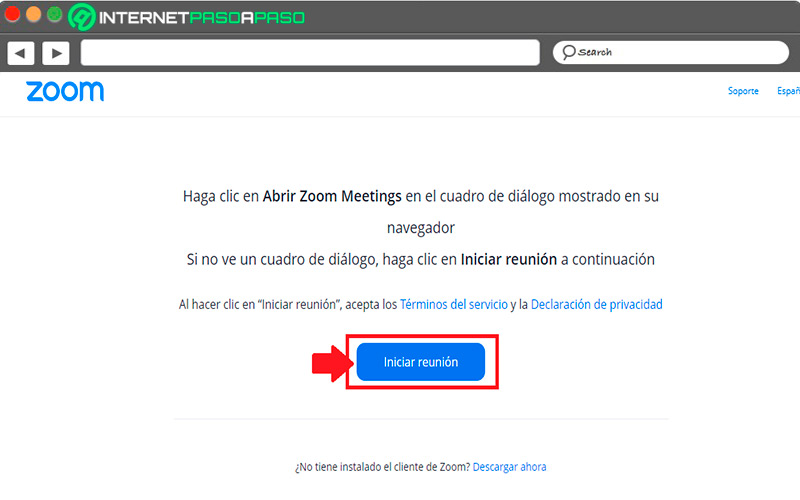
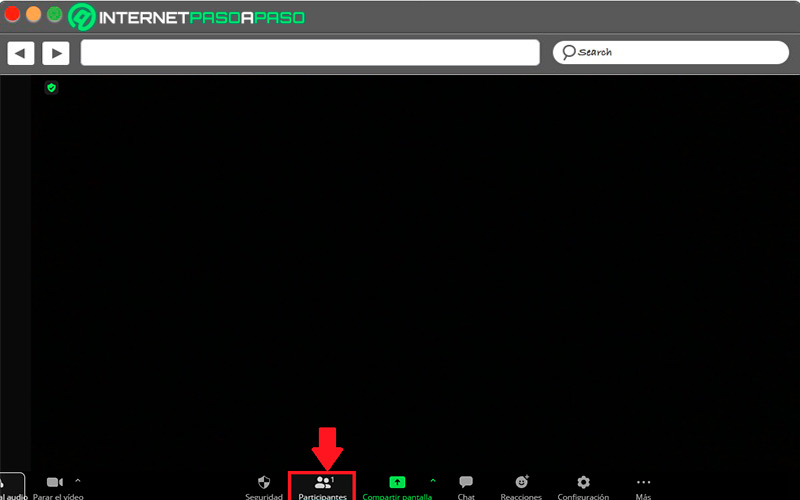
- Here you must wait a few seconds while the video call starts. The next is invite your students to jointo do so click on “Participants”.
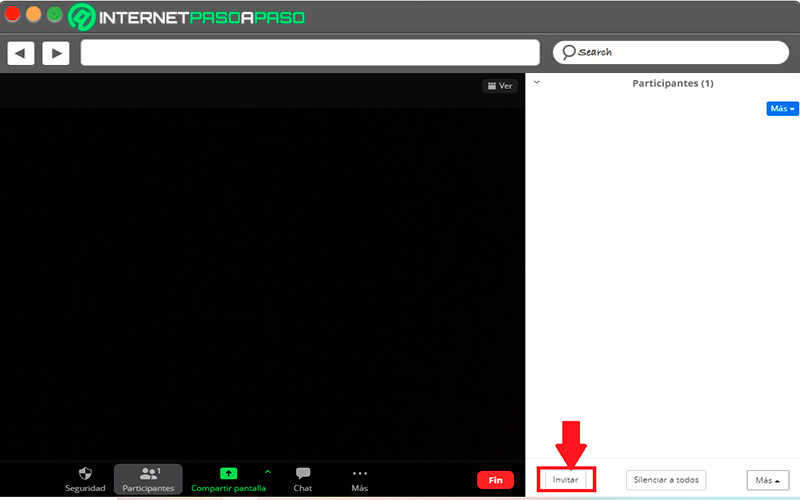
- Next, in the window that opens on the screen, click on “Invite”.
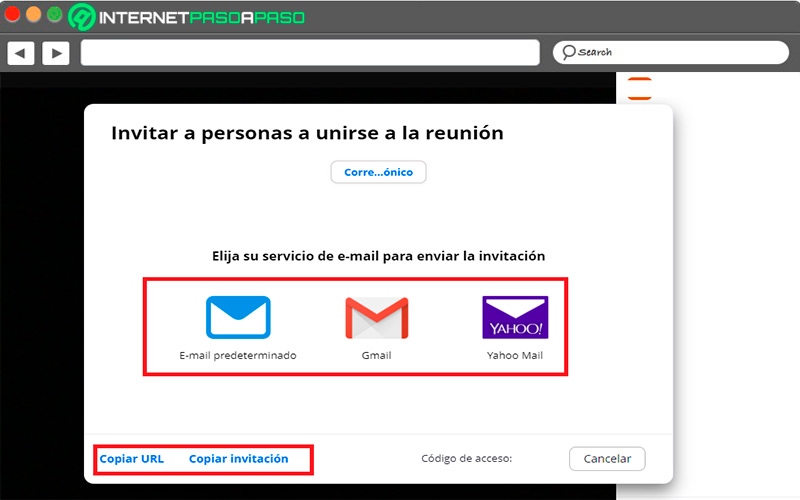
- A window will open with several options to invite your students, in this case select the one you prefer to invite them to join. This way you can start a virtual class on Zoom.
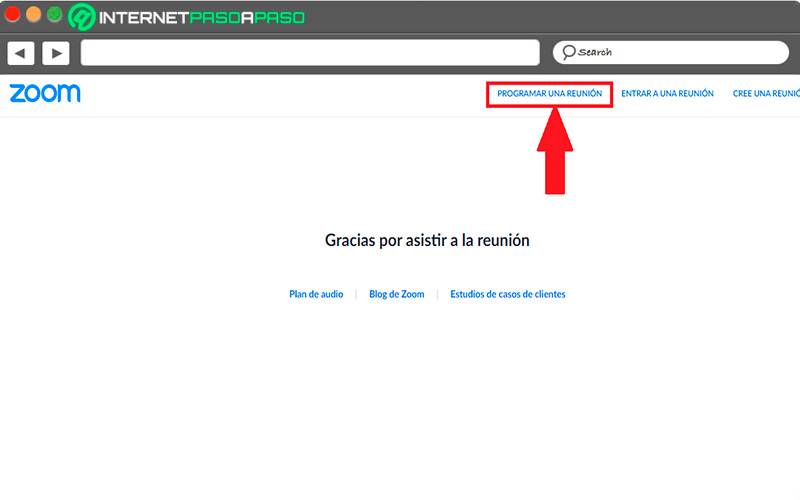
- Now if you want to schedule a virtual class for later, then you must end the current one to return to the main page and from there click on “Schedule a meeting”.
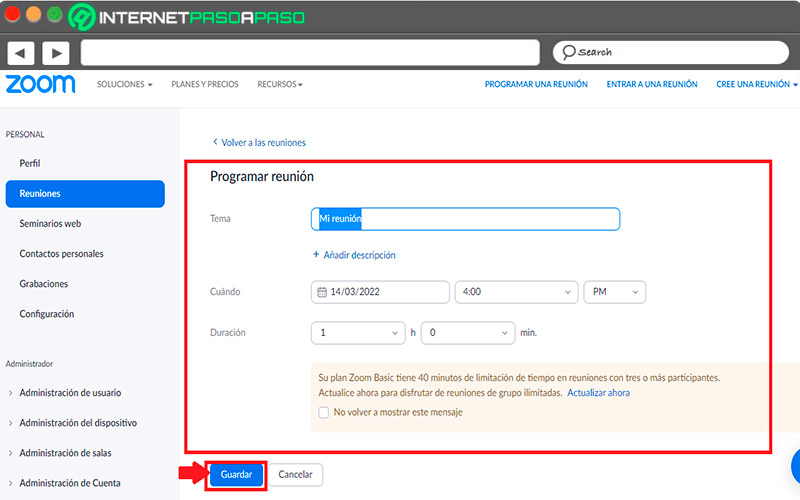
- Lastly, if you will open a new page where you will be able to configure all the parameters of the virtual class. So when you complete all of this click on “Save” to end.
Tips for teaching virtual classes on Zoom
If you are new to the subject of virtual classes and you don’t have much experience in this, so here we are going to give you some tips before giving a online class on Zoom.
To do this, follow in detail everything that we will explain below:
Check the operation of the equipment
Before starting with the online class It is important that you check both the operation of the equipment and the microphone and camera.
plan your class
Remember that at virtual class students will access from computers Y mobile devicesso it is important to keep this in mind when planning the lesson.
Ask your students to log in with their real name
In zoom it is very common for some users to place nicknames either nicknames. Therefore, one of the rules for your classes should be real name login so that you can easily record student attendance.
Have another alternative at hand
You should be prepared for any inconveniencein case something goes wrong in Zoom, then have a group created on WhatsApp, Skype or any other platform where they can continue the communication immediately.
Make class presentations
Prepare all your classes in presentations, this will make it much easier for you to transmit the content. Also, with the option screen sharing you can explain everything in a much simpler way.
Please notify the class time well in advance.
To avoid inconvenience with the students, either because cannot attend or are late, you must notify the time of the class well in advance. This will allow each of the students to prepare for it.
Alternatives to Zoom to teach online
If for some reason you don’t want to use zoom for yours online classes or you simply want to have other alternatives available in case the platform fails, then here we are going to leave you a list with some other tools to carry out your classes.
Go for it:
Skype

This instant messaging application also allows you to make video calls with up to 24 participants in its free version, while in the paid versions this number increases significantly. Today Skype is considered one of the best alternatives to Zoom where it offers you the possibility of record video calls, share screen and many others.
Discord

Discord is known as a platform for gamers, but thanks to your excellent service group video calls has become very versatile to carry out work videoconferences either virtual classes. In its free version you can make video calls of up to 50 participants at once.
google-meet

Meet is a Google service ideal for making video calls since it has all the necessary functions for it. This is how it is another great alternative when wanting to perform virtual classes free and safe.
whatsapp messenger
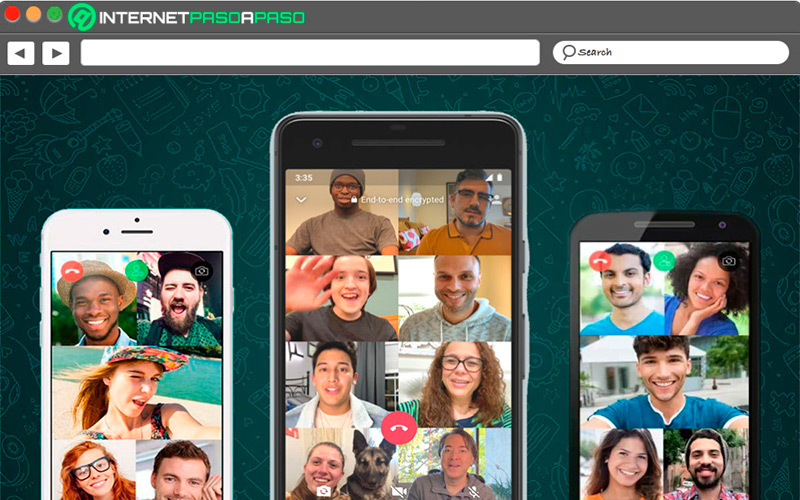
Undoubtedly WhatsApp it has become one of the most popular apps all over the world. This is how it is also considered as another great alternative to Zoom when teaching virtual classes. However, the video call options are much more limited since it only allows video calls of up to 8 participants at the same time, so it is geared for small groups.
FacebookMessenger
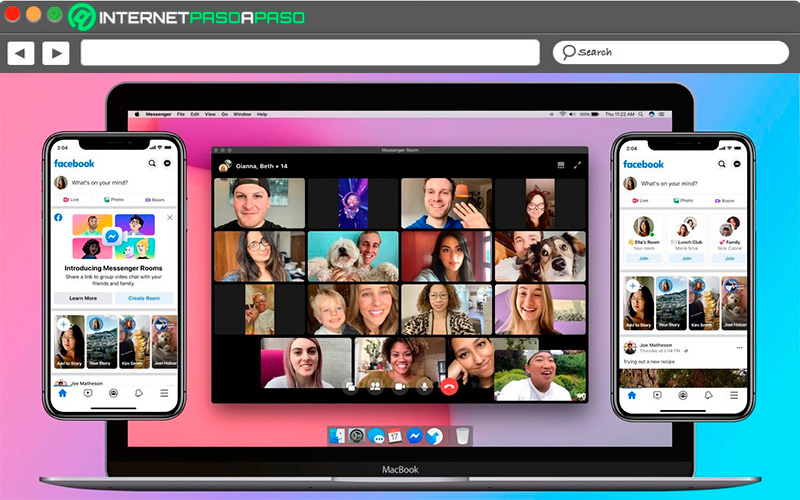
The The latest version of Facebook instant messaging has a feature known as Messenger Roomswhich will allow you to make video calls with up to 50 participants at once. In addition, it offers you tools very similar to that of zoom like share the screen, change the background among many others available.
Software