Among all the effects of Photoshop, one of the most striking is to “Reverse” the colors of an image . This is a fairly simple technique in which a photo goes from positive to negative, with quite psychedelic colors that create a very cool and interesting appearance.
However, not everyone knows how to apply these changes since, although it is quite easy to do, it is not simply to select an option. You don’t need to do a complete course on how to invert the colors, but without a doubt you have to use a little common sense to be able to do it .
In this article we will show you how to invert the colors of an image in Photoshop . In addition, we bring you a small bonus in which we will also show you what are the best color effects in this bitmap editing program that everyone currently uses.
Index:
Reversing the colors of a photo using the Photoshop program is very easy How is it done?
The first thing we must make clear is that by inverting colors you can understand two things:
- The first is to get the colors to become their opposite in the CMKY or RGB brightness scale.
- The second is to be exchanged background and figure colors in an image of two different shades.
Here we are going to show you the different methods to do everything:
Create an inverted layer
With this option you will be able to edit the photo and that the colors become the opposite, that is, create a negative image of the original.
>
The process is quite simple:
- What you should do is open an image in PS.
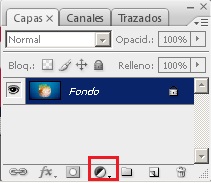
- Then position yourself in the « Layers » window and at the bottom click on the «Create new filter».

- Then click “reverse” in the drop-down menu that will appear.

- After that a new layer will be created in which the colors of the image will be perfectly inverted.
Directly invert the image
Another way to do the same as the above is by inverting the image directly without creating a new layer. To do this you simply follow these steps.
- The first thing you should do is open a photo in Photoshop that has a wide range of colors.
- Then you must click on “Image”> “Settings”> “Invert », which will cause the colors of this to be reversed.

- You can also do the same with the combination representedCtrl+Ilia.
- After that you can see the image perfectly in negative.

Reverse the background and figure colors
Reversing the background and figure colors is something extremely simple to do in PS and virtually any visual editing program:
- The first thing to do is open the two-color image and select the tool « Dropper » or « Dropper «.
- Later we follow the path «Image»> «Adjustments»> «Gradient Map».
- When doing that, the background will be in the tone of the figure, and then simply you must use the «Paint Bucket» tool to paint the figure of the background color, which you already selected with the accountDropper drops
What are the best color effects of PhotoShop?
You already know how to invert the colors in an image, but What are the best color effects of the whole program? We tell you below those that for us are the ones that give the best hue to the colors of your photos in this software.
Brushstrokes

This effect is quite simple to apply and offers a very nice and artistic appearance in sight. With it you will make any photograph you take look like a watercolor painting painted with the highest possible level of detail . Undoubtedly one of the best in the repertoire of this program.
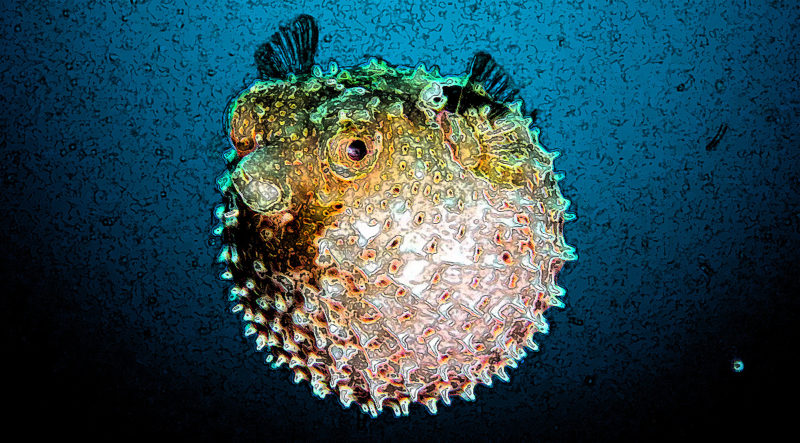
Ink contours

Another filter quite pleasing to the eye that will give a unique artistic touch to all the images you make in this software. It will appear as if the photo had been drawn with ink, which will make the colors look much brighter .
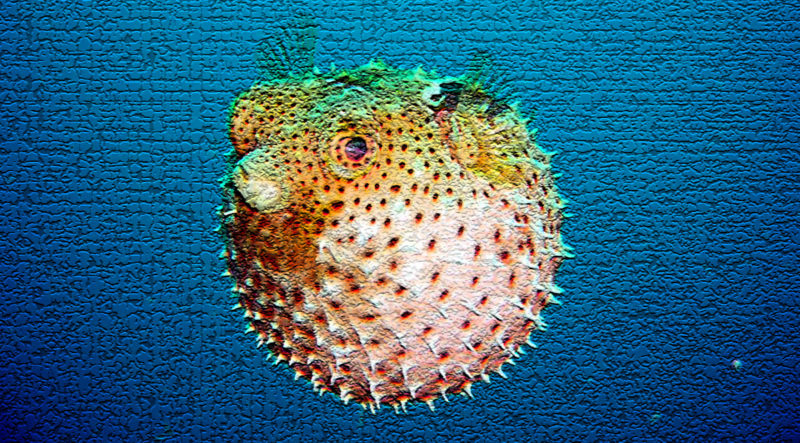
Cracks

A different filter that will make it look as if the image had been painted on a rough wall full of cracks, one of the best you can apply to give a sober and artistic look to your images. In addition, you can combine them with other filters to give a greater impact .
Granulate

Do you remember those low-quality videos that looked grainy? Well now you can apply this effect to your photos thanks to PS. This filter is in the draft section, and its application is extremely simple to perform.
How to apply these effects?
Applying these filters in PS is quite easy, in fact it will not take you more than two or three clicks to do so if you follow the steps that we explain below.
- Open any image in PS.
- Go to the top and click on importantFilters instead.

- Select the Filter you want to apply.
- A window will open where you can set certain parameters such as filter density.
- Do click “Accept” and you’re done. To try and experiment by giving design and variety to your photographs !.