
Index:
UPDATED ✅ Do you want to know about Arduino UNO plates and how to work with them? ⭐ ENTER HERE ⭐ and Learn Everything ✅ FROM ZERO ✅
If you like program, create and everything related to electronicsthen most likely you have already heard about Arduino, this being a microcontroller that will allow you to carry out different types of projects through its board so that they can carry out a physical labor. However, if you are starting in this world it is best to use the Arduino Uno board.
This is because this is the best for start in programming and electronics, if it’s about your first experiences with this programthen Arduino One is the best option that you can take, since it is one of the most used and most robust and that it will most likely generate fewer problems in your beginnings.
Keep in mind that this is all about a platform of free softwarewhich is based on a microcontroller and a development environmentin order to facilitate electronics projects. That is why here we are going to explain a little more about Arduino Uno and what are the most important features of this board, To do this, follow in detail everything that we will teach you below.
What is Arduino UNO and what are these development boards for?
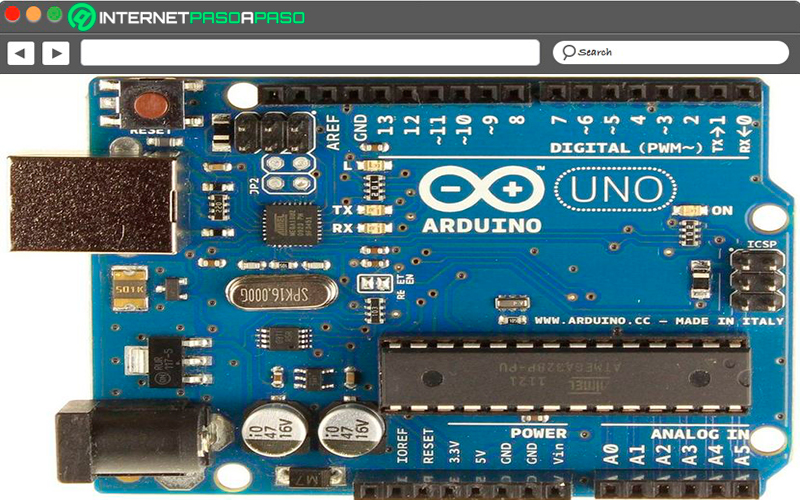
It is important to mention that arduino one it is the last revision that exists until the moment of this board, it is a small electronic board who owns a programmable Microcontroller, but in addition to this chip it includes many other parts such as the output and input pinswhich can be programmed through the chip so that they perform different actions.
All this allows users to develop different electronics projects. This whole project started in the year 2005 based on the development of open source software and hardware and that was aimed at that time for studentsso its main use began to be in the educational field.
In this way, Arduino consists of an open platform that facilitates the microcontroller programmingkeeping in mind that the microcontrollers surround the daily life of the human being. Therefore, this allows you to use sensors so you can hear what it is physical world and the actuators to be able to interact in the physical worldin this way the sensors are read and the actuators are written.
On the other hand, it should be mentioned that this platform offers consistent software in a development environment that implements what is the Arduino programming language, the bootloader executed on the board and the tools for transfer the firmware to the microcontroller. In the case of arduino one the most outstanding thing is that the software and programming language offer simplicity and ease of use.
What are the main features of the Arduino UNO boards?
In the case of arduino one is about the electronic board based on the ATmega328 microcontrollerit offers a large number of functions and tools such as 14 digital inputs/outputs, where 6 of them can be used as pulse width modulation PWM output, while other 6 like analog inputs.
It also includes other tools such as a USB connector, a reset button, 16 MHz ceramic resonator, a power connector and an ICSP header. In this way the plate includes everything necessary for the microcontroller do all its work, you just have to connect it to a computer using the USB cable or to the current of a transformer.
According to this, here we show you the main features of the Arduino Uno board:
- Has a Atmel ATmega328 microcontroller at 16MHz
- work voltage of the 5 volt chip.
- Supply voltage recommended 7-12v (Although it admits from 6 to 20 volts).
- RAM memories integrated 2KB.
- Flash memory of 32 KB, of these 32 KB 5 KB will be used by the bootloader, so they cannot be used for other purposes.
- EEPRON memory integrated 1KB.
- E7S pins of 14 pins of which 6 of them are PWM.
- Bill with 6 analog pins.
- DC current intensity d 40 mA for I/O and 50 mA for the 3.3V pin.
- Chip Interface USB.
- Power LED on the PCB.
- reset button to restart the program execution loaded into memory.
- oscillator clock for the signals that need rhythm.
- has a cost in the market of approximately 20 euros.
- Count with one tension regulator built into your board.
Functions of the pins of the Arduino UNI Which are the most interesting?
Taking into account that the pins of the Arduino board one are very important, as they too can be programmed with the chip to perform different types of functionsSo here we are going to show you What are the most interesting functions that these can develop?.
To do this, follow in detail everything that we will teach you below:
General
Regarding the general functions of the pins of this board, the following can be found:
- LEDs: It has a built-in LED that is controlled by digital pin 14. When this pin is high, the LED will be on, but when the pin is low, then the LED will be off.
- 5v: In the case of this pin it will allow regulated 5v to be emitted from the regulator on the board, said board usually feeds with the DC power connector (7-20v), the VIN pin of the board (7-20v) or the USB connector (5v). In this way supplying voltage through the 5V or 3.3V pins can bypass the regulator and the board may be damaged.
- VIN: The input voltage to the Arduino/Genuino board when an external power supply is being used as opposed to 5 volts from the USB connection or any other regulated power supply. All this allows to supply the voltage through this pin or if said voltage is supplied through the power connector, so it can be accessed through this pin.
- GND: They are the ground pins.
- 3V3: This is a 3.3 volt supply generated by the on-board regulator. In this case the maximum current consumption is 50 mA.
- Reset: It is mostly used to add a reset button to isolators that cause a lockout on the board.
- IOREF: This Pin on the Arduino/Genuino board is capable of providing the reference voltage that the microcontroller works with. This is all about a correctly configured shield that allows you to read the IOREF pin voltage and select the best suitable power supply or in that case allow the voltage translators on the outputs to work with 5v or 3.3v.
specials
In the case of functions specials It must be taken into account that each of the 14 digital pins and 6 analog pins of the Arduino uno can be used as input or output, for this you must use the functions pinMode, digitalWrite and digitalRead where they operate at 5 volts.
Each of these pins can receive or provide 20mAthis will also depend on the recommended functions and they also have a internal pull-up resistor which is disabled by default 20-50 Kohm. all that with a 40mA maximum this is the value that should not be exceeded on any I/O pin to avoid permanent damage to the microcontroller.
The Arduino one has 6 analog inputslabeled from A0 to A5where each of them can provide up to 10 bit resolution i.e. 1024 completely different values. By default these measure from ground to 5 volts, although it is possible to modify the upper end of their range using The PIN AREF and the analogReference function.
Where in addition, several of the pins have special functions such as the following:
- Serial/UART: pins 0 (RX) and 1 (TX), used to receive (RX) and transmit (TX) TTL serial data. These pins are connected to the corresponding pins on the ATmega8u2 USB to TTL serial chip.
- PWM: known as pulse width modulation, 3, 5, 6, 9,10 and 11. This can provide an 8-bit PWM output with the analogWrite function.
- extreme switches: Has pins 2 and 3, these can be configured to trigger a low value interrupt, a rising or falling edge, or a value change.
- AREF: known as the analog reference and is the reference voltage for the analog inputs.
- SPI: they are known as the serial peripheral interface where it has 10(SS), 11(MOSI), 12(MISO), 13(SCK), each of these pins are capable of supporting SPI communication using the SPI library.
- TWI: it is the two-wire interface, where it has the pins: pinA4 or SDA and pin A5 or CSL, both of which support TWI communication using the Wire library.
What are the best projects that can be done with an Arduino UNO board?
This platform of Arduino It is mainly characterized by its Easy to use, and it is that it allows its users to be able to elaborate relatively easy and inexpensive projects. Currently you can create an infinity of projects through arduino onethis is how here we are going to show you some of the things you can do through this platform.
To do this, follow in detail everything that we will teach you below:
a weather station
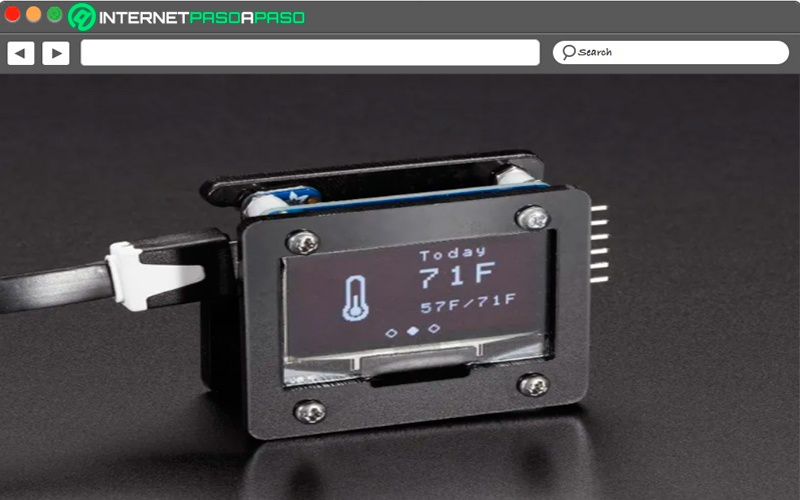
Considered today as one of the most attractive projects that can be developed from this platform, it requires the design of a small screen that allows you to show the datawhile programming will allow you to include forecast for days to come.
For the elaboration of the weather station you will need a Adafruit HUZZAH board, this is the one recommended by experts for it, a case and a small LED screen. With these tools you can create your weather station with an Arduino Uno board.
Ambient lights for your PC monitor
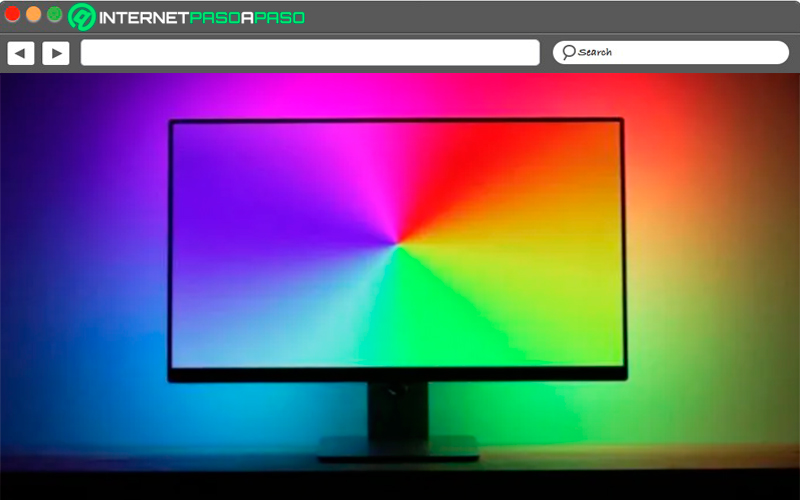
It must be taken into account that the ambient lights on the monitor are a luxurythey will give you a much more elegant and attractive appearance. In this case, they are responsible for detecting the colors of the edges of the screen and extend them behind the wall, this allows create a very impressive sense of depth and immersion.
For the elaboration of this project you will need RGB LED strips and a sensor that is capable of detecting the colors of the edges of the screen. In the same way, it will have programming that is not as simple as it may seem, but you do not need to be an expert on the platform to carry it out.
Fingerprint sensor to open doors
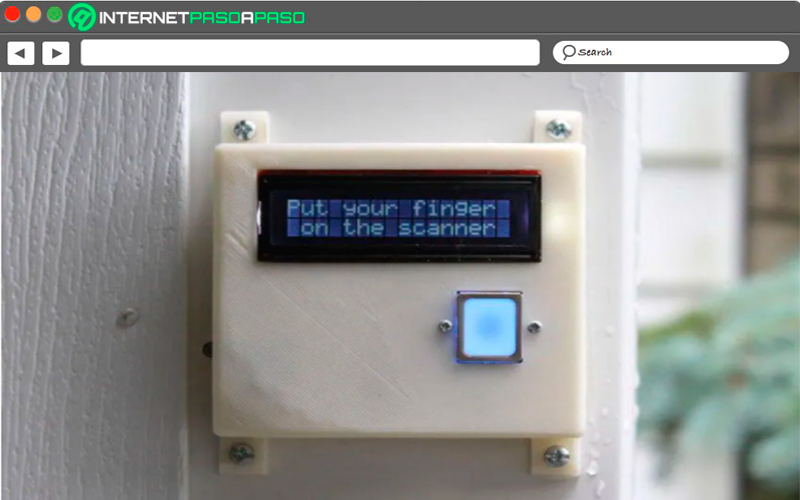
Surely at some point in your life you have wanted to have a fingerprint sensor for open the doors of your house and thus not having to be using a set of keys for it. Thanks to Arduino you have the opportunity to create this project in a very simple way, and that is to create this fingerprint sensor It will allow you to open any door in your home, it is mainly used for garage doors.
Without a doubt, this project is very useful for most people, for its elaboration you will need the fingerprint sensor, a casing where it will be inserted, and optional one screen where it shows the information that you want to appear there. In this way you can start to automate each of the doors in your home and thus stop using keys to open each of your doors.
A control panel for the PC
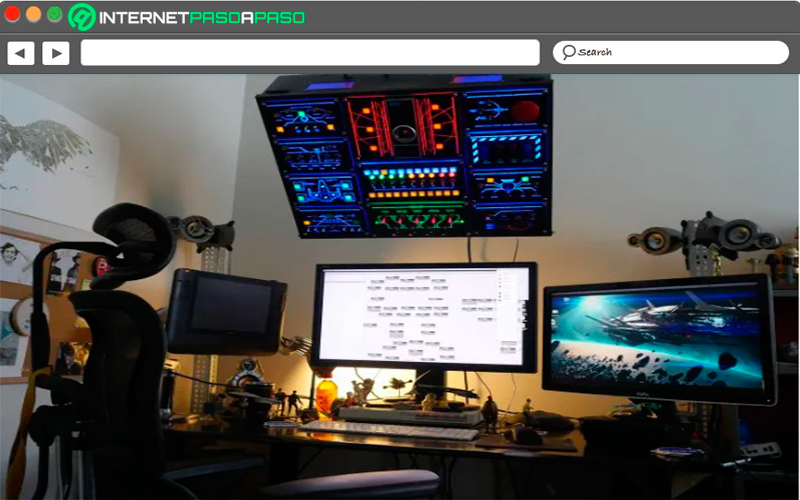
It is possible that at some point in your life you have thought about having a control Panel Like the ones of the spaceships, but this time to control the computer. With the platform arduino one you will have the opportunity to create it in a way that is not as complicated as it might seem. To do this, you need to program the board so that a control panel works with elements of the PC, such as raise and lower the volume of the horns or open and close applications.
Keep in mind that the more functions you add, the more complicated its programming will be, so the project can be so easy or so hard as you want. To create it you must have the hand buttons and LED, the amount of it will depend on everything you want to put into it. For programming, it will consist of assigning each of them the function you want.
Presence sensor to turn on the lights in your house
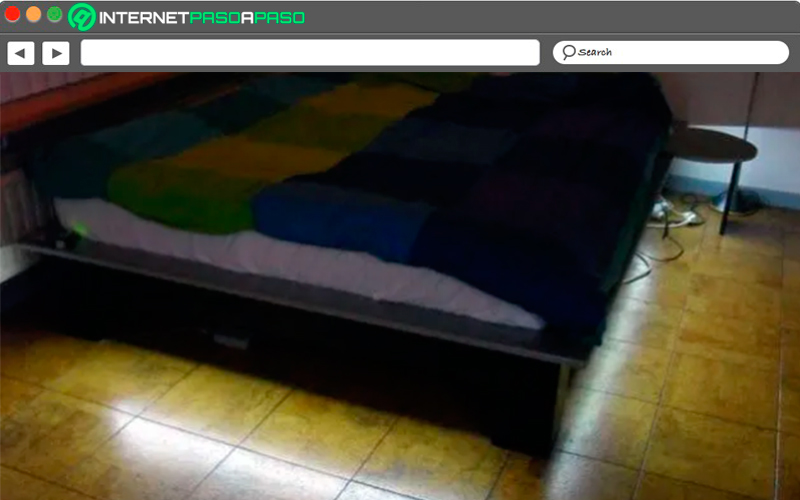
Arduino projects are designed with the purpose of providing some comfort to users, this is how you can also create a sensor to automatically turn on the lights in your room or any other area of your house. Surely you have woken up in the middle of the night in your room and tripped on your way to turn on the light. With this project you can change all this.
In this way you will have the opportunity to create a presence sensor that detects when you get out of bed and automatically turns on a LED strip placed under it so that I illuminate you usually and do not get to stumble. So, for this project you are going to need sensors for the Arduino board and LED strips. It is important that when programming them, a schedule is established and thus prevent them from turning on during the day.
Create an infinite kaleidoscope mirror
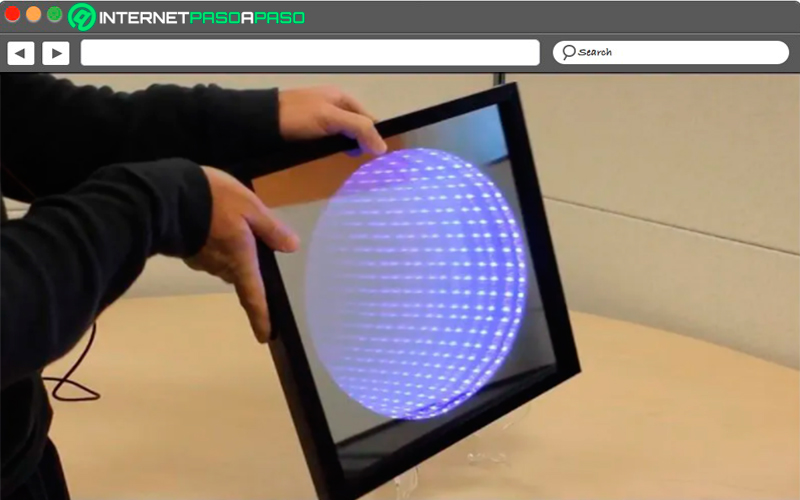
Without a doubt, this is one of the most striking projects that can be created through this platform. This mirror allows you to create a infinite Kaleidoscopic Illusion, allowing you to create a truly amazing effect for the eyes of the beholder.
As the orientation of the mirror moves, the lights and their colors will change, all of this is very aesthetic, but it offers an amazing result. To make this mirror you will need to have a arduino board 101 at least or in that case with the NeoPixels or Sparkfun version and many strips leds and obviously you must have a mirror.
Computing