
UPDATED ✅ Do you need to create a multiboot pendrive in Windows and Linux and don’t know how to do it? ⭐ ENTER HERE ⭐ and discover how to do it ✅ EASY and FAST ✅
It is very well known create an external disk in this case a USB to install an operating systembut do you know that instead of going through such a long process to install only one Operating System on your USB, you can install two, three or more by creating a multiboot USB?
Well, the truth is that Although the process seems very complicated, it is very simple. you should only use the appropriate software for this process, for this we bring to you the best tools so you can easily and simply create a multiboot external drive or well known in Spanish as multiaranque.
We will teach you with the help of the SARDU-Software how to create your multiboot USB in a few steps. Many are those who say that it is very complicated but if you are here it is to discover it for yourself, say no more and let’s go.
Steps to create a Multiboot or Multiboot USB in Windows 10, 7, 8 and Linux
Installing a multiboot operating system has always been a headache, due to the different risks that are run during the process. That is why we bring you a step-by-step guide on how to do it. Before starting, we need to download the program to use.
The name of the software is SARDU and to download it you must click on the links below. When the download has finished, locate the place where it has been saved and run it as administrator.
Download Sardu for Windows
Download Sardu for Linux
Once the program is started and downloaded, we proceed with the step by step to create a Multiboot USB:
Choose the operating systems
In the left column is a list of programs that you can install on the USB. You are going to select the Operating System (OS) that you want to install by clicking on it. In our case we will install linuxfor this reason we clicked on the Linux icon and we select the distributions that we want to use. The operating systems are compressed into an ISO file that must be decoded and installed correctly on the USB in order to achieve our goal.
As you can see in the image three different icons are shown:
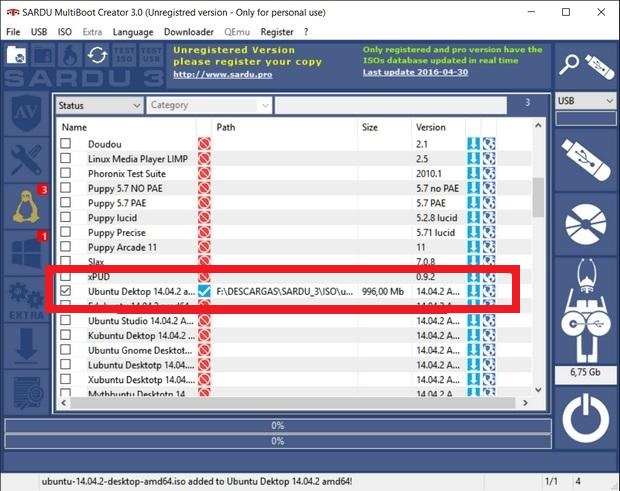
Clicking on the red icon selects the ISO file. Clearly this must be downloaded to our hard drive, if you don’t have it you can download it by double clicking on the blue icon that contains an arrowto add it to the download list.
Note: some operating systems cannot be downloaded with SARDU, so clicking on the “Globe” icon does not redirect to its web page and thus be able to download it manually.
Us we manually download Kali Linux and Debian, and Sardu was in charge of downloading Ubuntu. To download You must click on the “Download” iconwhich is located in the left column, and there you click on the button “Start”.
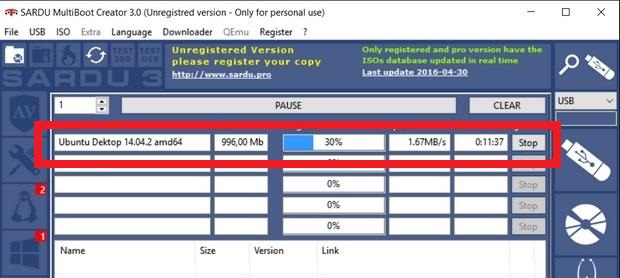
At the end of the download, we return to the Linux list, select the OS and press the red button to search for it on the hard drive, if it has a different name than the one required by SARDU, it is only renamed and the problem is solved.
Also install Windows 10
You can also install Windows 10 and other Windows OS like Windows 7, 8 and 8.1 but you need to get the ISO image first, and to do so follow the instructions below:
Download MediaCreationTool
- First we have to download the media creation tool and run it. When it is started, select the option to Create an installation medium for another PC and click on “Following”. Over there select the OS that we are going to use and click on the “ISO File” option.
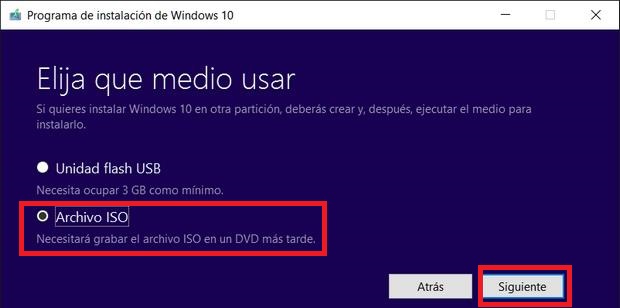
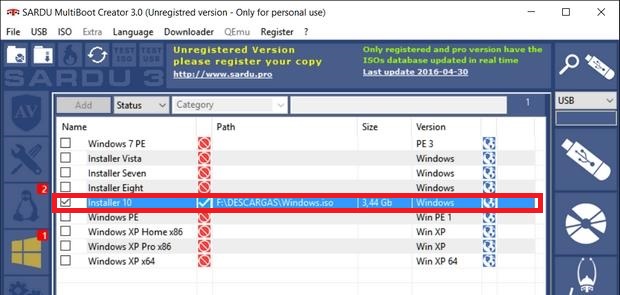
- At the end of this process we will see the ISO image in the indicated directory. Then we go back to SURDU again, we click on the icon of “Windows” located in the left column and click on “installer10”, and we locate the ISO file to install it, as in the previous cases, if it has a different name than the one required by SURDU, we only rename the file.
Install on USB
Already completing the previous step, we proceed to copy and decode them on the pendrive in order to create the multiboot USB with Linux and Windows 10, but we have to take into account that for this step the pendrive that we must use must have a capacity greater than 4 GB. In addition, it must also be formatted in FAT32, since it is a requirement for SARDU to recognize it.
Once this is done, the steps to follow are:
- We insert the pendrive into the computer and go back to SARDU, look in the right column and click on “SearchUSB”some disks will appear there and we select the one from our pendrive.

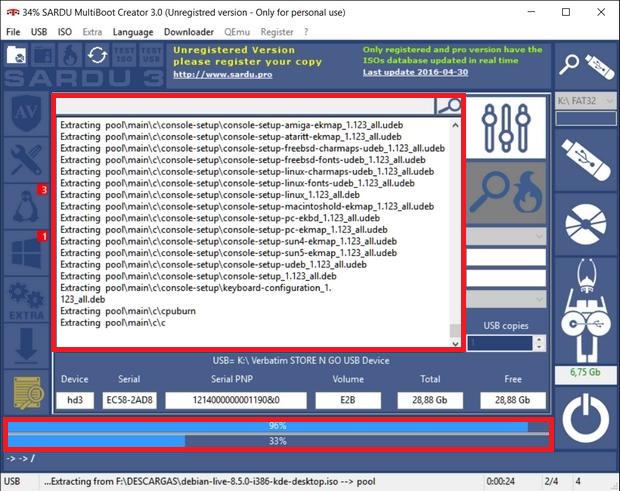
- Then in the right column we can see the option “Create SARDU USB” We select it to start the installation. This process can take several minutes, but it all depends on the weight of the operating systems that we want to install.
Multiboot from USB
For this step we must turn off the computer which we are going to install the OS, we introduce the pendrivewe turn it on again and press the key F11 or one that allows us to boot a computer from a USB. By doing this the menu SARDU It must be started instead of the operating system that we have installed at the moment.
Note: If SARDU does not start, we must restart the computer and start it by locating the appropriate key for the process, in most computers it is F12, Delete, Delete, DEL to enter the computer’s BIOS.
boot menu
By properly completing the previous step, we will see a menu that allows us to select tools as well as the Linux or Windows operating systems that we have included. If we have included the Windows 10 installer, it may automatically skip before the menu. Although if we do not want to install it, we just cancel the installation to recover the boot menu.
In our case we check that the three Linux systems of the test are on the list: Kali, Debian and Ubuntu. Finally we choose the OS that we want to installand then our computer will start with the OS that we recently installed.
What are the best programs to create a USB Multiboot from scratch?
It is necessary the help of a program which must be installed on our computer in order to create a multiboot USB, there are different programs which can be used for this however, here we will show the most used and recommended.
SARDU
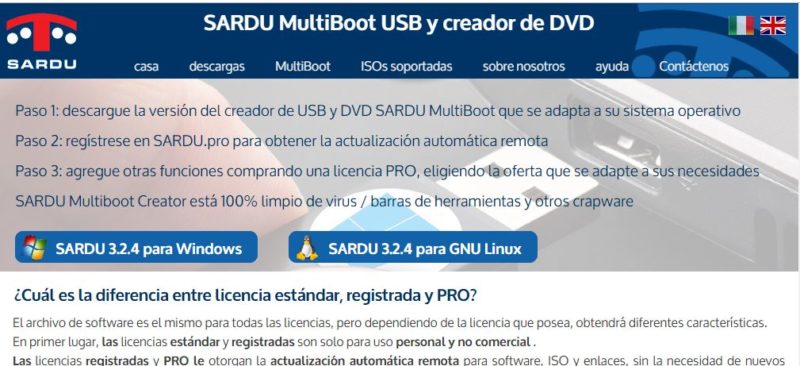
This is the software we use to make our multiboot pendrive, for this reason we attest that this is one of the best programs to create a multiboot USB that you will see today. It can be used to install up to 50 live operating systems on any external disk (USB or DVD), plus it also fulfills the virus detection and removal function and you can download a free and paid version.
Easy2Boot
Discharge Easy2Boot for Windows
Download Easy2Boot for Linux
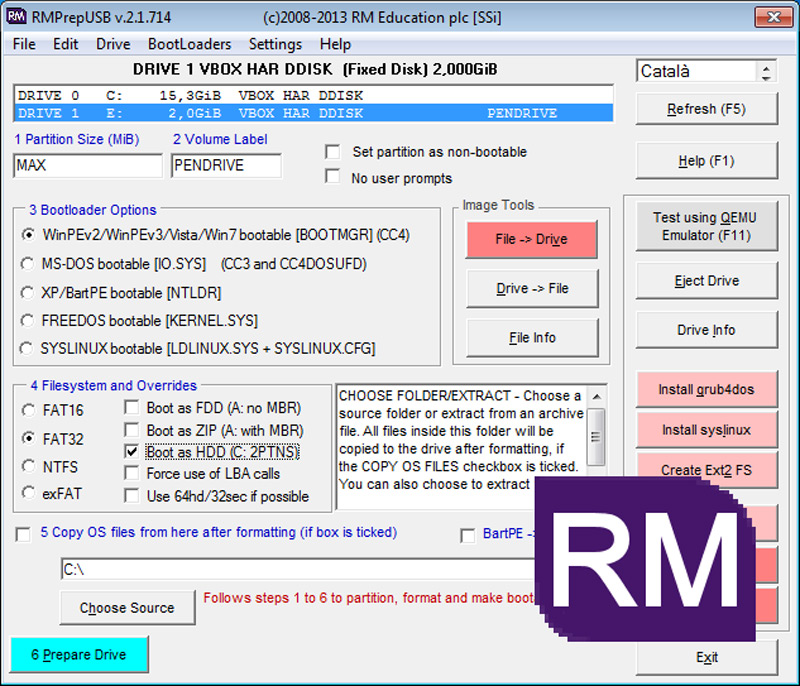
We personally consider this to be the second most used multiboot USB program in the worldsince it offers functions and complies with adequate characteristics to be able to create a multiboot external disk without much hassle or complication.
With the use of this program we will not have the need to format our flash drive anymore since it does it for us, as well as it can decode any compressed file such as .ISO; .IMA; IMG; .VHD; .WIM; WinBuilder; WinPE ISO; Windows Install ISOs and others, as well as diagnostics, repair software, antivirus cleaner much more.
YUMI –Multiboot Creator
Download YUMI –Multiboot Creator
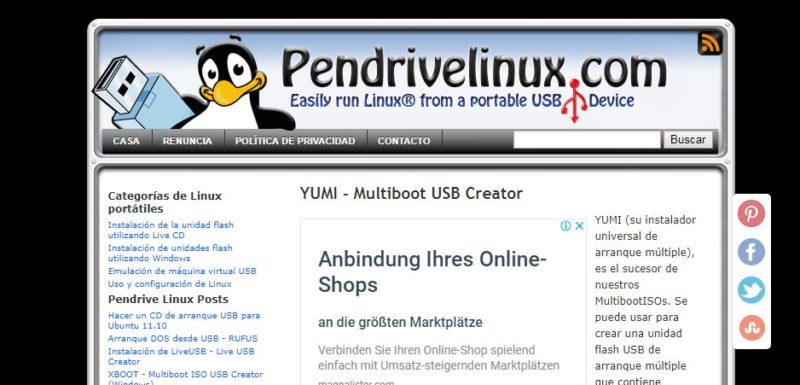
This is a tool that is currently under construction, however it works on some distributions currently which allows its use, this software uses sislinux to boot extracted distributions stored on the USB stick, and uses grub to boot multiple ISO files from a USB. It has a fairly simple and easy to use system, its features are constantly improving and there are always updates to it.
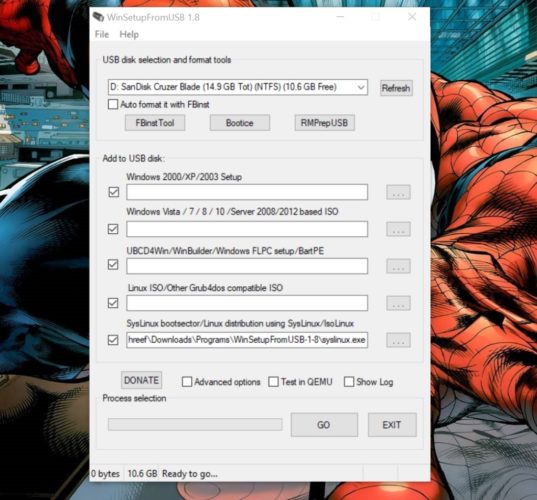
WinSetupFromUSB
Download WinSetupFromUSB
This is a fairly simple program compatible with all versions of Windows, In addition, it is also compatible with Linux and BSD. It has a virus tracking system that provides us with security through its use, thus preventing our disk from being contaminated, as well as offering disk repair for any case. This program may not have much styling, but it delivers on its promised features.
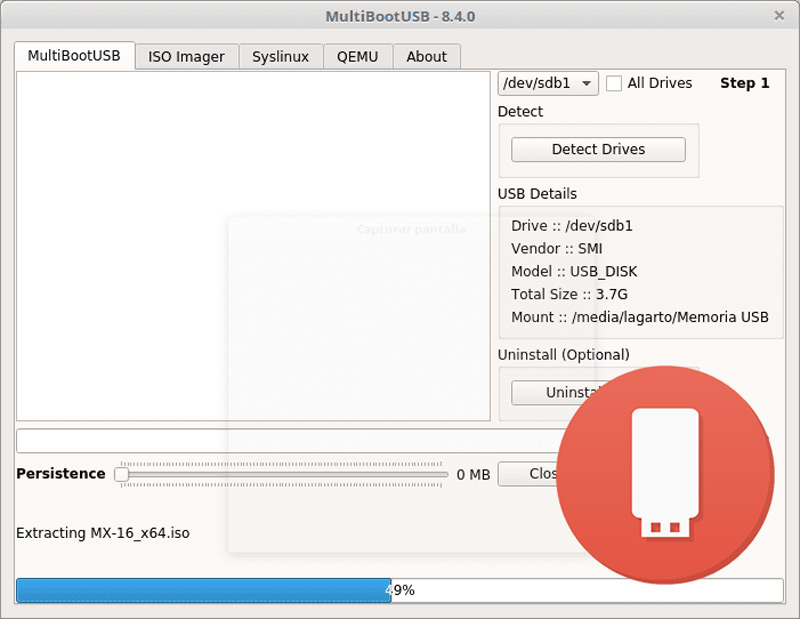
MultibootUSB
Download Multiboot USB
It is quite simple software which can be used to create multiboot USB with different OS like Windows, Linux and others. The only downside of this powerful software is that it is only compatible with Linux Operating Systemsso for many Windows users it doesn’t seem fair.
It offers features that will keep our PC safe and clean from all viruses, as well as taking care of our flash drive when it is connected to our computer.
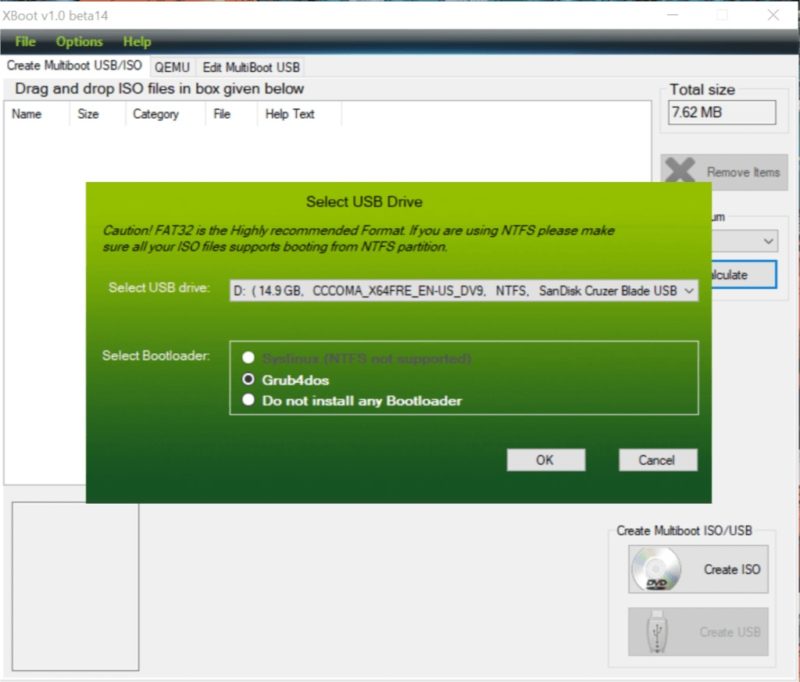
XBoot
Download XBoot
It is another user-friendly software compatible with Windows only, which allows you to create a multi-boot USB. Among its features we can say that it uses Fat32 and NFTS file formats, although it is highly recommended by experts that Fat32 be used during the installation.
WinUSB

Download WinUSB
It is one of the easiest tools to use to create a multiboot USB, it is available for free on its official site and The best thing is that its process is only three steps.
- Choose the unit.
- Indicate the OS in ISO files to use.
- Choose the version you want to install and you’re done.
In this way this program is also considered the fastest in the process for being one that has fewer clicks to achieve the goal.
Operating systems