
Index:
UPDATED ✅ Do you want to know more about how to take screenshots in Microsoft Word documents? ⭐ ENTER HERE ⭐ and learn everything FROM ZERO!
Nowadays, Word is classified as one of the most complete word processors in the computing environment. Since, it provides endless options that simplify the processes of elaboration, edition, personalization and management of any document.
That is why most people choose access this program to create your digital writings. Especially when it comes to redactions that reveal the steps to perform certain computer processes; for which, it is essential to show explanatory content.
Therefore, Word allows make and insert screenshots easilyso that its users can better describe any task, beyond the exposed text.
What should we keep in mind before inserting a screenshot in Word?
Mainly, screenshots are useful for improve the readability of a document, create tutorials or write virtual coursesin order to better expose any process to follow around what is on a computer screen.
In such a way, They allow to show, throughout the Word document, all those images or snapshots of certain windows, programs or applications that are open on the computer used. Whereas, Microsoft’s word processor only has the ability to capture what is below itself.
This means that if you have multiple programs, applications, or windows open, you will be able to take a screenshot of the one above the other open windows on your machine screen, that is, you cannot switch windows. Indeed, before opening Microsoft Word to perform this procedure, you must make sure that place the window you want to capture on screen.
On the other hand, you also have to take into account that, Word only supports the ability to add one screenshot at a time, pSince, they cannot all be inserted simultaneously, as is the case in other programs.
Therefore, each of the steps that we will show you below must be carried out to add a capture:
Steps to create and insert a screenshot in Microsoft Word
Now, as we mentioned before, you can take screenshots directly from Word, without the need to resort to other third-party tools for this. But, to get it right, it’s important step by step to create such a snapshot and then the process to insert it.
Next we will show you how:
create capture
Before specifying each and every one of the steps to follow to take a screenshot from Word, it should be noted that, both the procedure to create it and to insert it, are linked in this case.
Thus, we begin by explaining the instructions to easily create a photo of this type:
- First of all, you must search and enter the document in which you want to add this screenshot.
- Following that, locate yourself in the options bar of the Microsoft program and click on the “Insert” tab.
- Now, it’s time to place yourself in the group illustrationfor later select the option that says “Capture”.
- Once done, it will show a kind of gallery with the available windows (that is, the ones that are open on your computer).
- In case you need add a screenshot of the entire window in questionsimply click on the thumbnail image of itinside the box “Windows available”.
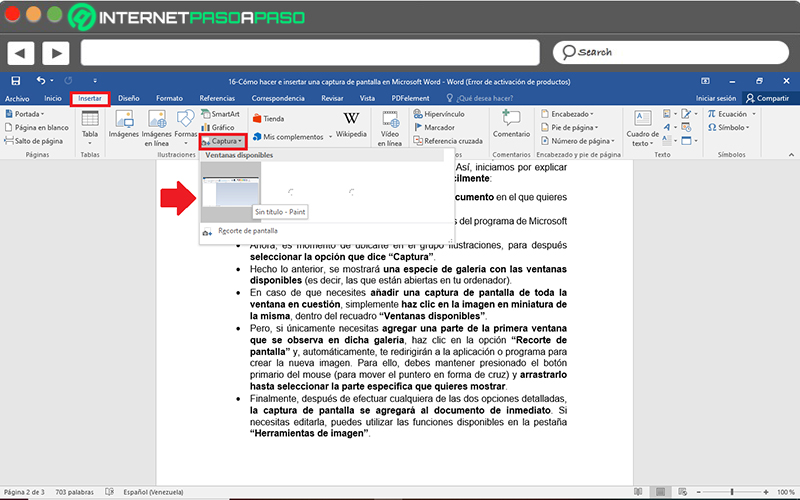
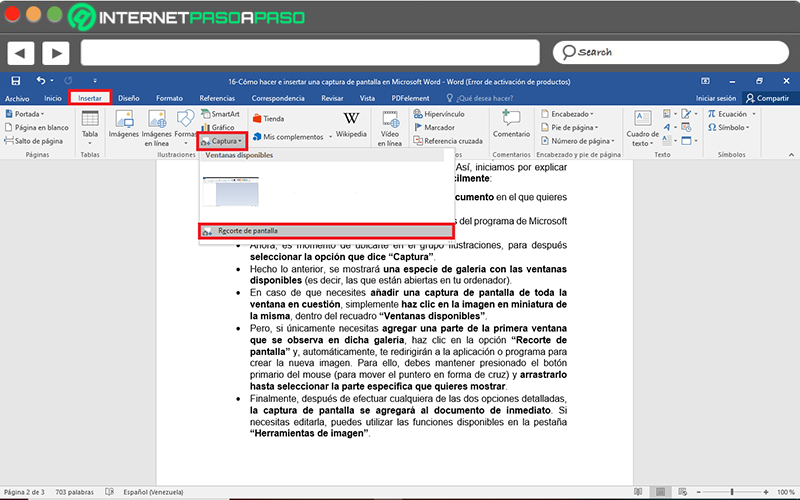
- But if you only need add a part of the first window that is observed in said galleryclick the option “Screen clipping” and, automatically, you will be redirected to the application or program to create the new image. To do this, you must hold down the left mouse button (to move the crosshair pointer) and drag it until you select the specific part you want to show.
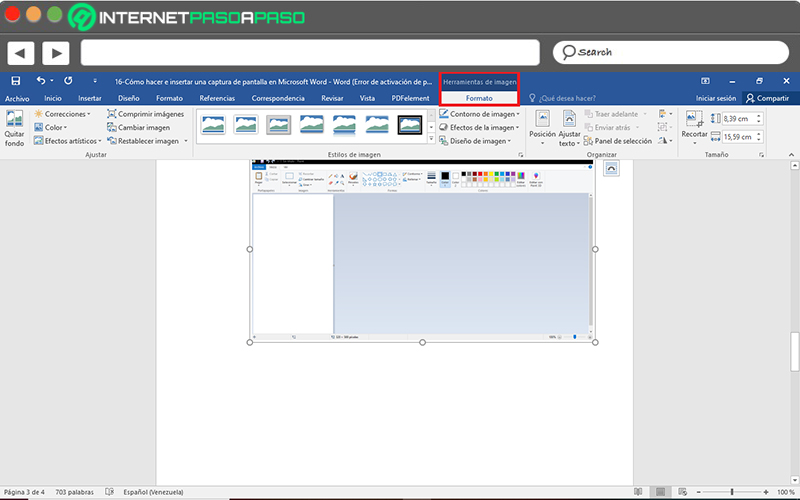
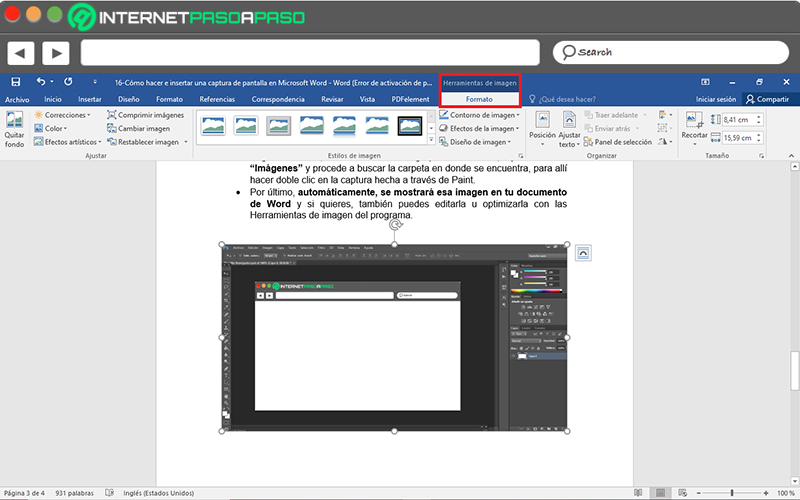
- Finally, after performing any of the two detailed options, the screenshot will be added to the document immediately. If you need to edit it, you can use the functions available in the tab “Image tools” > “Format”.
insert capture
On the other hand, if you prefer to rely on an additional tool to create your screenshots, instead of doing it directly from Microsoft Word; there is also the possibility of carrying it out. However, in these cases, you must insert said capture as a conventional image.
Here we detail the steps to execute:
- First of all, you must take the screenshot using the keyboard and an appropriate tool for it. Here, we will use painting which is the main application used for these purposes at Microsoft.
- Next, go to the window to be captured and press the “Imp pnt” key.
- done that, go to Paintpress the keyboard shortcut “Ctrl + C” and thus, the captured image will appear. Also, from there, you can crop or modify it as you wish with the tools that Paint provides.
- One time make all the edits you want in the new screenshot, it owns save the result to any folder on your computer (preferably in Images).
- Subsequently, access the Word document where you want to add said snapshot and Click on the “Insert” tab from the ribbon.
- Followed by that, directly in the Illustrations group, click on “Images” and proceeds to find the folder where it is located, to double click on the capture made through Paint or press the button “Insert”.
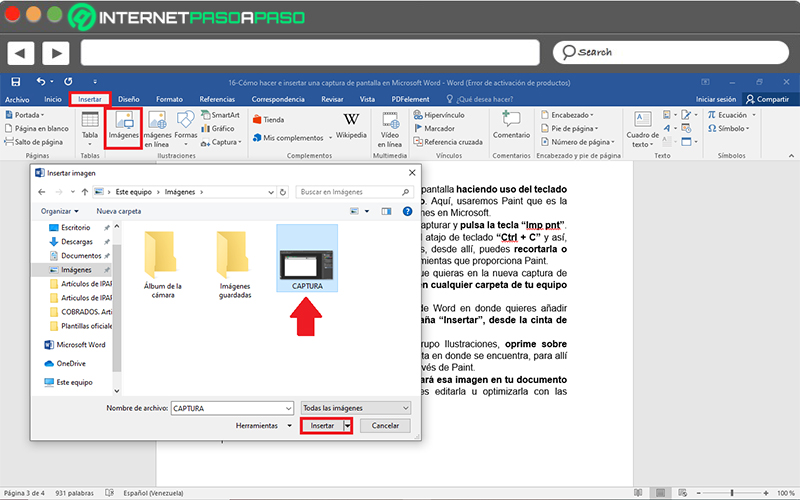
- Finally, automatically, that image will be displayed in your Word document and if you want, you can also edit or optimize it with the program’s Image Tools.
List of the best tools to take screenshots in HD
In any case, if you prefer to make use of much more complete tools to obtain high-definition screenshots and with a higher quality than those that reveal those that are created by means of Word or using Paint; It is important that you know which are the most effective solutions of the moment.
For this reason, in this section of the post, we proceed to mention 5 of the best tools currently available to create screenshots at a professional level:
lightshot
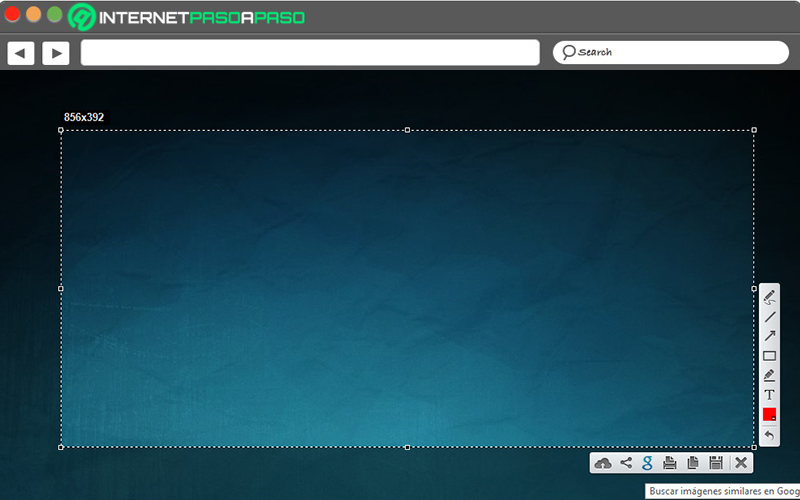
This is one of the most used applications to do quality screenshots, due to its excellent track record. which is mainly characterized by its fast process to get these images with just two clicks And it’s also an app. very Easy to usewith a simple interface and light weight.
For its part, has powerful editing tools that allow you to improve screenshots instantly and also save a lot of time. In addition to this, it has a search system for similar images, allows you to share the captures through the Internet, it is a free and cross-platform solution.
Download Lightshot for Windows
PicPick
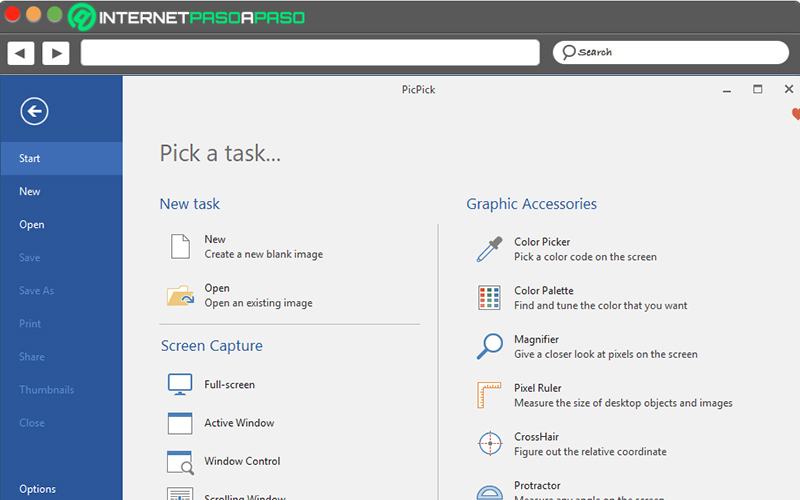
This is another of the best alternatives out there for take screenshots of an active window, scrolling windows, or any specific area of your desktop. Apart from that, it is considered an ideal application for edit your images, highlight them (with shapes, arrows, texts, etc.) and even optimize them with effects (watermarks, drop shadows, motion blur brightness control, etc.).
Among other details, we highlight that it has an angle meter on the screen and a pixel ruler that allows get high-quality results. Additionally, it allows you share your creations on the Internet and upload them to cloud services (Google Drive, Dropbox, SkyDrive and Evernote), it is free and accepts customizable configurations.
Download Pic Pick for Windows
Win Snap
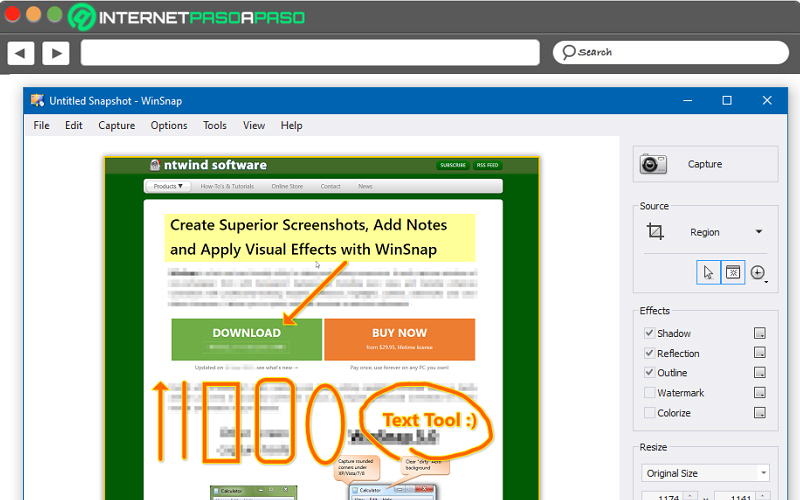
As another tool of interest, we find this application that has innovative features around screenshots and, thanks to that, it allows to obtain results in High Definitionbecause they are really superior compared to those of other programs.
Also, has a complete image editor and allows you to easily add lines, shapes, arrows and text comments.
Regarding its user interface, has been redesigned and can be customized using five different styles, plus it is very intuitive and supports general usability. On the other hand, it should be noted that, once you open the tool and take the screenshot, apart from editing the image, you also you can add effects and clean its background.
Download WinSnap for Windows
ShareX
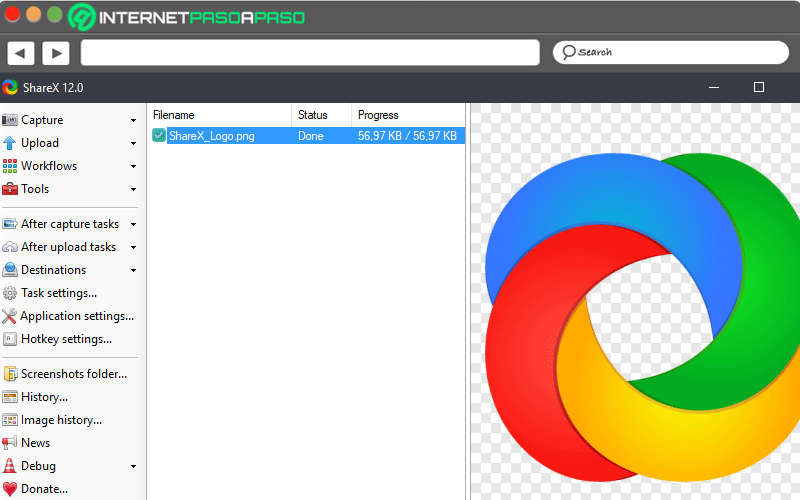
Consists in an open source tool that facilitates creation of all kinds of screenshots and luckily helps you share them easily and instantly. It also provides editing functions and with them, allows you to optimize the images to the maximum, in order to get high definition results.
Among other details, has the ability to generate a QR code to link to each screenshot takensupports different configuration options with which you can perform actions automatically when you take the screenshot and even allows make images in GIF format and make video recordings in FFmpeg format.
Download ShareX for Windows
fire shot
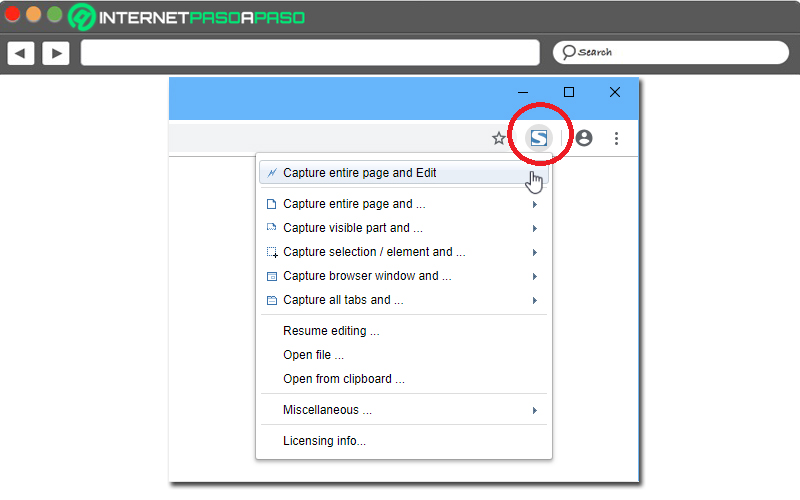
Finally, if what you need is create screenshots from web browser To enrich your documents or create tutorials, you can use this tool that has support for Chrome, Firefox, Opera and Internet Explorer. In this way, it simplifies the processes for taking screenshots on a website.
Once you install the tool in your preferred browser, its icon will be displayed in the menu bar and it is enough to click on it, to observe each and every one of the functions that it provides for free.
It also allows you to save your captures in the folder you want on your computer and has a preference function to edit the image format, its nomenclature and the delay.
Software
