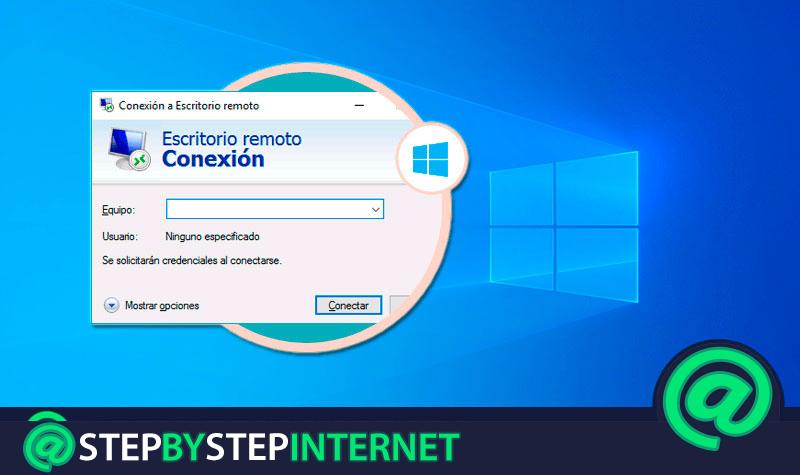
A remote desktop is a technology that allows a user to connect to another computer to work remotely . This tool means that, from a computer, you can enter another one kilometers away to be able to use it in a completely normal way, as if you were interacting with it directly. It is a system that entered Windows XP and is still used today in different Windows systems.
It has many uses, and most of them related to the professional field . Many companies use this mechanism to make it easier for workers to interact with their equipment from home or when they are traveling and, in the same way, can often be used when performing maintenance tasks on software matters . Repair specialists can use it to fix files or programs that give errors.
But, to be able to use it, you must first make a series of adjustments on the equipment in question. Here we will explain how to activate and configure the use of the remote desktop on your PC , as long as you use a Windows operating system. This step-by-step guide explains everything you need to do to configure and enable it.
Index:
Steps to activate and enable the remote desktop in Windows
The steps to enable remote connection in Windows from one computer to another depend on the type of operating system you have. If you have Windows 10, Windows 7 or Windows 8 , there are small variations in the steps to follow, but here we will explain each and every one.
Configure in Windows 10
To configure the remote desktop in Windows 10 , you have to follow a few simple steps. These are the instructions you should keep in mind:
- Log in to your computer , if possible with an account that has modification privileges or one that is an administrator.
- Once inside the operating system, click on the “Start” menu button on the bottom left. When the drop-down menu opens, click on the search bar and type “ Control Panel “. Click on it when it appears.

- Look now in the “ System ” section and click on its name to move on.

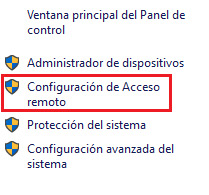
- In the left column, click on “Remote Access Settings” and you will access the settings panel of this assistance.

- The window that appears just below contains the fields that we must manipulate. You will find here a section called “ Remote Assistance ” and another section called “Remote Desktop” . In the latter, check the option “ Allow remote connections to this equipment ”.

- Once this is done, you can click on the “Select users …” button to specify more settings. The service is fully enabled and you can disable it by returning here and checking the other box.
* Another available method in this operating system is to go directly to the Cortana search bar, click on it and type “Allow remote access to the computer” . By clicking on the result that follows, you will arrive directly at the last point indicated before.
Enable in Windows 7
To perform the configuration in Windows 7 , the procedure to follow is quite similar to the one explained in the previous section. Despite this, it has certain differences that should be noted, so we will explain everything to do next:
- Turn on the computer and go to Windows 7 with a user account that has the corresponding Administrator permissions . If you do not do so, you will not be able to modify the configuration of the remote desktop.
- Once inside, click on the “Start” menu icon in the lower left corner and a drop-down menu will open.
- Of all the options that appears now, you have to right-click on “Team” . At the moment another submenu will open in which you must mark and press “ Properties ” to move on.

- You are now in the Windows 7 System panel . The next thing you have to do is as simple as clicking on the “ Remote Access Settings ” section. Now, you may be asked for the administrator password, enter it and continue.

- The next thing you have to do is just press to activate the “Allow remote assistance connections to this equipment” option. After this, you will have activated the remote desktop. The rest is to configure if you need someone to access or access your other equipment remotely.

Activate in Windows 8
As a last point, we will detail the process of activation and deactivation of remote desktops in Windows 8 . The procedure is as simple as in the previous cases, so it can be carried out even in less than a minute. Pay attention below:
- With the computer turned on and the session started in Windows 8 (you must do so with an account that has privileges to modify or, directly, be the administrator), click with the right click on the menu icon “ Start ”.
- In the drop-down that appears now, go to the “System” section and click on it to move forward with the process.

- Look at all the sections that are available in the left column, you have to click on the one called “Remote Access Settings”.
- When you are inside the window that appears now, you just have to check one or both of the boxes indicated below: “Allow remote assistance connections to this equipment” and “Allow remote connections to this team ”.
- Once you have done the previous point, click on the“ Apply ”button and then on “ Accept ”.
- You are done , now you can start using this function to work remotely on another computer.
With these three sections, you know how to enable or, if you prefer, disable assistance and remote desktop on your computer from now on.