Index:
UPDATED ✅ Want to turn your Raspberry Pi into a NAS server with SAMBA? ⭐ ENTER HERE ⭐ and Learn Everything FROM ZERO!
There are many options for access the files that we have on our Raspberry Pi from another computer. But, when we want to have them as just another Windows folder, the best option to consider is Samba.
And what is Samba? In a nutshell, It is free software that, through the SMB/CIFS protocol, allows the exchange of files on UNIX-type operating systems. and that they are united in a network. They relate to each other as clients and one of them functions as a server.
In our case, Samba will help us use the files that are stored on the Raspberry Pi without being directly in front of it.. We will have one or more shared folders on the Windows computer. It is a permanent server, in a small space and with very low energy consumption.
What are the benefits of using SAMBA to create a home NAS server on your Raspberry Pi?
We share some of the benefits that you will obtain using this technology in your mini computer and thus give it the utility of a home server, one of those desired by developers:
- Connect Linux and Windows systemsapart from many others. It allows using a Raspberry Pi as a server, displaying the files in the rest of the connected devices.
- Support NT domain structureby managing users, assigning roles, and generating a parent control.
- Clients are verified through a login against a Windows domain.
- Printer sharingboth on the computer that works as a server and on the rest of the clients.
Essential requirements and materials What do I need to create a NAS with SAMBA on my Raspberry Pi?
The basic resources that are required to start with this project of creating a home server with our Raspberry Pi, using Samba, are described below:
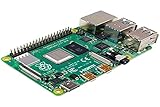
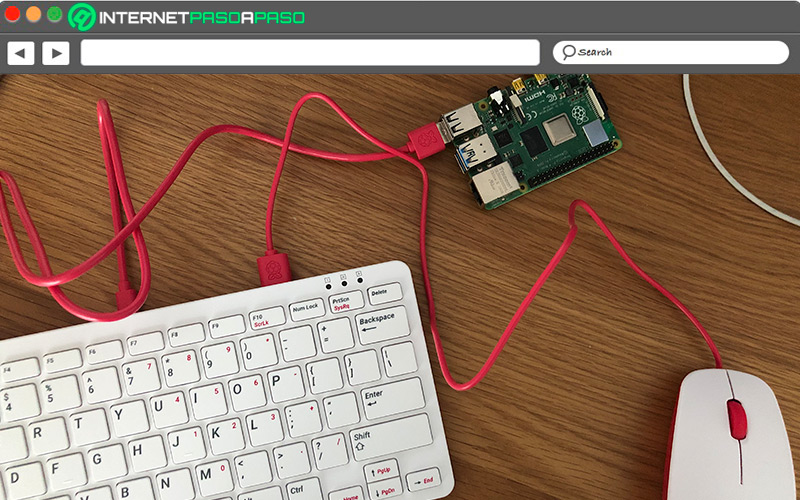
- a raspberry pi. It doesn’t have to be the newest model.
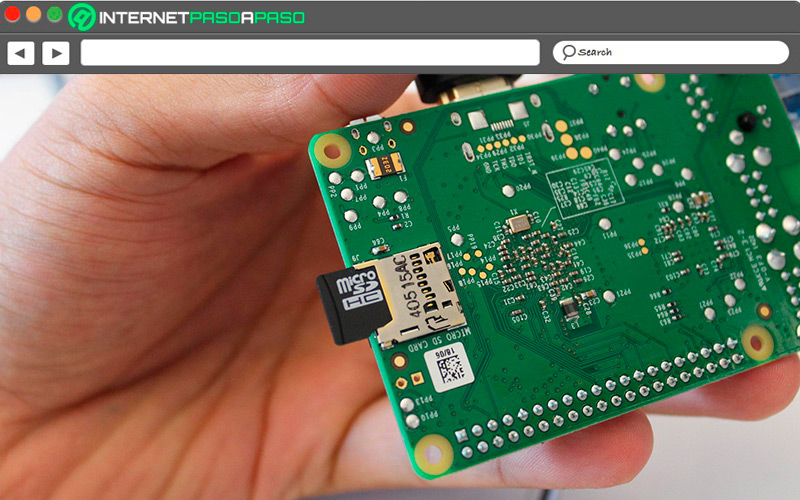
- A Micro SD card installed on the computer and has Raspberry Pi OS (Raspbian) configured.
- Another computer that has installed Windows to make some settings.
- A HDD or flash drive with a capacity greater than 8Gb connected to the Pi, depending on the number of files to be shared.
- Internet connectionpreferably wired for maximum performance.
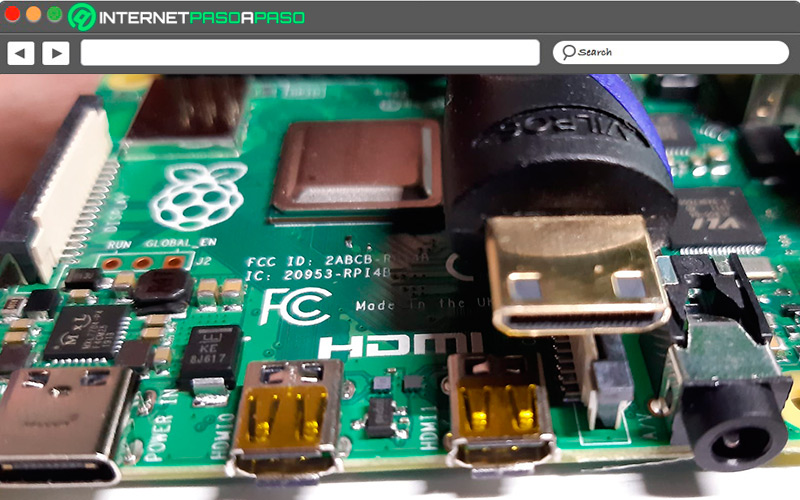
- A cable HDMI.
- A keyboard with USB connection.
- mouse with USB connection.
What are the best Raspberry Pi models to use as a NAS server?
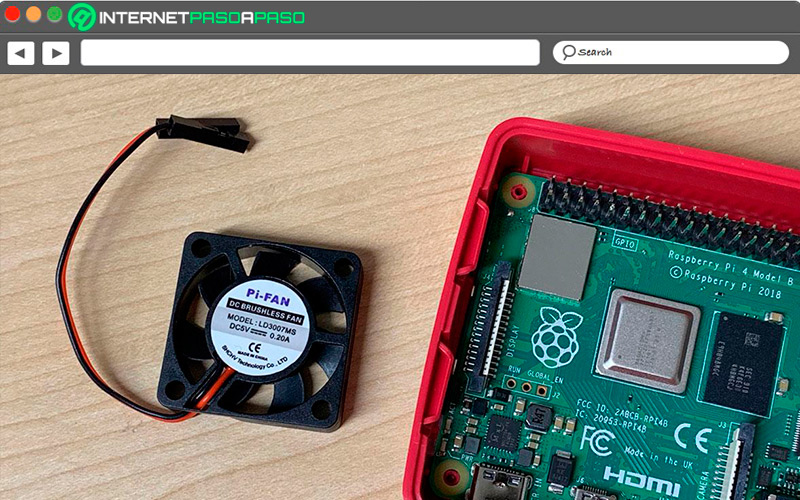
Since these test cards began to be usedhave been improving in terms of performance.
It is advisable to review the technical specifications before deciding which one will be used in our project:
- Raspberry Pi 2B: its 900Mhz QuadCore processor, with four USB ports and 1Gb RAM, allow it to enter the list, even though it was launched in 2014.
- Raspberry Pi 3B: arrived on the market two years after the previous one, an advance is noted in its processor, a 1.20GHz Quad-Core, including Wi-Fi and Bluetooth 4.1. Keep your 1Gb RAM.
- Raspberry Pi 3B+: this update is from 2018, it has a more powerful processor, up to 1.4-GHz 4-core, it kept a respectable memory, several USB ports and as an addition it brought a 3.5mm audio input.
- Raspberry Pi 4B: This model began to circulate in 2019 and has had three updates. The processor has been improved once again, this time with 1.5-GHz, 4-core. The RAM memories have their range between 2Gb and 8Gb, the Ethernet was updated to 1Gb and it has four USB ports, two of them are 3.0.
It should be made clear that the Zero modelwhich has a memory of 512 and a 1-GHz processor, does not enter this list of best models of Raspberry Pi to turn it into a home server.
Learn step by step how to format and prepare your Raspberry Pi to create a NAS with SAMBA
In this section, we focus on explaining the correct way to format the USB memory or, failing that, a hard drive with the format “ext4”which is based on Linux and Raspberry Pi. The reason to use it is that it gives superior performance and does not lead to problems with the files. “FAT 32” either “NFTS” of Windows.
Let’s see the following steps:
Check which device is recognized
Before making any connections, from the “local terminal”that is, on the black screen that appears when the device starts up, we check the disk that the Raspberry Pi is recognizing.
To do this, we type the following command on the keyboard:
ls -laF /dev/disk/by-uuid/
Insert the Micro USB stick
After seeing the result, we insert either the hard drive or the flash drive and re-enter the previous command, paying close attention to the new response that should appear in the console:
ls -laF /dev/disk/by-uuid/
We must notice if the Raspberry team has started to recognize the external hard drive, we leave it connected, but we are going to eliminate a command:
sudo umount /dev/sda
The screen it will indicate that it was not workingbut that was what we wanted to see.
Once that is ready, it is time to give the final format:
sudo mkfs.ext4 /dev/sda -L 16GB
choose format
Onscreen, It should appear that we are about to format the external drive. must indicate “s” either “n”which is equal to “Yes” either “No”. To follow the process, we type “s” followed by “enter”, “intro” Y “return”. The command console tells us how the process is going, until we see that it has actually finished.
Finishing the process
After it stops, we type the following code again:
ls -laF /dev/disk/by-uuid/
Here we realize that the whole process has been completed and that the disk is ready to boot and use the next time we turn on the computer.
We teach you how to install SAMBA from scratch on your Raspberry Pi to turn it into a NAS server
In this guide, we show you the way to share the directory of your Raspberry Pi with other connected computers to the network using Samba. Once all the configuration is done, it will be possible for computers with Linux operating system to work together with Windows without presenting any conflict. We must add to the above that we use Samba because of how easy it is to install and configure, being one of the preferred solutions as home server.
Now yes, let’s go with the step by step that you must follow to the letter:
We update the system
The first step to configure a resource shared files SMB/CIFS is to make sure we have the latest version.
To verify that this is the case, we are going to execute the following commands:
sudo apt-get update- Now you must write this command:
sudo apt-get upgrade
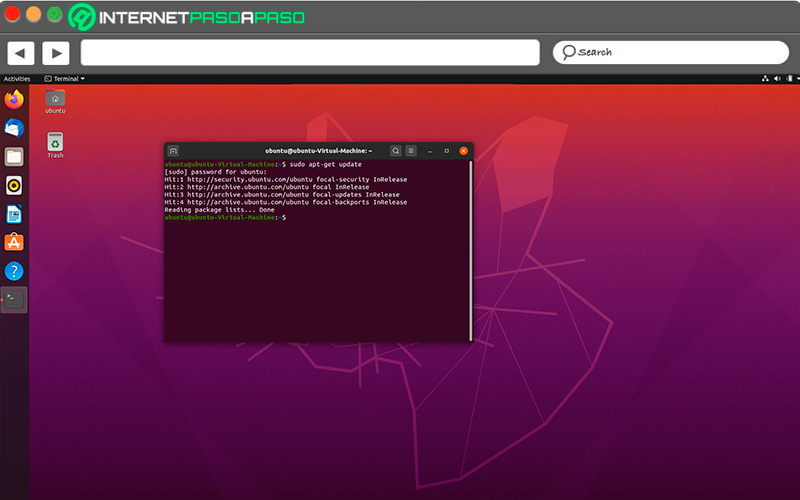
Install Samba
After the update packages finish, we proceed to install Samba on our mini-computer.
By executing the following code, the necessary software will be installed:
sudo apt-get install samba samba-common-bin
Create the shared folder
Before going to the configuration of the Raspberry Pi, we are going to locate the shared folder anywhere, including the external drive.
For the creation we execute the following command:
mkdir /home/pi/shared
Modify the Samba configuration file
To share the created folder, we have to modify the configuration file “smb.conf”which is the one that will have all access as far as shared files are concerned.
When we execute the command below, we will begin the modification process:
sudo nano /etc/samba/smb.conf
At the end of the file, we must add the following:
[pimylifeupshare]
path = /home/pi/shared
writeable=Yes
create mask=0777
directory mask=0777
public=no
When you finish this script, you must follow these steps:
- The text that goes between square brackets it is what will be granted to the user who accesses the shared resources.
- The second is the “route”referring to the directory on your Pi card that you want to share.
- If the option appears in the third option “Yes”will allow the folder to be edited.
- then comes “Create mask”that number “0.777” that appears there allows users to read, write, and execute.
- Finally, the section “Public” if it appears “No” marked, it will be required every time someone unauthorized wants to enter that they be given access to the shared folders.
save the changes
Once you enter the requested information, touch save to continue with the process. press the keys “CTRL” + “X”later “Y” followed by “Enter”.
Create a user
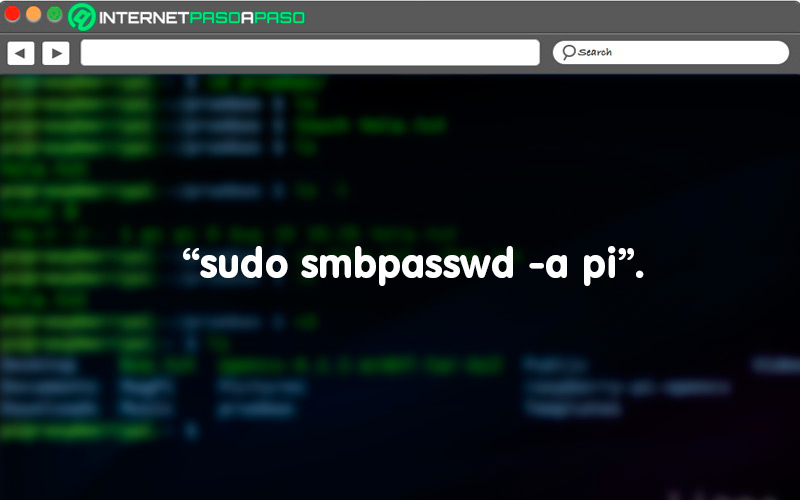
In order to establish connection with the Raspberry Pi, it is necessary to create a user, through which we can see the shared resources. We must assign a “Name” and one “Password”.
To do so, we run the following command:
sudo smbpasswd -a pi
Reboot to save settings
we are ready for connect to our server using Samba.
To save and load all the changes, we enter the following code:
sudo systemctl restart smbd
Get IP address
Before making the first connection, it is convenient to retrieve the IP address of the Raspberry Pi. It is necessary to be connected to the internet either by the Ethernet cable or Wi-Fi.
There should already be a connection with the username and password you chosebut in case it doesn’t work, we enter the server using the IP.
To get the address, all you have to do is run this command:
hostname –I
With these steps we are ready to use shared files on any device through Samba and our mini computer.
Discover how to optimize SAMBA on Raspberry Pi to get the most out of your NAS server
Here we seek get the most out of Samba as a home server. To achieve this, we will make some small modifications and add some details that will optimize the software.
Go for it:
Backup
Before touching anything, we make a backup copy of the file, applying the following command:
sudo cp /etc/samba/smb.conf smb.workc
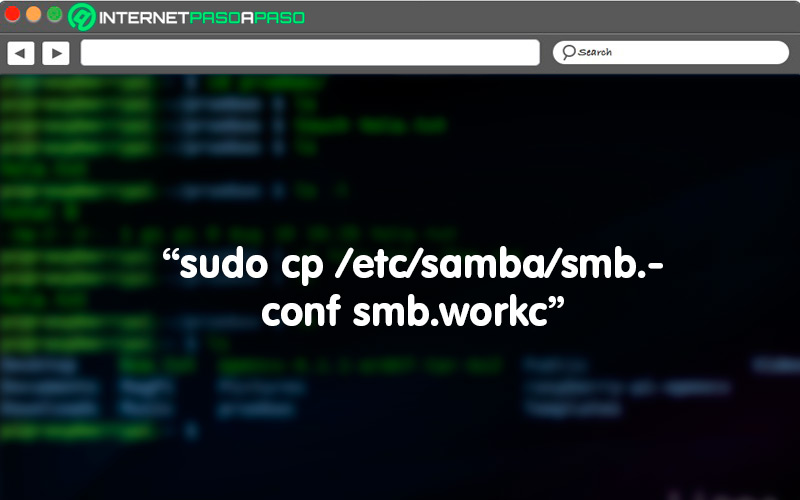
We check that it has been copied correctly and continue on. The file that has been opened does not need to be touched or modifiedwhat we have is to scroll the screen with the down key.
Change settings
What we are going to do now will allow us to get the most out of Samba along with the Pi. We look for the “global” section and add the following parameters:
max xmit = 65535
socket options = TCP_NODELAY IPTOS_LOWDELAY SO_SNDBUF=65535 SO_RCVBUF=65535
read raw = yes
write raw = yes
max connections = 65535
max open files = 65535
- We save the changes by pressing the key “ctrl” at the same time as the letter “either”.
- Once they are saved, we exit the editor by pressing the key “ctrl” along with the letter “x”.
Reboot the device
For the changes to take effect, we exit the editor and enter the following code in the terminal:
sudo /etc/init.d/samba restart
Upon reboot, we realize that some folders that were before don’t appear anymore, but we must perceive that the performance is superior. To verify that it works better or if you see any difference, you can do a performance test by passing files from one place to another and take out the RAM memory consumption.
If you want to do a first test connection to Windows, do the following:
- Open the “File Browser”.
- Inside of the “Explorer”enter “Computer” and click “Map network drive”.
- Now a tab appears asking for some information. First the “Binder”there should go the assigned partition address and where it says “pimylifeupshare” type your username.
- If the connection fails, try using the static IP address of the Raspberry Pi that you already copied in the previous steps.
- In the next window you will be asked to enter your login details. Add the preset data and press the key “Okay”.
- So you can have access your files from another computer and use them when you need them within the network.
In many cases, user problems with Samba are in the configuration details. For this reason, it is important to follow the steps without skipping a single one. And although from other devices it may be difficult to establish connections between Linux and Windows.
Using Raspberry Pi and Samba software we can do it easily and without resorting to any other additional program. From today, You will already have at hand any file, document, music, photo or video from the home server for all clients that are on your network and have been granted access.
Computing


