
Index:
UPDATED ✅ Do you want to know more about the RetroPie system for Raspberry Pi? ⭐ ENTER HERE ⭐ Learn Everything FROM ZERO! ⭐
Thanks to the versatility of the raspberry piit is possible to develop a wide variety of projects, both for work and for simple personal entertainment. This is due in part to the large number of dedicated operating systems available.
One of the most popular projects to do with this mono board is retro emulation consoles., and for this you have the possibility of downloading a wide variety of dedicated distributions. And at the top of options for this purpose, you find Retro Pie.
Next, you will learn everything you need to know about this distribution to get the most out of itand convert your Raspberry Pi board in a retro video game console with which you can spend hours of entertainment.
What is RetroPie and what is it for in Raspberry Pi single board mini PCs?
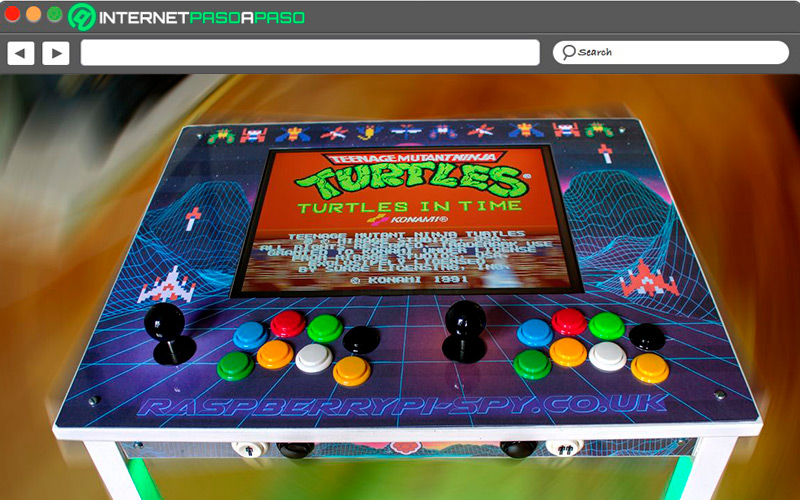
The best way to describe RetroPieit is not like a distribution or an emulator itself, but more like an installable package that has only the necessary software extension for the compression of new users.
One of the best features of RetroPie is its ease of use, as it allows users to no advanced computer skills can run your collection of retro video games. Basically, RetroPie offers the user an installable game system that has a list of emulation programs that will allow you to play ROM files corresponding to a large number of video games from different consoles.
Features and functions of RetroPie What can we do with it on a Raspberry Pi?
Is about a fairly versatile emulation system with great compatibility with various gamesand enough stability to run games without bugs or errors.
Among the characteristics that mainly define RetroPie, the following can be mentioned:
- It’s completely freebeing based on free software.
- It has emulators for more than 60 consoles.
- It has a friendly interface for players without technical knowledge.
- Run the RetroArch emulator packagewhich, in addition to a complete collection of emulators, includes tools that improve the user experience.
Hardware requirements to play retro games on Raspberry Pi with RetroPie What do I need to get the most out of this OS?
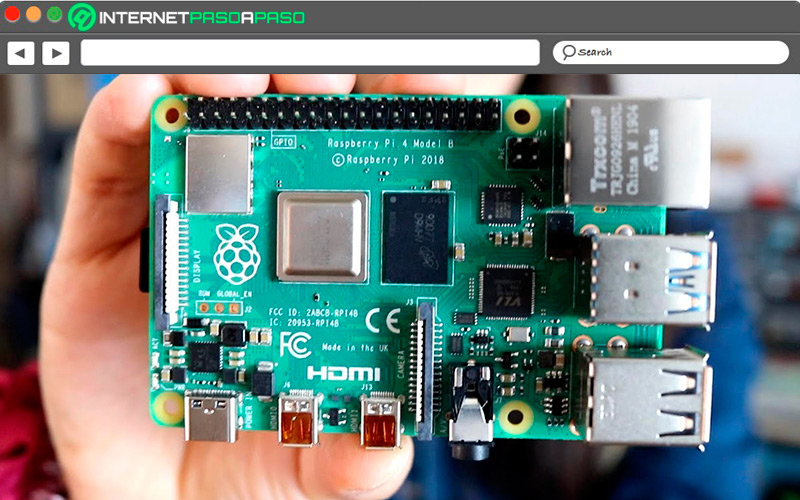
Like any project for the Raspberry Pi, need to get the right hardware parts for the best experience and performance when using the Raspberry Pi as a retro console.
The main requirements for this are:
- A Raspberry Pi board of any model, although the best results are obtained with the Raspberry Pi 4.
- Case for the Raspberry Pi. It is not mandatory, but it is recommended
- MicroSD of at least 16 GB which must include the adapter to install RetroPie from your computer.
- Cable HDMI either RCA.
- TV or computer monitor.
- Wi-Fi or Ethernet Cable.
- Power supply 5V 2A USB.
- keyboard and mouse to make the settings.
- USB controller for games.
The easiest way to acquire most of these accessories is through the purchase of a installation kit for the Raspberry Pi. One of the most popular to date is the Canakit.
Versions and editions of RetroPie What are all the ones that exist and what new features do they include?
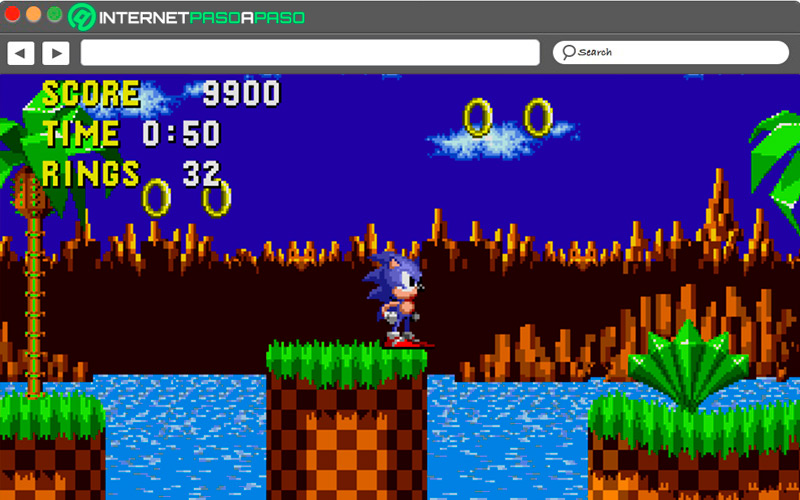
Along its history, Retro Pie, In the same way as many other programs, has gone through a long history of changes and updatesthrough which it has become what it is today.
RetroPie was officially released on July 22, 2012 with version 1.0, and has since gone through the changes described below:
- Version 1.0: RetroPie begins its journey.
- Version 1.1: MAME and Final Burn Alpha emulators are added.
- Version 1.2: Intellivision emulator and SAMBA installation wizard are added.
- Version 1.4: made optimizations to themes and improvements to HDMI video resolution.
- Version 1.6: Basilisk II and Dispmanx emulators are added.
- Version 1.7: several emulators were updated and the Atari 2600 emulator was added.
- Version 1.10.1: Raspbian is updated to the latest packages.
- Version 2.0: EmulationStation 2 is added as a new front-end.
- Version 2.2: Errors in sega 32x emulator are fixed.
- Version 2.4: bug fixes and the Atari Lynx emulator is added.
- Version 2.6: driver optimization and updating of various emulators.
- Version 3.0: Super Mario War port and Dragon 32 emulator added.
- Version 3.2: fixed mupen64plus binaries and fixed various bugs.
- Version 3.7: It updates Kodi to its version 16.
- Version 4.0: Various emulators are updated.
- Version 4.1: PCFX and PCSX2 emulator is added.
- Version 4.5: support is added for Raspberry Pi 3A+new themes and Kodi was updated to Kodi 18.
- Version 4.6: support for Raspberry Pi 4, and RetroArch update to version 1.8.5.
- Version 4.7: update to RetroArch to its version 1.8.8.
Learn step by step how to install RetroPie on a Raspberry Pi and play retro arcade games for lots of fun
To start using RetroPie, it is necessary to follow a procedure to obtain it, install it and configure it on your Raspberry Pi. Next, we will explain step by step how to turn your RPi board into a retro console with RetroPie.
Go for it:
Download RetroPie
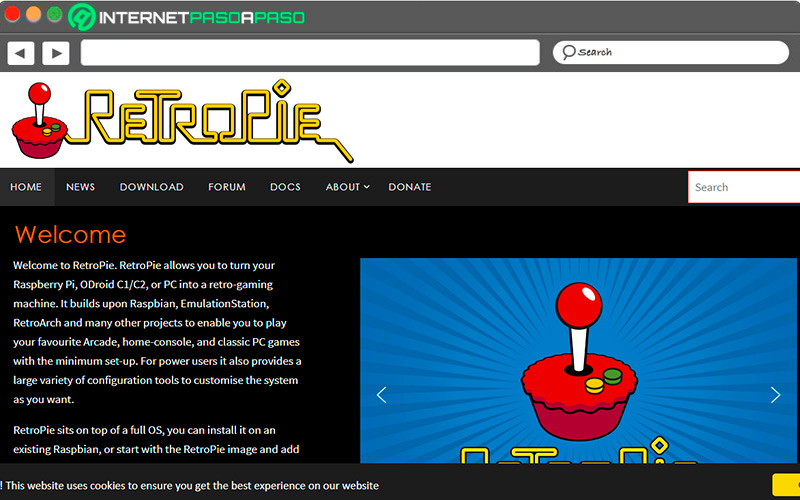
The first step is to get the RetroPie image file, which you can download very simply from its official site. To obtain this file, follow the steps described below:
-
enter a
https://retropie.org.uk/download/. - slide down until you find the version list.
- click in the version suitable for your model of Raspberry Pi
- Wait to finish the download.
Flash RetroPie to your MicroSD
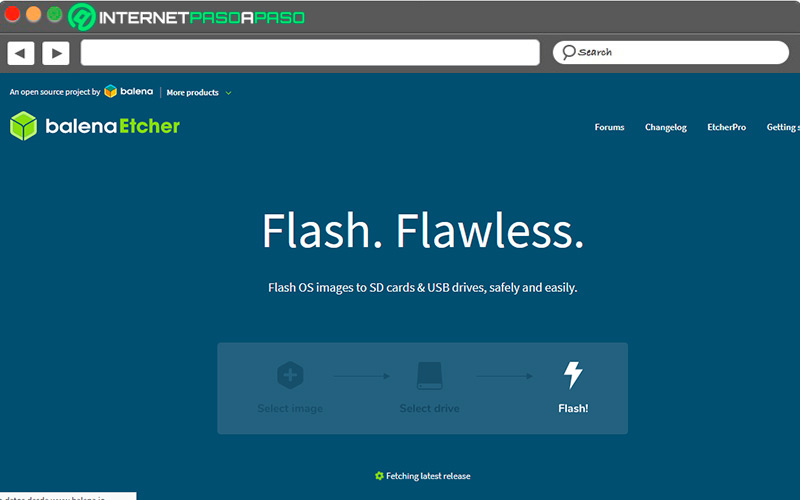
The next step to execute, once RetroPie is on your computer, is to use a writing tool to boot the image file to a Micro SD card, which will store the operating system to run on your Raspberry Pi.
To do this, you can use Balena Etcher as a tool to write the file:
Download Balena Etcher for Windows
Download Balena Etcher for MacOS
Download Balena Etcher for Linux
Once Etcher is installed, perform this procedure:
- Insert SD Card on your computer.
- run Etcher.
- Within the tool, select the RetroPie image file.
- Select the destination location where the OS will be installed, in this case, the SD card.
- click on “Flash”.
The process will take some time, and once completed you will have a bootable SD that you can insert into your Raspberry Pi and run RetroPie for your games. All you have to do is connect all the peripherals required for your setup.
Configure the BIOS
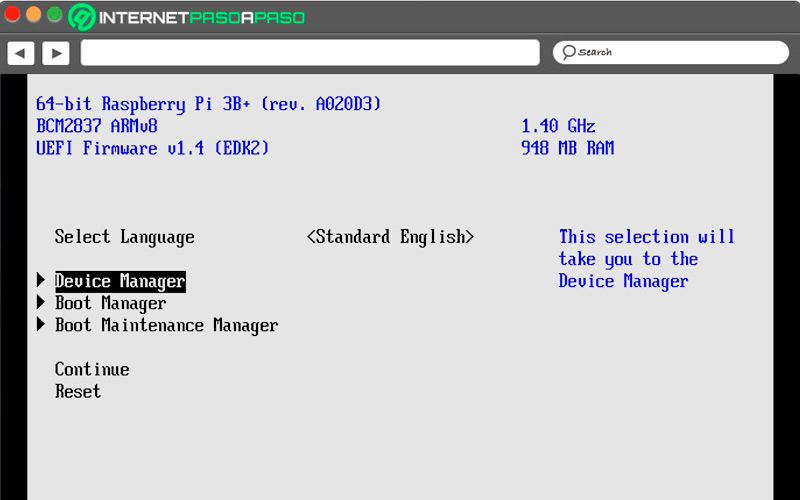
One time the micro SD is readyinsert it into your Raspberry Pi, along with the other peripherals (display and keyboard), to start the BIOS setup.
You can access these options through “raspi-config”, for which you must follow these steps:
- As soon as RetroPie loads, connect the keyboard and press “F4”. This action will log you out of RetroPie, after which you must press another key to access the terminal.
- In the terminal, type the command
sudo raspi-config.
Once in the settings, you can modify the values to improve the experience of using RetroPie, among which we can highlight:
- Expand the file systempressing “Expand Filesystem”. Then enter the size close to the space of the SD memory and press “Enter”.
- Increase the size of the VRAM, that is, the RAM dedicated to video. You can do this by going to “Advanced Options > Memory Split” and playing with values.
- Wi-Fi setupfor which you only have to enter “Setting” of EmulationStation, after which you just have to select the SSID from the list and enter the password.
- Activate SSH to access the system via IP. You can do this by following the path “Advanced Options > SSH > Enable > Ok”.
Configure the controls
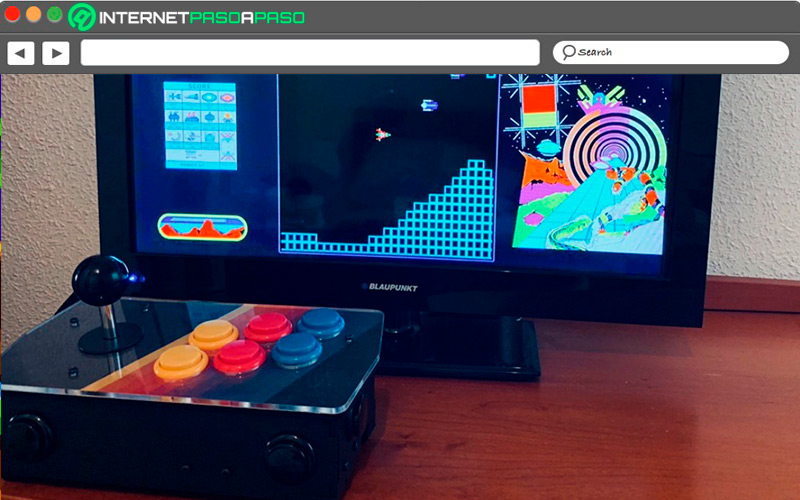
The next step is insert and configure controls that you will use to control the games.
To fully enjoy the experience, you must ensure that the buttons are correctly calibrated, for which you must follow this procedure:
- connect your controller to the Raspberry Pi.
- press a button to open the Setup Wizard.
- Press the corresponding buttons from the list to configure your actions.
- Once the list is complete, press “Okay”.
- If you want to configure more remotes, press “Start” enter to “Configure Input” Plug in the new controller and repeat the process.
Install ROMS
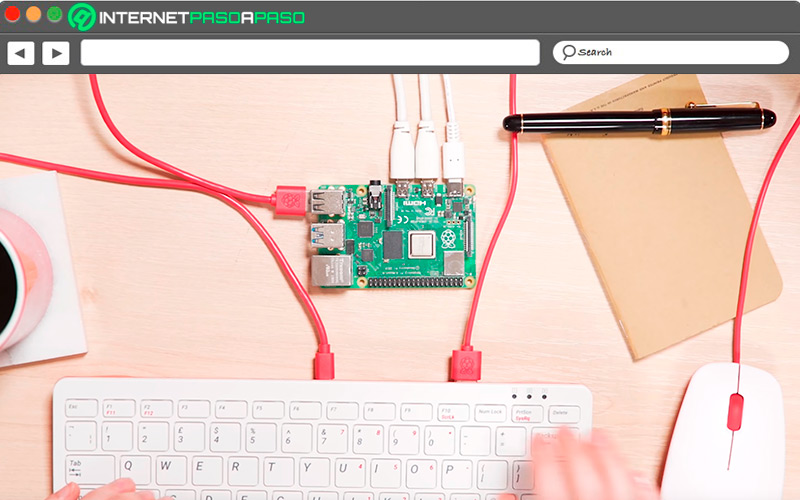
In the case of RetroPie, the most common method of entering ROM files to run is through a USB stick, through which you will transfer the games from your computer to your Raspberry Pi:
- Insert the USB stick into your computer and format it to FAT32.
- Create a folder in the root of the USB with the name “backtrack”.
- Remove the USB stick from the computer and plug it into your RPi with RetroPie. The system will detect the folder and create the required files in no time.
- Again, connect the USB stick to the PC again.
- This will contain the folder “roms”, which will be inside the folder “retropie”you will find subfolders for all available emulators on the system.
- Copy the ROM files to the corresponding folder to your emulator, as a bonus, RetroPie can read files “.zip”
- Once they are copied remove the USB from the computer and insert it into your Raspberry Pi.
Once this is done, it is necessary for RetroPie to sync the new ROMs before you can use them, for which you will need to restart RetroPie, through this process:
- Press “Start” on your controller to open the menu
- Choose the option “Quit EmulationStation”
- Wait for the system to reboota process during which it will synchronize all the games to be able to use them.
Enter the metadata
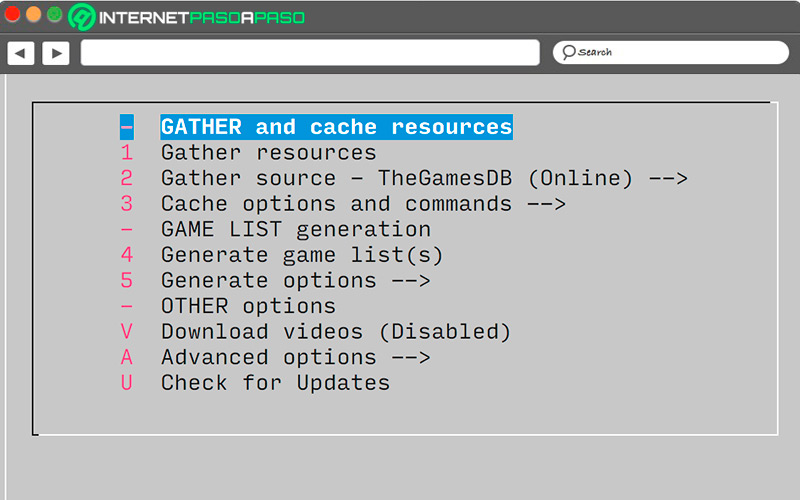
Through this procedure, RetroPie will have preloaded images and descriptions of its graphical interface immediately availablereducing load times and improving the experience.
This data can be entered automatically through an included tool, called Scraper, through which you can access as follows:
- Press “Start” and select the option “Scrapper”.
- Choose the database for which the metadata will be obtained.
- Choose Scrape Now.
- For better performance, deactivate the option “User decides on conflict”.
start your games
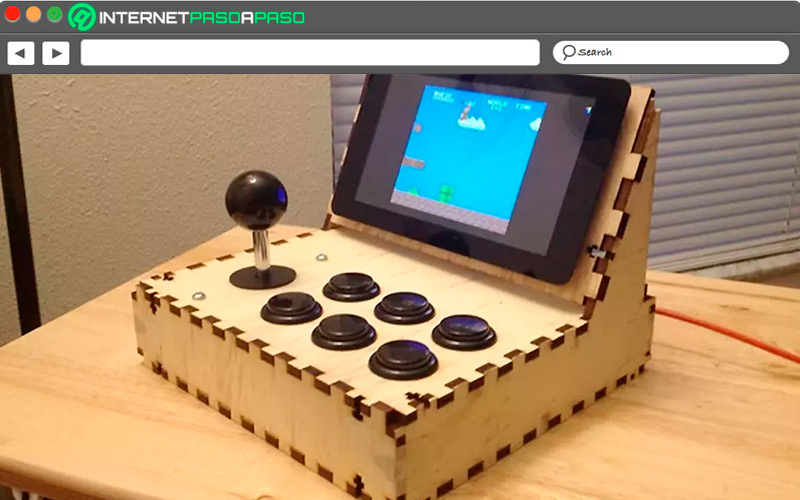
At this point, everything what you need to do is select your corresponding emulators and games in the RetroPie UI and start enjoying hours of entertainment with your classic games. RetroPie’s interface is, in fact, so simple that it’s easily decipherable, no need for previous experience with operating systems of this typeso anyone can use it.
RetroPie vs Recallbox Which is better to make a retro arcade machine with your Raspberry Pi?
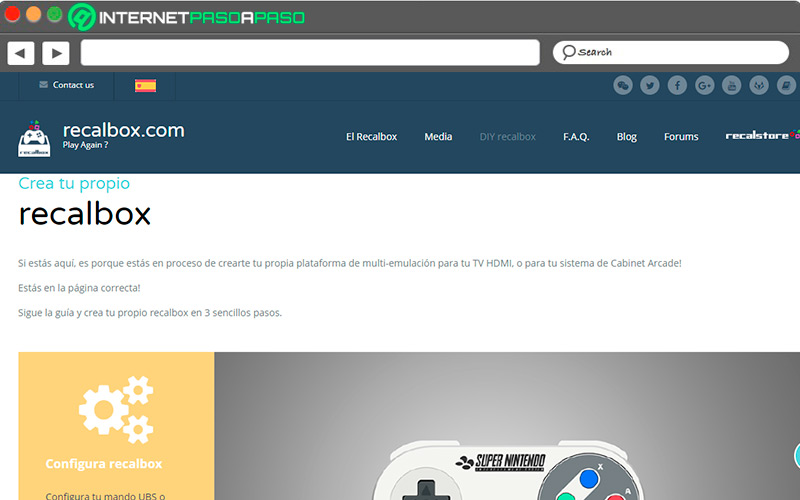
When it comes to one of the most popular projects possible with the Raspberry Piit is more than logical to think that you have a wide variety of options in terms of distributions dedicated to emulation. A strong candidate in this area is Recalbox, a distribution very similar to retropie which is also dedicated to emulation, although with an ease of use that stands out when it comes to users who are just starting out in the world of emulation.
Retro Pie, for his part, focuses its efforts on finding a balance between ease of use and stability of operationso although it is slightly more complex than Recalbox, it makes up for it by being one of the best emulation systems available to date.
In summary, Recalbox is an excellent option to learn about the operation of operating systems dedicated to emulation, and if you are looking for an easier option to handle in general. RetroPie, on the other hand, features much more stability and better performance than Recalboxat the expense of its slightly more complicated processes, although perfectly understandable without the need for prior knowledge.
Computing


![[4 en 1] WeChip Air Mouse Remote, [Mini Teclado Inalambrico] Air Mouse for boxes of...](https://m.media-amazon.com/images/I/51sqEkGAGHL._SL160_.jpg)

