
Index:
UPDATED ✅ Want to protect the most important data on your MacOS computer? ⭐ ENTER HERE ⭐ and Learn Everything! FROM ZERO! ⭐
back up information important that is stored on any device is a form of protect and safeguard the information so as not to lose it, this in case a failure occurs that affects the hard drive and renders it virtually unusable.
In many cases, it is assumed that the equipment will never be damaged and the importance of perform a backup on MacOS. But it’s about time you think about duplicating your files and avoid going through an unpleasant time in which you need to restore personal, study, company or any other documents.
What you will see in this tutorial is a guide to creating a macOS backup from scratch and how to restore back the files you have backed up, the advantages of doing itthe data you can secure and five tools to make your backup.
Benefits of creating backups
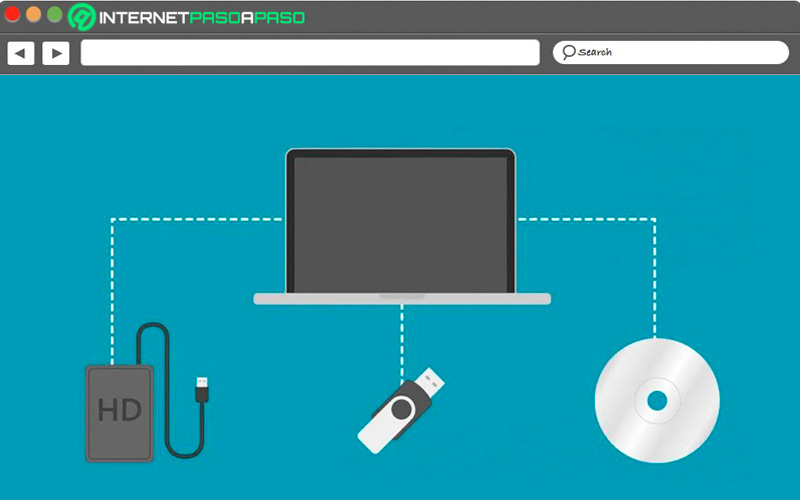
If you have not yet decided to make a backup of your files, surely when you see the following benefits you will want to do it immediately:
- Quick access: you can have the information quickly and minimize wasted time.
- Information security: you will avoid data loss and thus you will have your files over time.
- You can program them: so that not much time goes by, you have the option of doing them daily at a certain time.
- You have more space: depending on the system you use to make the backup, you will have more storage capacity on your computer.
- Encrypted files: Depending on the software purchased for backup, the files will be encrypted.
- Economic costs: you do not need to purchase expensive equipment to perform the backup.
What data can be backed up in a backup?

in a backup you can back up all the information you need, be it documents, photos, videos, applications, software, emails, contracts or any other important material that you do not want to lose in case of damage to the equipment.
Note that the greater amount of data, the same will be the time you will require to save it. In addition, you can do it automatically or manually, each with its advantages or limitations. Equally, you have the option to do it in the cloud or on a physical device.
Learn how to create a backup on your iMac
The apple devices allow their users backup filesregardless of whether they are mobile or desktop, thus avoiding the annoying loss of stored documents due to any incident.
Let’s see below:
create backup
One of the Top Ways to Backup on iMacit is using a program called Time Machine, which is installed by default on your computer. It is important to clarify that for the process to work, it is necessary to have an external USB drive.
Then, continue with the following steps:
- Open the Time Machine program and, once it loads, click on “Select backup disk”.
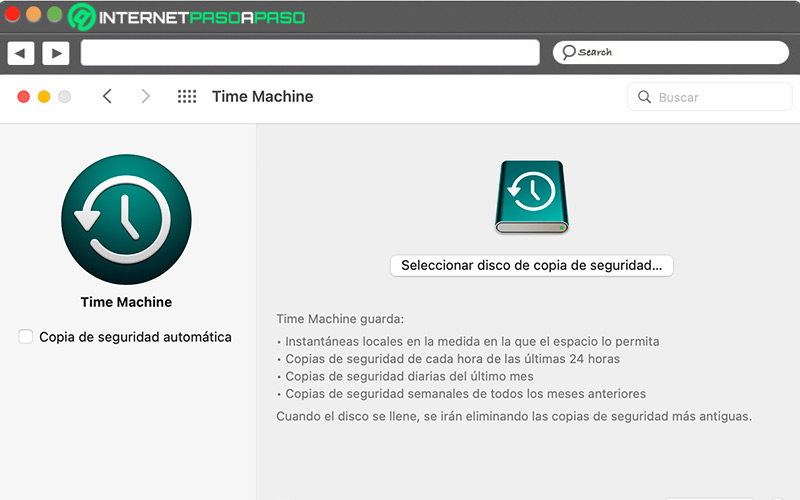
- Choose unit name and brand “Disk”.
- Immediately start backup and also automatically in the future.
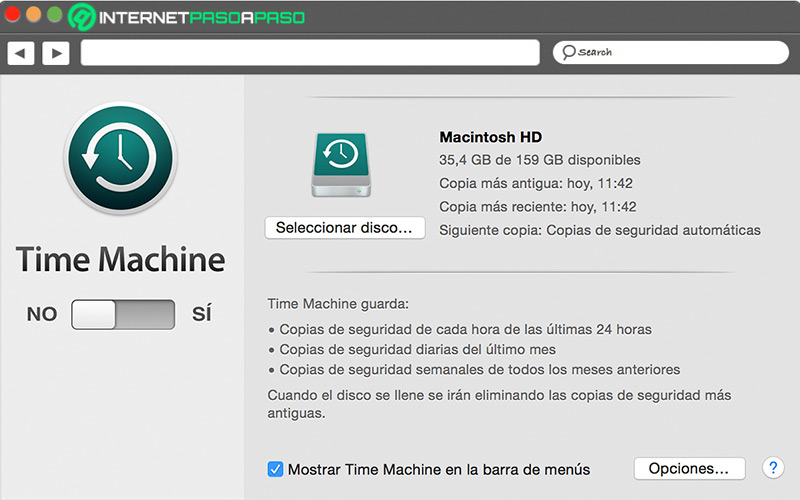
- If in some moment you want to make a backup manuallylook in the program menu “Back up now”.
- Equally in the menu you can see the status where a backup is located.
Schedule Backup on a regular basis
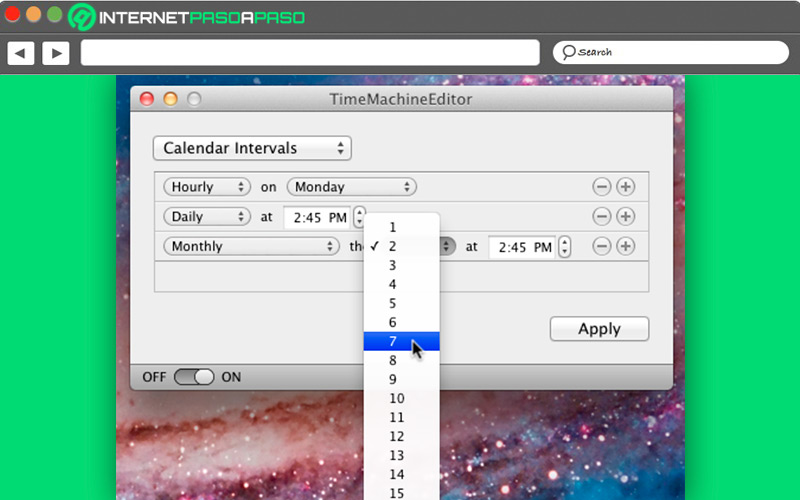
Automatically, the program Time Machine backs up regularly. If you want the system to perform the operation for you at any time, all you have to do is plug the removable drive back into your iMac and immediately a notification will appear.
In the taskbar, it will tell you that a backup is starting, if this is not the case, do the following:
- Press on the icon timemachine and a small window will be displayed.
- Choose the first option available “Back up now.”
- Right now start adding the new files that you have entered the computer.
Learn how to restore a backup to your iMac
For restore a backup, you can also use the program timemachine, bringing back some or all of the data you’ve backed up. Both procedures are explained here.
First, you will see the explanation of how to extract certain files:
- Open Time Machine in the toolbar of your computer.
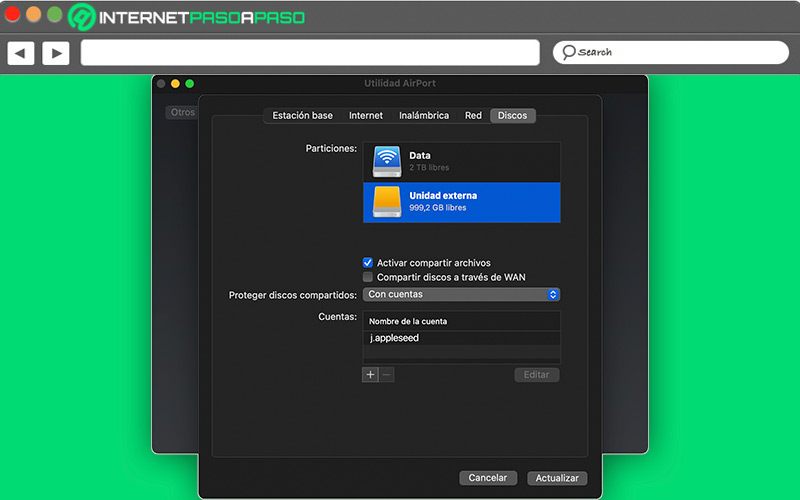
- Locate the date and time where you think the files are by using the swipe arrow.
- Enter the folder where the files are stored.
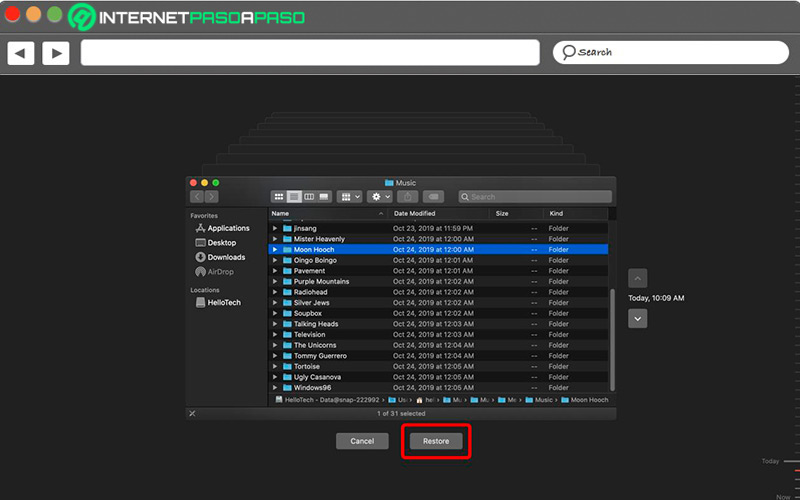
- Locate what you want to recover and check the option with the right mouse button “Restore to”.
- Next choose the folder Where will you get them?
A second option is recover all the files that were backed up at the time you made the most recent backup.
If you want to do it this way, follow the steps described below:
- Turns off your computer iMac.
- Connect the removable device where you saved the backup.
-
Turn on the iMac and press the keys together
Command + R.
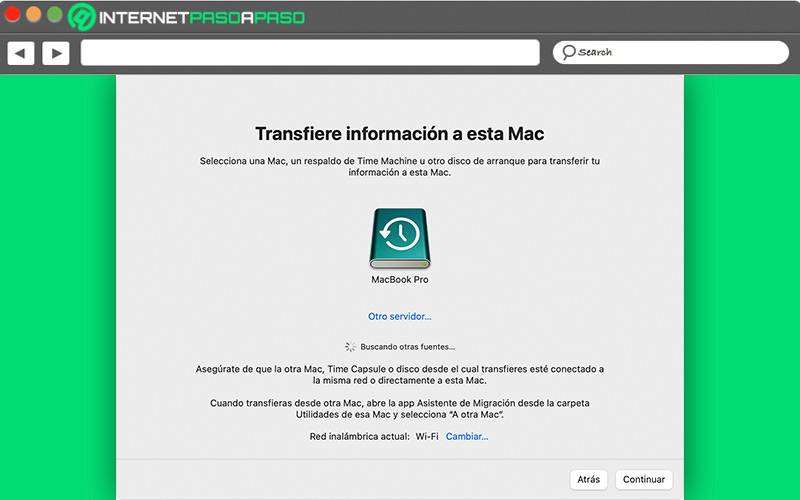
- At the moment that you see the image of the Apple logo on the screen, release the keys and full file recovery will have started.
- Options will appear on the screen. macOS and check the box “Restore from a Time Machine backup.”
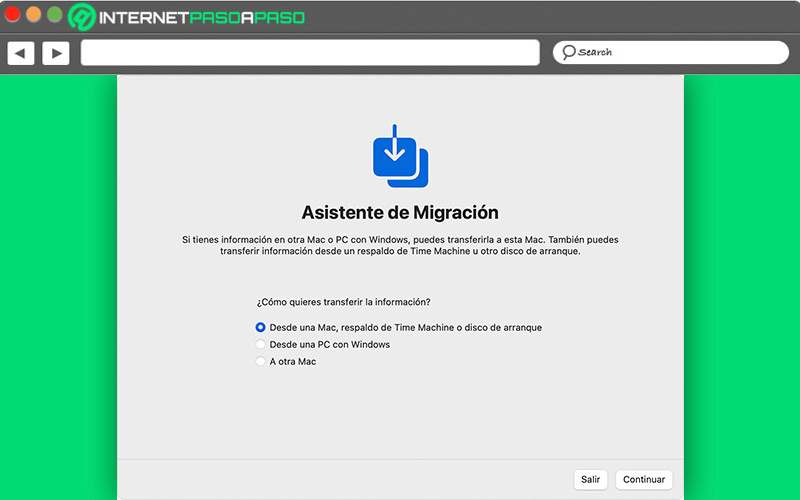
- Follow each of the steps that will appear on the screen to continue the restoration of the files.
- You should select partition in which the recovered files will be saved.
- You will probably need to complete the process the admin Password, especially if you have encrypted the files. In no case should you disconnect the removable drive, it will only be possible at the time the recovery is finished.
Differences between a backup and a system restore point
You have already seen up to this point that the backup (also known as backup) is the backup of the files to a location other than the original, while Restore points are based on specific times that the operating system creates in order to remember certain information.
The main differences between backup and restore point are as follows:
- Restore points are automatic and random by the operating system. Backups must be scheduled, although they can also be automated.
- In most cases, the backups are on external devices, restore points are saved on the computer itself.
- System Restore does not guarantee that all files will be protected, action that does achieve the backup.
Best Tools and Platforms to Backup MacOS
If for various reasons, you want to use a program other than Time Machine to back up your saved files to the iMac, here you have a list that includes five that work very well and that fulfill their objective correctly.
Let’s see below:
Stellarinfo.com
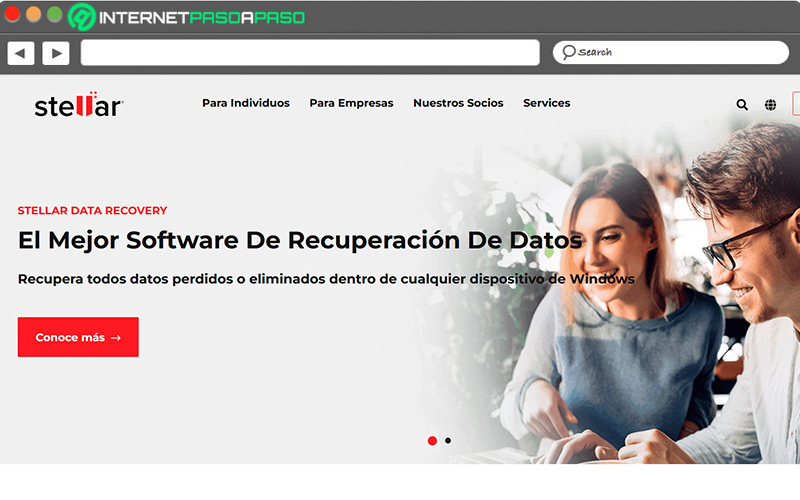
It is one of the best known for users of Manzana, with versions that adapt smoothly to recent devices. Its development allows the restoration of photographs, video projects and emails, as well as all those that have been created and saved with the office suite. An additional aspect of this software is the recovery of files that have been accidentally deletedcreating boot disks, but to use it you must pay for a license of 79.99 euros.
Ashampoo.com
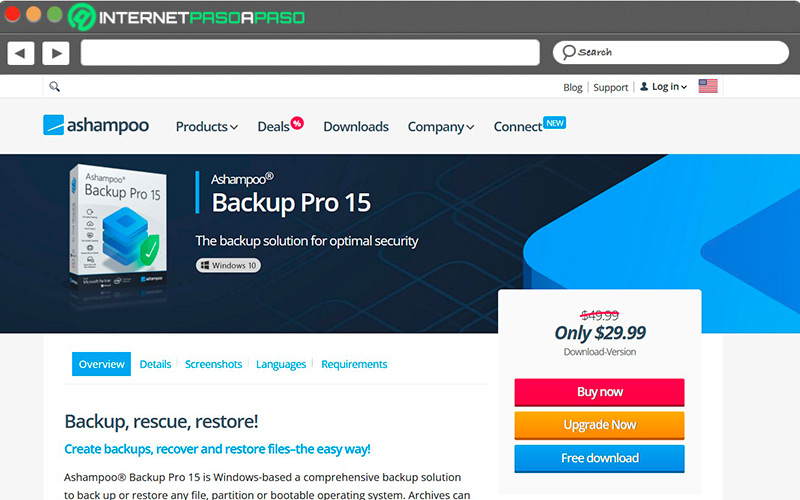
This tool is cheaper than the previous one, with a license price of 16 dollars. It has a high level of encryption for data protection, but that does not go against the simplicity of the software, allowing novices to use it without problems.
with this program you can make a full backup of everything you have on your computer, but also of some specific folders. Also, you can schedule the times at which the backup will be performed as well as the shutdown at the end of the sessions. An additional advantage is that consumes very few resources.
BackBlaze.com

This tool allows Unlimited backups with the offer to try for 15 days and decide if it suits your needs before buying a license that costs 7 dollars a month or 70 during the year. It makes backup to the cloud possible, leaving aside the worry of data loss.
With the native configuration of the program, it is possible choose what kind of files can be downloaded and offers complete backups in the event of a disaster that loses all the information you have stored on your iMac.
Carbon Copy Cloner 6

A 30 day trial has this tool whose license costs 30.99 euros. Its main function is the creation of cloned copies at the time your computer boots, this allows you to completely migrate the operating system in the event of a serious failure. It gives the option of programming the hours in which the copies are going to be made or also at key moments, such as when an external USB device is installed. Access your website https://bombich.com/download.
backblaze

Here you have another alternative to backup documents in the cloud. Its price is 5 euros per month and in this way you get rid of the worry of losing your files. To prevent the computer from slowing down, you can schedule the charging for certain hours or on specific days when it is more convenient.
The best is that downloading is extremely easy just by entering your credentials on the site. If the number of files is very large, the company gives the opportunity to request a key with the data and thus have faster access. As you have seen, there are many options available to back up of your MacOS documents. In most cases, you have to pay for a license to enjoy the full service.
Operating systems