
It is very possible that at some point you have locked your iPod and a message appears on the home screen indicating that “The device is deactivated.” This is no reason to worry as there are different ways to unlock the device and continue enjoying it.
Usually this type of blocking usually happens when you try to enter the lock code several times and it is inserted in the wrong way. Making the device end deactivating. This is because Apple has used this security method in case they misplace the device or simply steal it from you.
Therefore, in this post we will show you how to unlock your deactivated iPod in an easy and fast way, for this purpose different methods will be used which we will show you next.
Index:
Why is an Apple iPod locked?
It happens to many people that for some reason forget their iPod access code, this leads to them having to try to guess it according to the keys they use constantly . But if you enter the code many times the wrong way a message will appear telling you that the device has been deactivated.
Mostly when the wrong password is inserted you have to wait a few minutes to re-enter it, but if you continue to enter it repeatedly, the device will be deactivated by Apple security measures >. Therefore, if this has happened to you, you can perform some methods to recover it.
Please note that all the content and information you have on the device will be deleted, including your password . The only way to save all this information is that the information has been backed up before, otherwise there is no way to save it.
Steps to unlock an iPod regardless of why it was locked
If your iPod is already deactivated, you will not be able to access it and use it again unless you perform some of the methods we will show you below. But it’s important to keep in mind that the information stored on the device cannot be retrieved again unless you have made a backup of information before forgetting the key .
If this has not been the case, unfortunately by performing these methods you will delete all the settings, accounts and information stored there . With this in mind, here we explain each of these methods so that you can execute it and thus return to access your Apple computer .
From iTunes
The first method that we present to you is about using iTunes , this way you can start eliminate deactivation of your device .
To do this, perform the steps that we will explain below:
- The first step to be done is to connect the iPod to the computer , keep in mind that the only way to remove deactivation from it is removing all the information in it, this is because it is necessary to restore the system .
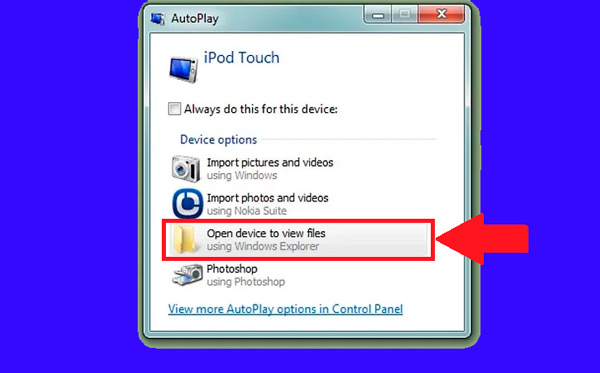
- The only way to prevent the loss of information is that your information already has a backup, otherwise nothing can be done.
- Keep in mind that you have to have iTunes installed on your computer , if not, you will have to start its installation to be able to take this process out.
- Once installed on your computer, the following will be start it and run it . When you have entered select your iPod which appears at the top of your screen.
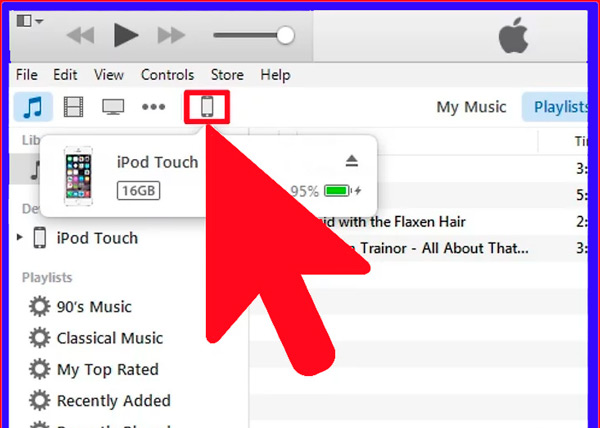
- Here you may be asked to enter the password or if you have never synchronized the device with iTunes , you must enter the section using the “Recovery mode.”
- Click on the “Back up now” option. This will allow you to make a backup and recover information only after restore your iPod. You must be sure that the “This computer” box is enabled so that the backup can be done correctly.
- Now select the option of “Restore iPod” to start this process. Usually, this usually takes a few minutes . Once this process is finished, you will see the initial configuration screen of your device.
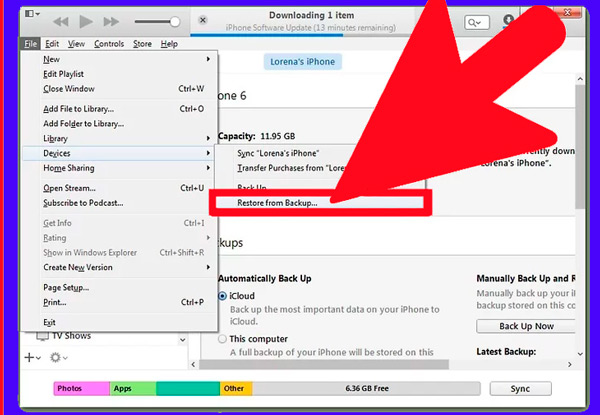
- Finally check the “Restore from iTunes backup ” box during the configuration process. This will allow you to restore information from your device if you had a backup.
From iCloud
This method is mainly used when the user does not have access to a computer and needs to perform this process from another device. Therefore, you can deactivate your iPod from the “Search iPhone” website. Note that in order to perform this process the device must be registered in Apple ID and you have activated the “Search iPod” option. It is also important to mention that you have to your device connected to a wireless network > to be able to perform this method.
With this in mind, here are the steps to follow:
- The first thing will be to connect to a wireless network . When you make this type of connection, you cannot make a backup , this will cause all the information you have there to be completely deleted , except for the information that already have some backup.
- Now from your device access to the iCloud website , here you can use any web browser, or simply use the “Search iPhone” application from another iOS device. If you have a computer and want to perform this method you can also log in to iCloud from there.
- Enter your Apple ID credentials , it is important that data you enter is the same as the account with which the device is associated.

- Select the “All devices” option located at the top of the screen. This will show all the devices that you have associated with that account.
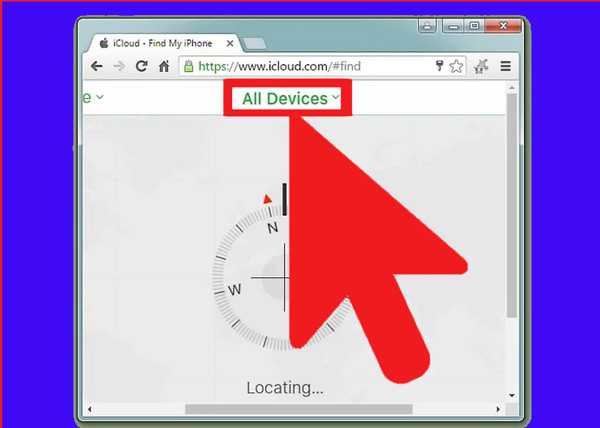
- In this list select your iPod to perform the process. There you will be shown a map with all the device information.
- Now click on “Delete” and then confirm that action. After this, its restoration will begin , this process takes a few minutes.
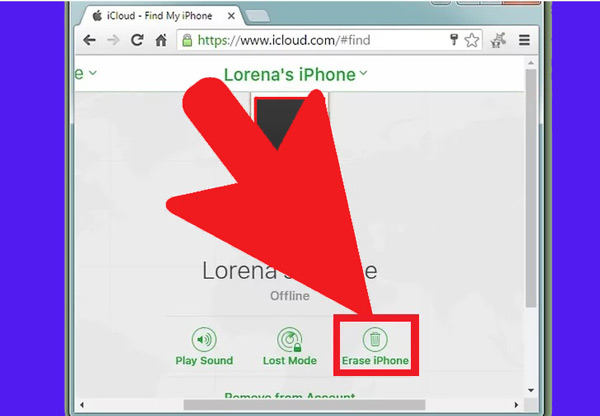
- Once the restoration is complete , your device will look like new. There you have to perform the initial configuration on the system again and you will see the option to load the “Backup” in case you have one. This way you can start using it again.
From recovery mode
As we explained earlier, when using iTunes you usually ask for the access password, in case you don’t have it, you need to use the “Recovery mode.” This method will allow you to recover your device without the need to use that password.
It is important to mention that this method also cannot make a backup of the information stored on the computer. Therefore, also all the information will be lost .
To start this process follow these instructions:
- The first thing will be turn off the device completely , to do this press the power button a few seconds while turning off.

- Now connect the iPod to the computer.
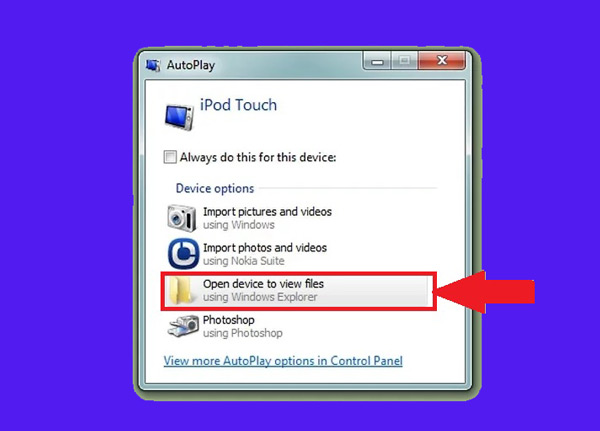
- Keep in mind that this process or you will carry out through iTunes. If you do not have it installed you can download it through this link.
- Once you have iTunes open on your computer , you must press and hold the power and start button until the iTunes logo appears on the screen . Note that first you will see the Apple logo and after a few seconds the program.

- In case your device has the damaged start button and it doesn’t work, you can download TinyUmbrella from this link , there you run the program and select the “Enter recovery mode” option.
- Then select the “Restore” section in the window that appears in iTunes for to start the process of restoring the device .
- When the restoration is complete , you will have to configure the device as the first time You bought it. If you have a backup you can upload it to the system.
From DFU
Finally, we recommend using this method. It is used when the “Recovery mode” process does not work. In this case DFU mode is an update of the system of the equipment very similar to what is the restoration , and it has already been verified thanks to other users that this update works to remove device deactivation .
This method is recommended for use only if the recovery mode process fails. Like all the processes mentioned above, with the DFU you cannot also back up the information , that is, all stored data will be lost.
Therefore, to perform this method follow these steps:
- To start it will be necessary to turn off the equipment completely , to do so press the power button until it turns off.
- Like the previous case, we connect it to the computer and open the iTunes program. For this it is not necessary that the device is synchronized with the computer.
- Turn on again the device with the power and start button , in case the start button does not work we install TinyUmbrella from the link we gave you in The previous process. Once downloaded, select “Enter DFU mode” to continue the execution.
- Now press the power button for three seconds only.
- Press the power button again and then the start button.
- Now press and hold both buttons for for at least 10 seconds , then release the power button , but press and hold the start button.
- The start button must be pressed for for at least 10 more seconds, the device screen will be off, but iTunes should notify you that the new device has been recognized in “recovery mode”, once this notice appears you must release the start button .
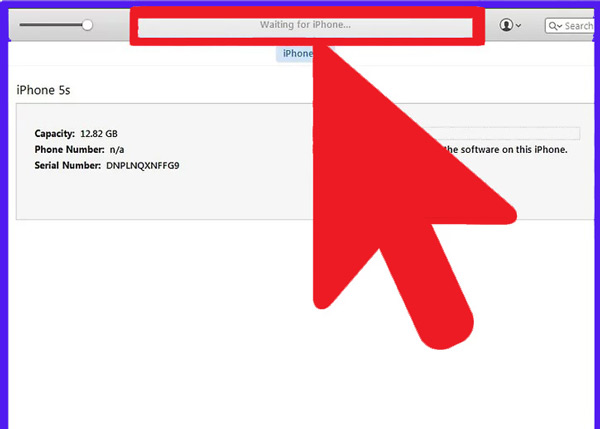
- Now click on the “Recover” option to start the process of the restoration. The process takes few minutes and it will be as factory.
- Once the process is finished, you must reconfigure the iPod as new, in case you have a backup you can upload it to the system.