
Index:
UPDATED ✅ Want to know Apple Mac keyboard shortcuts and commands? ⭐ ENTER HERE ⭐ And discover the most complete list for free!
Currently, users focus on having tools and mechanisms at hand that allow them to complete digital actions faster and more efficiently. For which, the developers of the main operating systems have presented an excellent solution that, basically, is about keyboard shortcuts.
While it is true, these certain key combinations allow people to work up to 10 times faster on your computer, compared to how they can manage it using the mouse. In addition, this is also a great advantage around healthsince the mouse can cause inflammation of the tendons, for example.
So in order to use all the necessary key shortcuts to perform any action on your Mac computerin this post we want to introduce you to the main and most relevant solutions that exist and, of course, that are most used by MacOS clients.
List of the best shortcuts and key combinations to use a Mac computer with the keyboard
Now, it is time to specify all the key combinations that you can use on your Mac, in order to carry out any action directly from the comfort of the keyboard and without even touching the mouse.
Next, we detail the main modalities that exist:
Common shortcuts (such as copy, cut, paste, etc.)
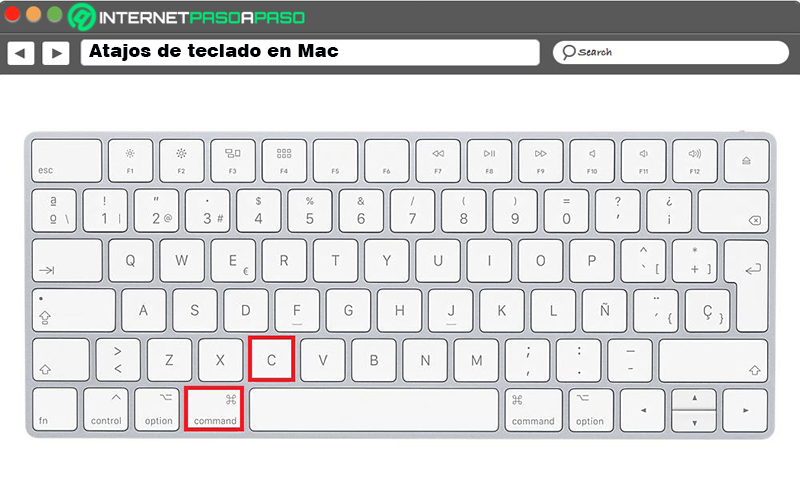
key combination |
Action |
| Command-C | Copy the selected item to the Clipboard. Also works with Finder files |
| Command-X | Cut the selected item on the Clipboard |
| Command-V | Paste the contents of the Clipboard into the document or an active app. Also done with Finder files |
| Command-Z | To undo the previous command. Then you must press Shift-Command-Z to be able to Redo, this will reverse the Undo command |
| Command-A | Used to select all elements of a window |
| Command-F | Locate items in a document or open a search window |
| Command-G | To search for the next occurrence of the previously searched item. If you want to specify the previous appearance, press Shift-Command-G |
| Command-H | It is used to hide the application windows in the foreground. In case you want to see the app in the foreground and hide the other apps, press Option-Command-H |
| Command-M | It minimizes the window that is in the foreground to the Dock. If you want to minimize all windows of the app in the foreground, press Option-Command-M |
| Command-O | Enter the selected item or open a dialog to choose the file to open |
| Command-P | Proceed to print the active document |
| Command-S | Used to save an active document |
| Command-T | Open a new tab. |
| Command-W | Allows you to close the window that is in the foreground. But to close all app windows, use Option-Command-W |
| Option-Command-Esc | Force quit an app |
| Command-Space bar | Show or hide the Spotlight search field |
| Command-Option-Space bar | Do a Spotlight search from a Finder window. If you use multiple input sources to type in different languages, these shortcuts switch them instead of showing Spotlight |
| Control-Command-Spacebar | To display the Keyboard Viewer, with which you can select emoji and other symbols |
| Control-Command-F | Use the application in full screen, in case it allows it |
| Command-Tab | Switch to the most recently used app among all open apps |
| Space bar: | Use Quick View to see the preview of the chosen item |
| Command-Comma (,) | It is used to open the preferences of the application that is in the foreground |
| Shift-Command-N: | Allows you to create a new folder in the Finder |
| Shift-Command-5 | If you have MacOS Mojave, it allows you to take a screenshot or screen recording. But if it’s older versions of MacOS, press Shift-Command-3 or Shift-Command-4 to take screenshots |
Finder and system shortcuts
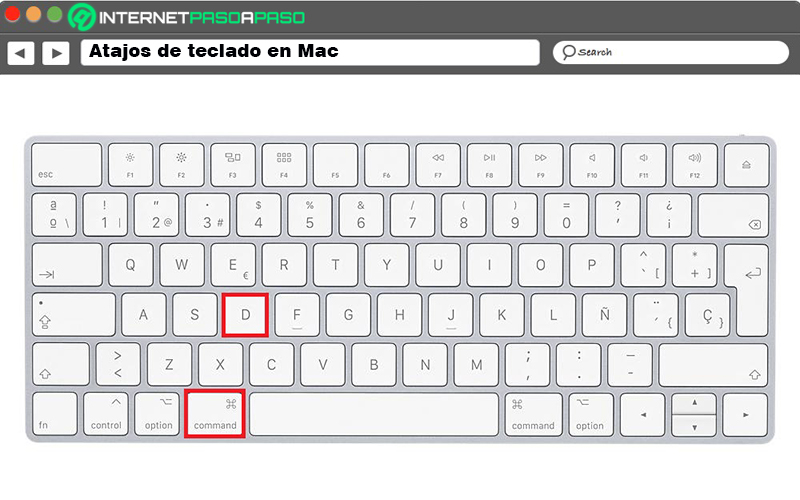
key combination |
Action |
| Command-D | To duplicate the selected files |
| Command-E | Eject the chosen disk or volume |
| Command-F | Used to start a Spotlight search in the Finder window |
| Command-I | Displays the Get Info window for any selected file |
| Command-R | · While an alias is selected in the Finder: show the original file of the alias.
· Also used in some apps, like Calendar or Safari, page reload or refresh. · For Software Update preferences, check again for software updates |
| Shift-Command-C: | Access the Computer window |
| Shift-Command-D | To open the Desktop folder |
| Shift-Command-F | Open the Recents window, to see all the files you’ve recently opened or changed |
| Shift-Command-G | Used to open the Go to Folder window |
| Shift-Command-H | Open the home folder of the active macOS user account |
| Shift-Command-I | To open iCloud Drive |
| Shift-Command-P | Show or hide the preview pane in Finder windows |
| Shift-Command-R | Access the AirDrop window |
| Shift-Command-T | Show or hide the tab bar in Finder windows |
| Control-Shift-Command-T | Include the selected Finder item in the Dock (OS X Mavericks or later) |
| Shift-Command-U: | Go to the Utilities folder |
| Shift-Command-D | To show or hide the Dock |
| Shift-Command-T | Add the selected item to the sidebar (OS X Mavericks or later) |
| Shift-Command-P | Hide or show the path bar in Finder windows |
| Shift-Command-S | Use it to hide or show the sidebar of Finder windows. |
| Command-Slash (/) | Show or stop showing the status bar of Finder windows |
| Command-J | Show display options |
| Command-K | To open the Connect to Server window |
| Command-L | Used to create an alias of the selected item |
| Command-N | Open a new Finder window |
| Option-Command-N | If you want to create a Smart Folder |
| Command-T | Show or hide the tab bar when only one tab is open in the active Finder window |
| Option-Command-T | Show or hide the toolbar when only one tab is open in the active Finder window |
| Command-Y | Use Quick Look to see a preview of selected files |
| Option-Command-Y | Watch a Quick View slideshow of the selected files |
| Option-Command-V | To move Clipboard files from their original location to the current location |
| Command-1 | If you want to see the elements of the window of the Finder like icons |
| Command-2 | If you want to see the items in a Finder window as a list |
| Command-3 | Show Finder window items in columns |
| Command-4 | To view items in a Finder window with Cover Flow |
| Command-Right Bracket (]) | Move to the next folder |
| Command-Left Bracket ([)[) | Go to the previous folder. |
| Command-Up Arrow | To open the folder that contains the current folder |
| Command-Control-Up Arrow | Access the folder containing the current folder in a new window |
| Command-Down Arrow | Open the selected item |
| right arrow | Enter the selected folder. This only works with list view |
| Left arrow | To close the selected folder. Only works with list view |
| Command-Delete | Move the selected item to the trash |
| Shift-Command-Delete | To empty the trash |
| Option-Shift-Command-Delete | This empties the Trash without a confirmation box appearing |
| Command-Brightness Down | Turn video mirroring on or off when your Mac is connected to more than one display |
| Command-Brightness Up | Enable or disable target screen mode |
| Option-Brightness up | To open Displays preferences. Works with any brightness key |
| Control-Brightness Up or Control-Brightness Down | Change the brightness of the external screen, if the screen allows it |
| Option-Mission Control | Allows you to open Mission Control preferences |
| Command-Mission Control | To show the desktop |
| Control-Down Arrow | Show all application windows in the foreground |
| Option-Volume Up | You can open the sound preferences. This works with any of the volume keys |
| Option-Shift-Volume Up or Option-Shift-Volume Down | Set the sound volume in smaller steps |
| Option-Increase keyboard brightness | Go to keyboard preferences. This works with any brightness key on the keyboard |
| Option-Shift-Keyboard Brightness Up or Option-Shift-Keyboard Brightness Down | Modify keyboard brightness in smaller intervals |
| Option-Command while dragging | Allows you to create an alias of the dragged item. The pointer changes as you drag the item |
| Option-Click disclosure triangle | To open all folders in the selected folder. This only works with list view |
| Command-Click on a window title | View the folders contained in the enabled folder |
| Option key while double-clicking | Open the item in another window and close the current one |
| Command key while dragging to another volume | Used to move the dragged item to another volume instead of copying it |
| Command key while double-clicking | Open a folder in another tab or window |
| Option key while dragging | To copy the dragged element. The pointer changes as you drag the item |
Quick logout, sleep and shutdown functions
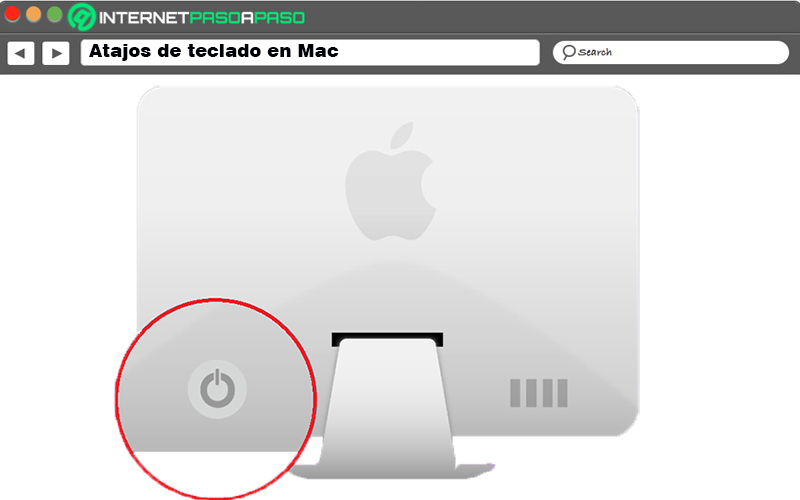
key combination |
Action |
| Power button | Press to turn on your Mac or to wake up from sleep mode. To put the computer to sleep, press it for 2 seconds. To turn it off completely, keep holding it down |
| Option-Command-Power Button or Option-Command-Disk Eject | Put your Mac to sleep |
| Control-Shift-Power Button or Control-Shift-Disk Eject | Put the computer screen to sleep |
| Control-Power Button or Control-Disc Eject | See a dialog asking if you want to restart, shut down, or put to sleep |
| Control–Command–Power Button | Force restart the computer without asking if you want to save open and unsaved documents |
| Control-Option-Command-Power Button or Control-Option-Command-Disk Eject | To quit all apps and shut down your Mac. If any of your open documents have unsaved changes, you’ll get a question asking if you want to save them |
| Control-Command-Disk Eject | It is used to quit all apps and restart your Mac. If any of your open documents have unsaved changes, it will ask you if you want to save them |
| Shift-Command-Q | Sign out of the MacOS user account. You will be prompted to confirm |
| Option-Shift-Command-Q | If you want to log out immediately without confirmation |
Document Quick Features
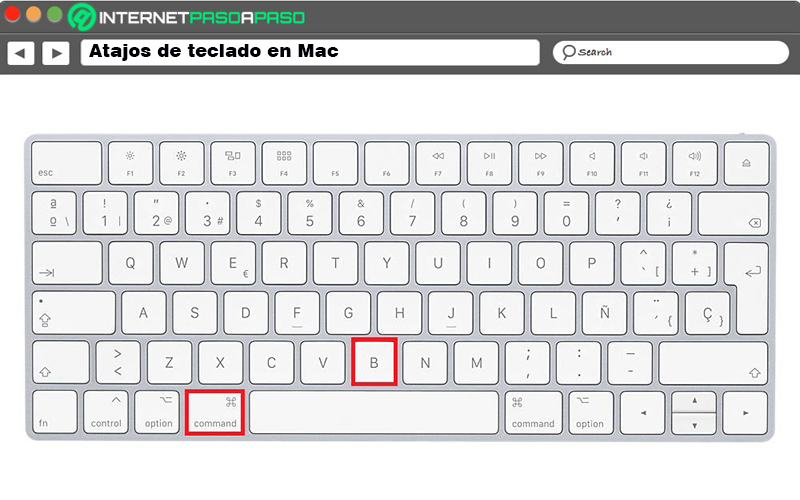
key combination |
Action |
| Command-B | Make the selected text bold. Also to turn bold on or off |
| Command-I | Italicize selected text, or turn italics on or off |
| Command-K | Include a web link |
| Command-U | Used to underline selected text or to turn underlining on or off |
| Command-T | Show or hide the Fonts window |
| Command-D | To select the Desktop folder from the Open or Save dialog boxes |
| Control-Command-D | View or hide the definition of the selected word |
| Shift-Command-colon (:) | View the Spelling and Grammar window |
| Option-Delete | Deletes the word to the left of the insertion point. |
| Command-Semicolon (;) | To locate misspelled words in the document |
| Control-H | Delete the character to the left of the insertion point. Delete key can also be used |
| Control-D | Deletes the character to the right of the insertion point. You can also use Fn-Delete |
| Control-K | Used to delete text between the insertion point and the end of the line or paragraph |
| Fn-Down Arrow | Go to the next page, i.e. one page down |
| Fn-Up Arrow | Go to the previous page, i.e. scroll up one page |
| Fn-Right Arrow | Go to the end of a document |
| Fn-Left Arrow | To navigate to the beginning of a document |
| Command-Down Arrow | Move the insertion point to the end of the document |
| Command-Up Arrow | Move the insertion point to the beginning of the document |
| Command-Left Arrow | To move the insertion point to the start of the active line |
| Command-Right Arrow | Move the insertion point to the end of the active line |
| Option-Right Arrow | Move the insertion point to the end of the next word |
| Option-Left Arrow | Used to move the insertion point to the beginning of the previous word |
| Shift-Command-Down Arrow | Lets you select the text between the insertion point and the end of the document |
| Shift-Command-Up Arrow | Choose the text located between the insertion point and the beginning of the document |
| Shift-Command-Right Arrow | Select all text between the insertion point and the end of the active line |
| Shift-Command-Left Arrow | To choose the text between the insertion point and the start of the enabled line |
| Shift-Down Arrow | Extends the text selection to the nearest character in the same horizontal location on the line below |
| Shift-Up Arrow | Extend the text selection to the nearest character at the same horizontal location on the line higher |
| Shift-Left Arrow | You can extend the text selection one character to the left |
| Shift-Right Arrow | Extend the text selection one character in the right direction |
| Option-Shift-Up Arrow | If you want to extend the selection to the beginning of the active paragraph and, in case of pressing immediately, to the beginning of the next paragraph |
| Option-Shift-Down Arrow | Extend the selection to the end of the active paragraph and, if pressed again, to the end of the next paragraph |
| Option-Shift-Left Arrow | To extend the selection to the beginning of the active word and, if pressed again, to the beginning of the next word |
| Option-Shift-Right Arrow | Extend the selection to the end of the active word and, if pressed again immediately, to the end of the next word |
| Control-A | To go to the beginning of the line or paragraph |
| Control-E | Go to end of line or paragraph |
| Control-L | If you want to center the cursor or the selection in the visible area |
| Control-B | Go back one character |
| Control-F | Move forward one character |
| Control-P | To go one line up |
| Control-N | It is used to scroll down one line. |
| Control-T | Swap the character after the insertion point with the character before the insertion point |
| Control-O | If you want to insert a new line after the insertion point |
| Command-Close curly braces ({) | To be able to align right |
| Command-Open curly braces ({) | Align in left direction |
| Shift-Command-Vertical bar (|) | used to center align |
| Option-Command-F | Go to the search field |
| Option-Command-C | Copy style. That is, copy the format settings of the selected item to the Clipboard |
| Option-Command-T | View or hide an application toolbar |
| Option-Command-V | To paste style or apply the copied style to the selected item |
| Option-Shift-Command-V | Allows pasting with the same style, that is, applying the style of the surrounding content to the pasted item |
| Option-Command-I: | Show or hide the inspector window |
| Shift-Command-S | Observe the Save As dialog box, or duplicate the active document |
| Shift-Command-P | Page Setup or display a window to select document settings |
| Shift-Command-Plus sign (+): | Increase the size of the selected item. The same function is done by the shortcut: Command-Equals sign (=) |
| Shift-Command-Minus Sign (-) | Decrease the size of the selected item |
| Shift-Command-Question mark (?) | Open the Help menu |
Mac startup shortcuts
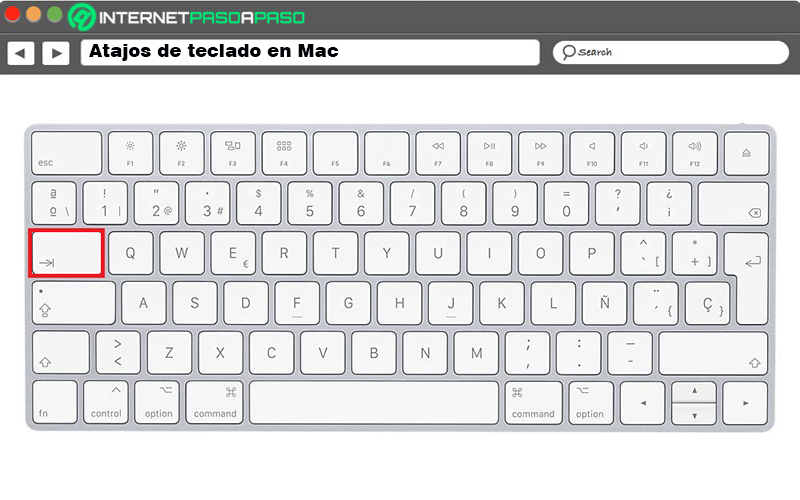
key combination |
Action |
| shift | To boot in safe mode |
| C key | Boot from a CD, DVD, or USB |
| D key | Used to boot from Apple Hardware Test or Apple Diagnostics, depending on the Mac model |
| N key | Boot from a NetBoot server, if available |
| Option key | Boot the bootloader to choose other boot disks |
| Command-R | To boot from the macOS recovery system |
| Command-S | Supports booting into single user mode |
| Command-V | To boot in verbose mode |
| Option-Command-PR | Allows you to reset the NVRAM or PRAM |
| Media eject button-F12, mouse button, or trackpad button | Eject removable media |
| T-key | Boot into target disk mode |
| X key | Boot directly from a different startup disk |
Shortcuts for Safari
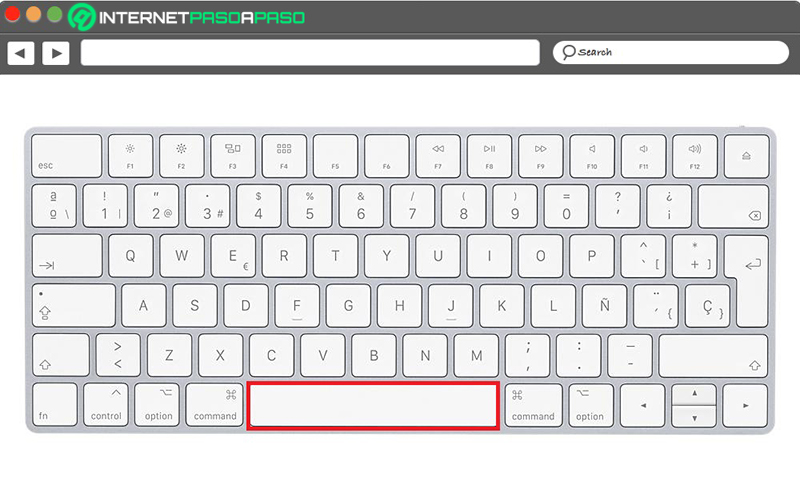
key combination |
Action |
| Space key | To scroll through any web page |
| cmd + t | Open a new tab |
| cmd + n | You can use it open a new window |
| cmd + up arrows | To move to the top of the page |
| cmd + down arrows | To go to the bottom of the page |
| cmd + shift + side arrows | Allows scrolling between tabs |
| cmd + p | print the page |
| cmd + r | Reload the web page |
| cmd + favorite position number | Go to page in bookmarks bar |
| cmd + shift + r | show the reader |
How to change and customize keyboard shortcuts in MacOS?
On many occasions, MacOS users themselves may not feel comfortable with the system’s default keyboard shortcuts. Therefore, there is a need to know how can these be changed and even create key combinations to quickly access the application you want or execute a specific action, but that the operating system has not specified.
For this, we give you the step by step to carry out to manage to modify and customize the keyboard shortcuts on your Mac computer. Which is very simple:
Go to “System Preferences”
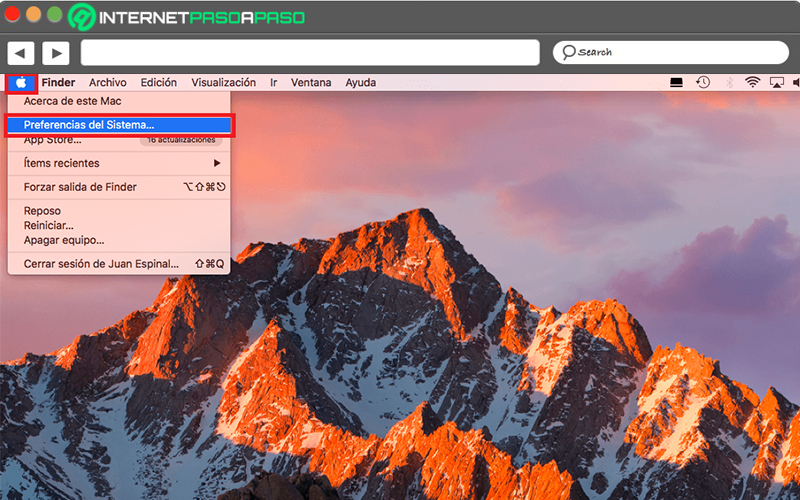
To get started, you will first need to start your Mac and log in with your user account, usually. After that, you will have to click on the apple-shaped icon that is located in the upper left corner. Basically, you find it on the left side of the top taskbar.
When completing the above, you will see a new menu and in it, you have to click on the option “System preferences”.
Click on the “Keyboard” option
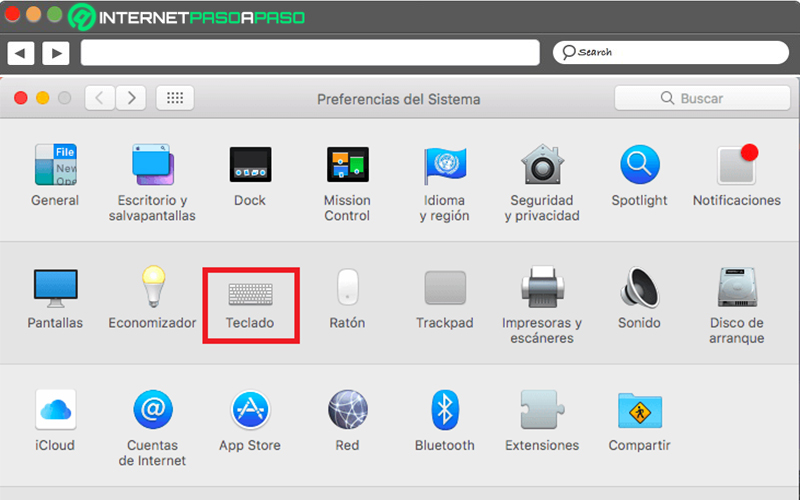
Once you access System Preferences, you will come across a new window where you have many options to choose from.
In this sense, you have to select the option “Keyboard”. Which will cause a new window to be displayed to speed up this process.
Select “Quick Features”
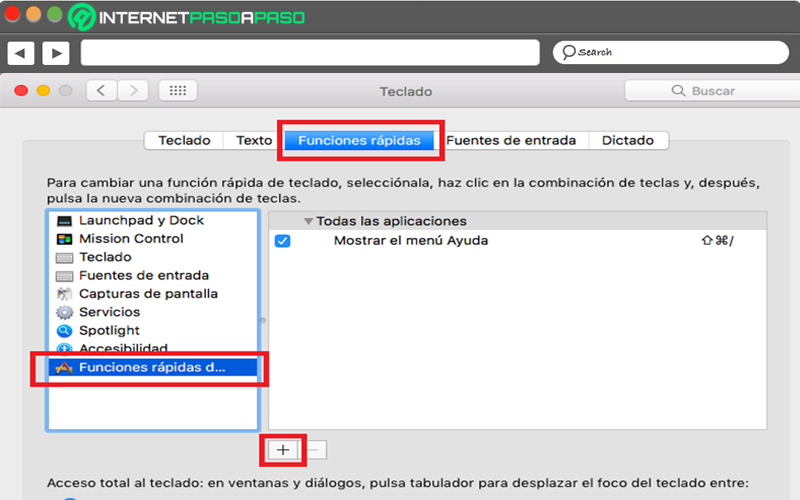
Located in the new window, you need to access the tab that prints “Quick Features” and is located on the top bar, specifically in the third position.
When you enter this section, what you will have to do is press the selection “App shortcuts” that you see in the left side menu of the window in question.
Once you click on this option, you will see that other new selections are shown to choose from. But, to proceed to modify or create a keyboard shortcut, you only have to click on the “+” icon What do you see at the bottom?
It is time to choose the app in question and add the shortcut
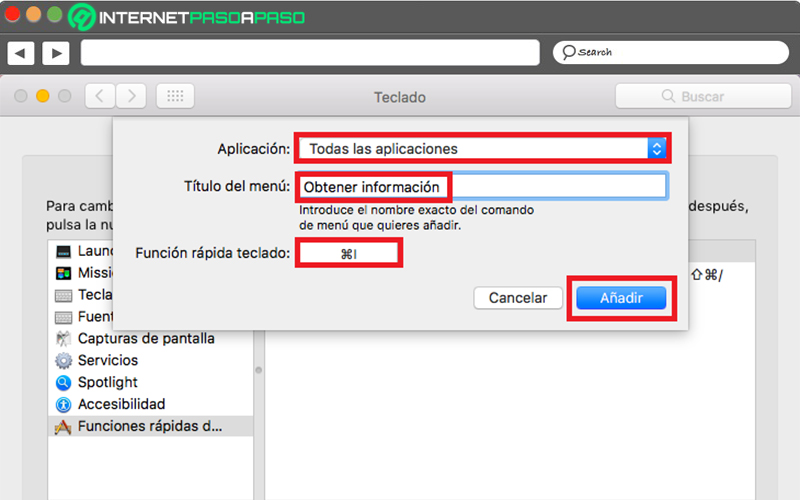
Once you carry out the above, automatically, a small window will be displayed in which it is necessary select the app you want to change the keyboard shortcut for Or, use a new custom shortcut.
However, if you prefer the shortcut to work for all the applications you have on your computer, you simply have to select the option “All applications”. Now, in the fieldmenu title” you will have to supply an exact name referring to the action that you want to specify with the new keyboard shortcut. This means that, for example, if you want to Rename or change the name of the file, you simply have to enter the term “rename” or similar.
For its part, in the field that says “Keypad Quick Feature” is where the exact keyboard shortcut you want to use to carry out the desired action will be placed. At the end of this, you have to click on “Add” so that the shortcut is personalized in the list that there is.
Operating systems